Use the Discussions tool in your course to encourage users
to share thoughts on course material with their peers. This tutorial
demonstrates how to assess students’ posts through an attached rubric in
MyFIRE.
1. Access the desired course in MyFIRE.
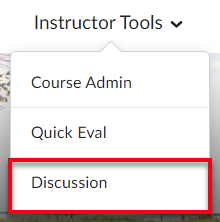
2. Select the Instructor Tools tab at the
top of the page.
3. A drop-down menu will appear. Select Discussion.
4. When the page refreshes, locate the desired discussion
topic.
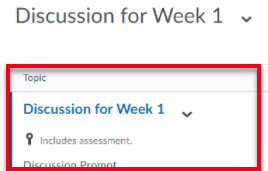
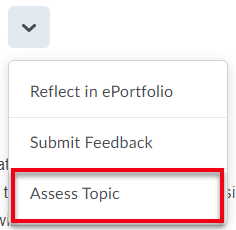
5. When the page refreshes, select the drop-down
arrow to the right of the title.
6. From the drop-down menu, select Assess Topic.
7. When the page refreshes, a list of students who
have submitted to the discussion topic will appear. Select Topic Score beneath each student to view the students’ initial post and their responses to
other students.

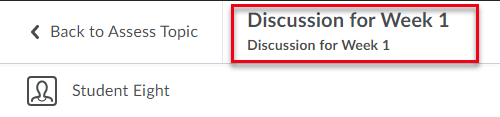
8. When the page refreshes, the discussion will be
available for assessment. The forum and discussion topic will be
displayed at the top of the page for reference.
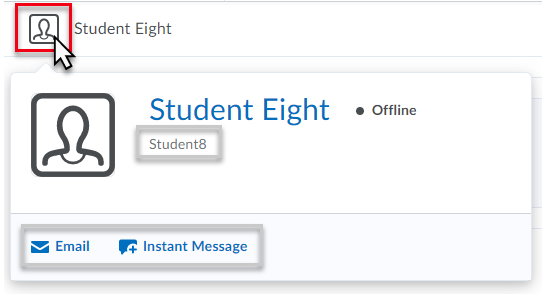
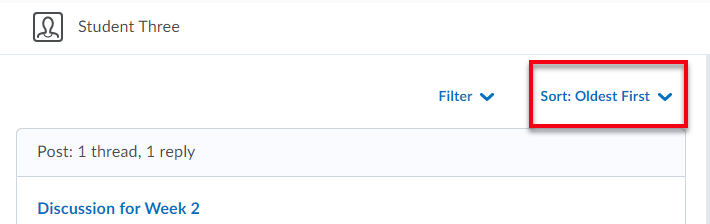
9. The student that is being assessed will appear
in the top-left corner of the screen. Hover over the student’s profile picture
to view the student’s ID number and to contact the student either through email
or instant message.
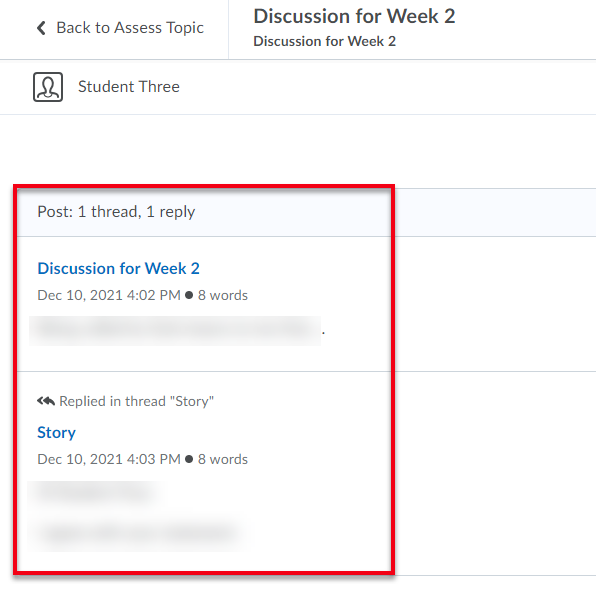
10. The
student’s initial post and replies to other students’ posts will be visible on
the left side of the page.
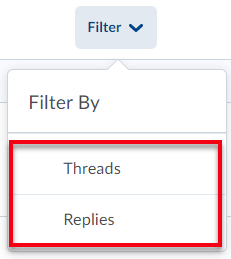
a. Filter your view of the student’s posts by
selecting Filter above the student’s posts.
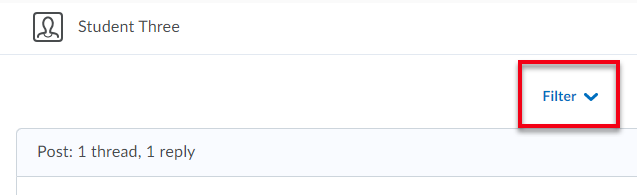
i. Then
either select Threads to view the student’s initial post or select Replies to view the student’s replies to other students’ posts.
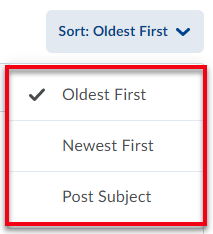
b. Sort your view of the student’s posts by
selecting Sort above the student’s posts.
i. Sort
by choosing either oldest first, newest first, or post subject. Post
subject will show the student’s initial response to the discussion topic first.
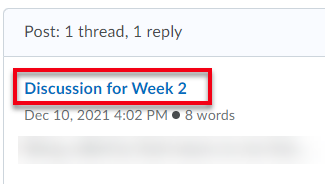
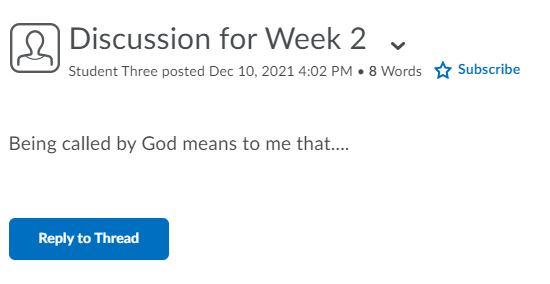
11. If
needed, select the title of the student’s post to review the student’s post
directly in the discussion. Once the title of the post is selected, a new
browser tab will open to the student’s post. When finished reviewing the post,
close the browser tab and return to the assessment page in the original browser
tab.
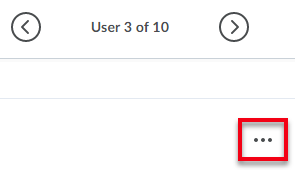
12. If
needed, there is an option to quickly view the discussion topic main page by
selecting the ellipsis icon on the right side of the screen.
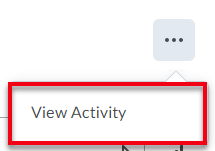
a. A drop-down menu will appear. Select View Activity.
i. If
view activity is selected, a new browser tab will open the discussion topic
main page in the reading view to quickly review the discussion prompt and
instructions. Close the browser tab when done reviewing the discussion main
page.
13. Once
finished reviewing the student’s responses, locate the evaluation panel to
assess the student on the right side of the screen.
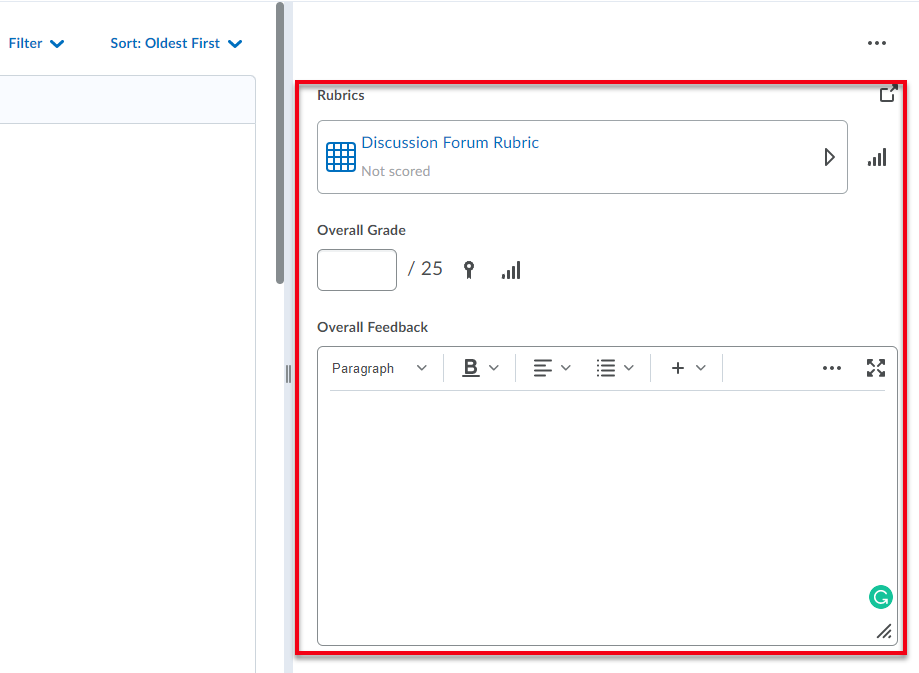
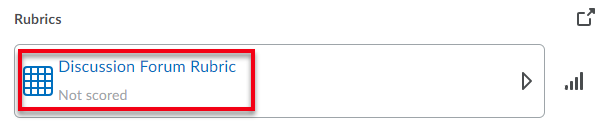
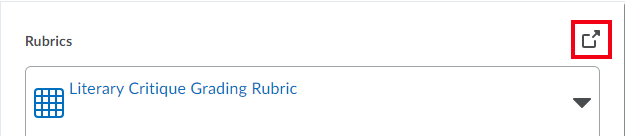
14. When
assessing a student with a rubric, the rubric title and icon will be visible
under the Rubrics title. Select the rubric name to open and assess the
student through the rubric.
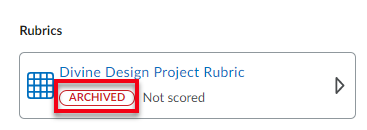
a. If a rubric’s status is changed to archived
after the rubric has been connected to an assessment, an archived tag will
appear below the rubric title where the rubric is displayed. Archived rubrics
can still be evaluated and archiving a rubric does not remove it from
activities or published feedback. Students are able to see the archived tag.
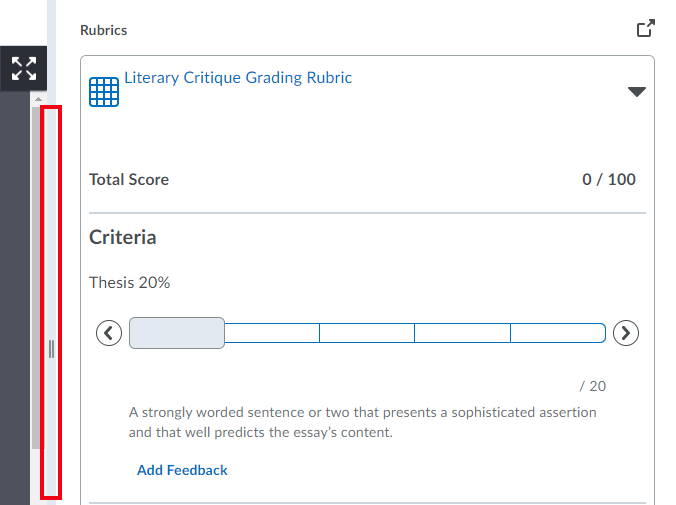
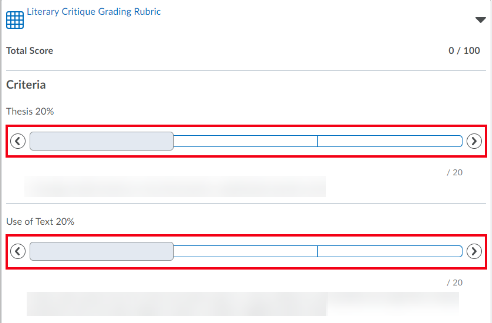
15. The
rubric will open within the evaluation panel.
a. If needed, expand the evaluation panel to view
the rubric in a larger window by selecting and dragging the toggle bar to the
left.
b. If the rubric is too large, instructors have the
option to expand the view of the rubric in a table format through a pop-up
window by selecting the pop-out icon in the top right corner of the
page. If not utilizing this feature, continue to step 16.
i. If
the pop-out icon is selected, the rubric will appear in a separate pop-out
window that can be resized if desired. With this view, assess the students by
selecting the desired level for each criterion.

ii. If
needed, provide additional feedback to students for each criterion by selecting
the Add Feedback link.
iii. If
needed, increase or decrease the students’ default rubric scores by selecting
the score field to the right of criterion row.
1. Then, use the up and down arrows to set the
desired score or type the desired score.
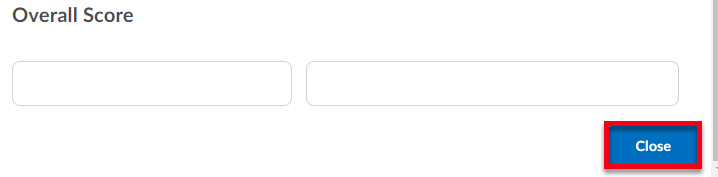
iv. Once
finished assessing the student through the rubric in the pop-out window, select Close at the bottom of the window and continue to step 19.
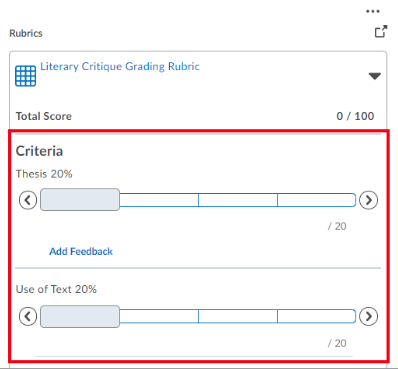
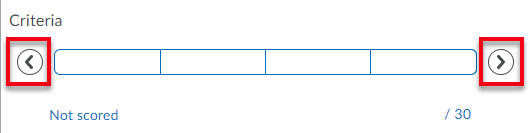
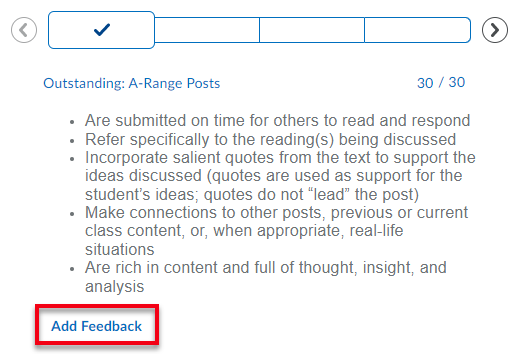
16. Assess
the student by selecting the cells in the criterion bar for the
appropriate score level for each criterion row.
a. Instructors can also select the left and
right arrows to scroll and view all of the criterion levels.
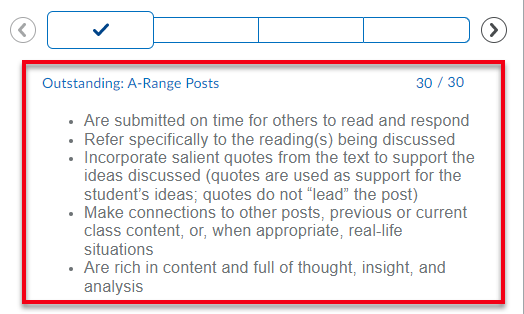
b. Once the criterion bar is selected, the level
selection will show a checkmark and will automatically save.

c. The level title and description appear below the
criterion bar.
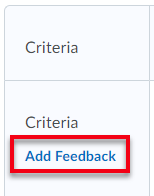
17. Once
a point level is selected for each criterion row, determine if additional
feedback is needed. If additional feedback is needed, select Add Feedback under
the desired criteria section.
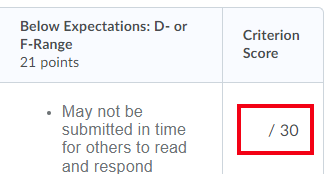
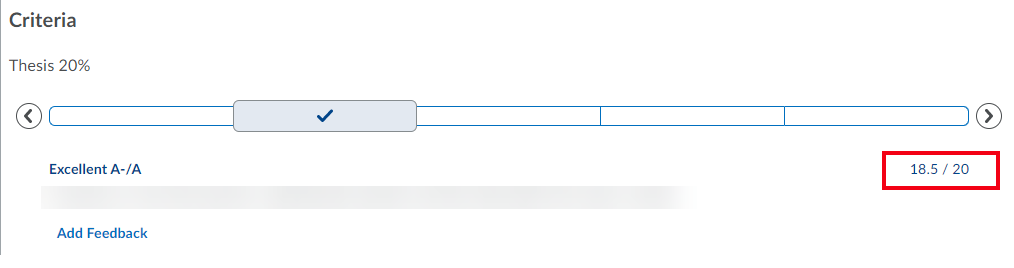
18. Then
determine if the student’s score needs to be manually adjusted. If the score
needs to be adjusted, select the score for the desired criteria on the
right side of the criterion section.
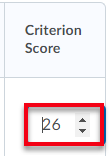
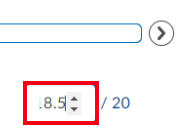
a. Once the score is selected, the cell will
refresh to show an editable field to adjust the point value for the desired
criteria. Either type the new score or use the up and down arrows to set the
desired score.
b. Once the criteria score has been set, the score
cell will be highlighted blue with an asterisk on the right.
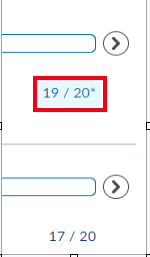
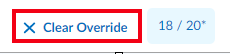
i. Additionally,
an option to clear the edited score will appear. To clear the edited score,
select Clear Override.
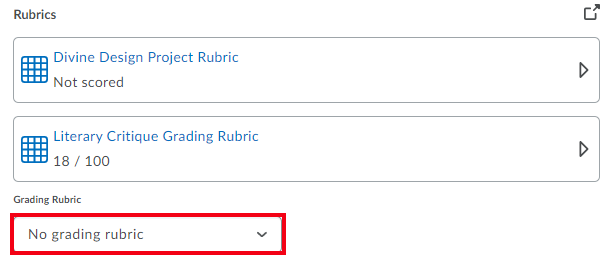
19. If
more than one rubric is attached to the assignment, determine which rubric will
be used to grade the student by selecting the appropriate rubric from the
grading rubric drop-down menu.
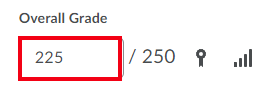
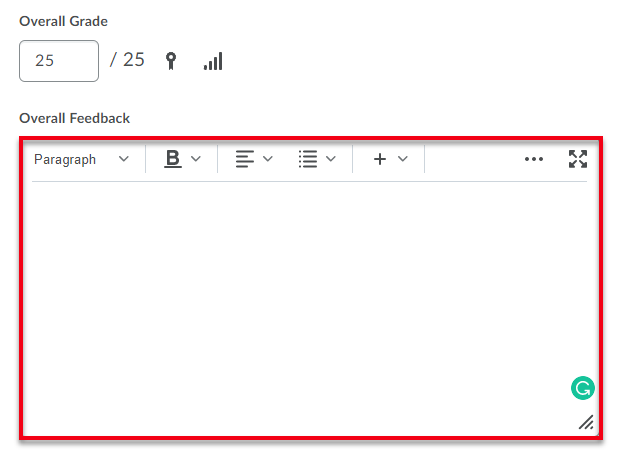
20. As
each criterion is assessed, the overall score for the assignment will
automatically be calculated in the overall grade field.
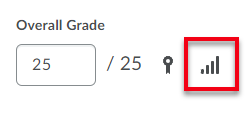
a. If desired, select the statistics icon on
the right of the overall grade field to view the discussion topic statistics by
class and user stats in a pop-up window.
21. Next,
provide feedback to the student in the overall feedback textbox. For further
instructions on utilizing the editor textbox, please refer to the utilize the
MyFIRE editor tutorial.
22. To
publish the score and feedback for the student immediately, select Publish at the bottom of the screen.
a. If you would like to save the score and feedback
as a draft, select Save Draft at the bottom of the screen.
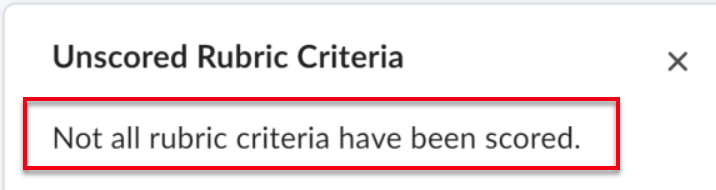
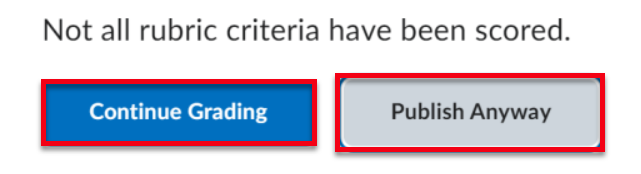
b. If attempting to publish or save the assessment
in the middle of scoring the assignment through the rubric, a pop-up window
will appear stating that not all rubric criteria have been scored.
i. Select
either Continue Grading or Publish Anyway. Note: If publish
anyway is selected, the student’s grade will reflect only the partial
assessment, but the student may think it is their total score.
23. If
desiring to grade the next student’s discussion submission, select the left
and right arrows in the top right corner of the screen to continue to the
next student’s submission.

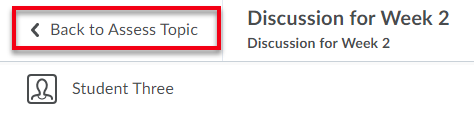
24. If
desiring to return to the list of student submissions, select back to assess
topic in the top left corner of the screen.
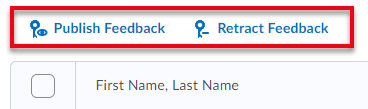
a. When the page refreshes, the assess discussion
topic page will appear. From this page, instructors have the ability to publish
or retract all or multiple scores simultaneously by first selecting the checkbox to the left of the students’ names.

i. Then
select either Publish Feedback or Retract Feedback above the
student list.
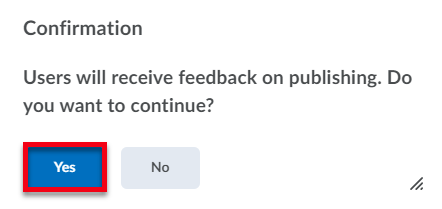
ii. If
publishing feedback, a confirmation pop-up window will appear asking if you are
sure if you want to publish all scores. Select Yes if you are sure. Note: Once the grade is published or
updated, students will receive an instant notification to their SEU email
account that their assignment has been graded.
iii. If
retracting feedback, a confirmation pop-up window will appear asking if you are
sure if you want to retract feedback. Select Yes if you are sure. Note:
The student’s previously published scores will be removed from the gradebook
and drafted in the discussions assess topic page.