MyFIRE
has the capability to track student attendance within the platform. Attendance
is tracked through registers that are created in the course. However, it is
recommended that instructors first set up the desired attendance scheme before
creating attendance registers to track attendance. Please refer to the Create
an Attendance Scheme tutorial to learn how to create an attendance scheme. This
tutorial demonstrates how to create an attendance register and track attendance
in MyFIRE.
1. Locate
the desired course in MyFIRE.
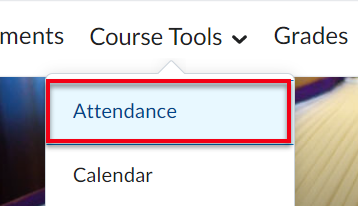
2. Select
the course tools tab from the navigation bar.
3. A
drop-down menu will appear. Select attendance.
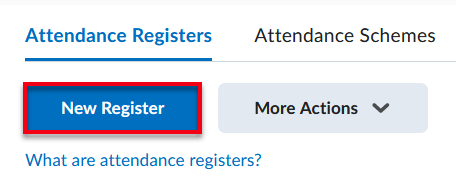
4. Select new register.
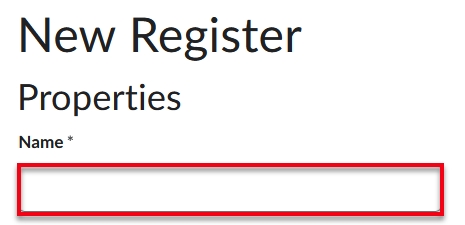
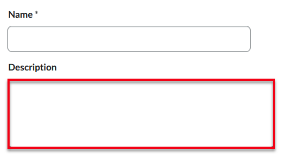
5. Title
the attendance register the name field.
6. Type
a description if desired.
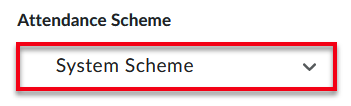
7. Select
an attendance scheme from the available options in the drop-down menu. A
scheme determines the available symbols for attendance recording as well as how
much of a percentage they are worth for determining a participant's score (i.e.
Present “P” = 100%).
a. Sample schemes will be
available from the Organizational Scemes and are available for
use.
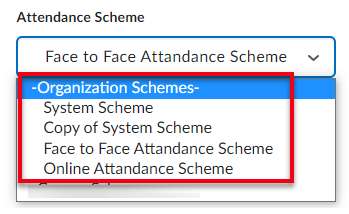
b. Instructors may also
create their own scheme by following the directions in the create an attendance
scheme tutorial. Any created schemes will appear under Course Schemes within the attendance scheme drop-down menu.

8. Next,
set a percentage for the cause for concern by typing the percentage
number based upon your discretion. For example, 85% is typed as 85. The cause
for concern will determine how many sessions you will allow students to miss
based on the number of sessions and desired attendance scheme. Note: If
a student falls below the desired cause for concern percentage, the student
should be contacted for intervention.

9. If
desiring students to view the register and review their attendance records,
select the allow users to view this attendance register checkbox. This
option is selected by default and is recommended by ID&T.

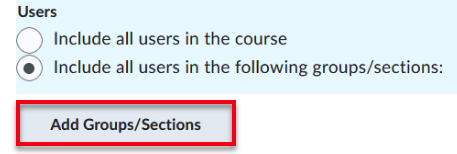
10. Choose
which user type can view the attendance register by selecting either include
all users in the course or include all users in the following
groups/sections.
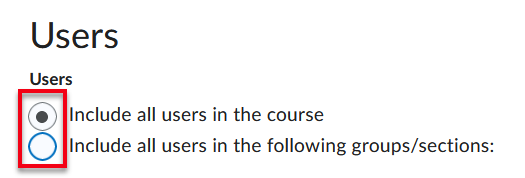
a. Include all users in
the course- This option will allow each user in the course to view the attendance
register. This is the default option.
b. Include all users in
the following groups/sections- This option allows only a designated group
of users in the course to view the register. Note: Groups must be
created in the course first in the groups tool to utilize the include all users
in the following groups option. If needed, refer to the create groups
tutorial.
i. If Include all users in
the following groups/sections is chosen, then select add groups/sections to choose the desired group of users who should view the register.
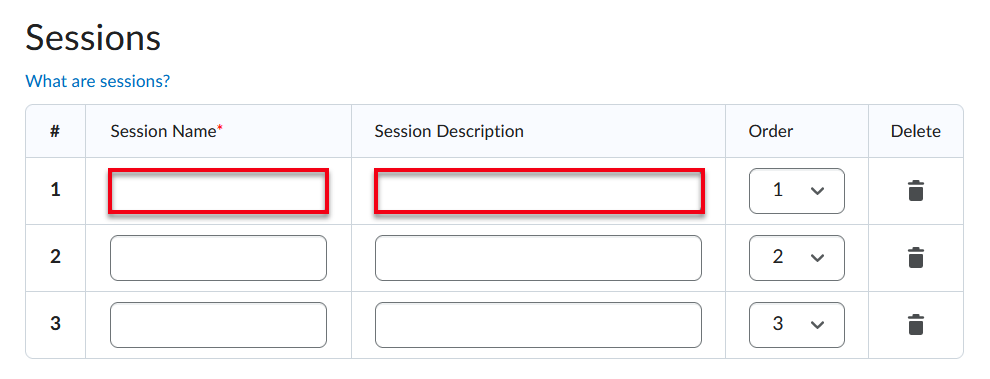
11. Next, title each attendance session in the Session Name column and provide a description for each session under the section description column (i.e., Name: 8/27,
Description: Class). Sessions are the components of an attendance register that
define one or more events to which the register applies. For example, if
wanting to track attendance for a weekly seminar, create a "Weekly
Seminar" register and then add sessions for each seminar (week 1, week 2,
week 3, etc.). Attendance data is tracked for each session and displayed
on the register's Attendance data page.
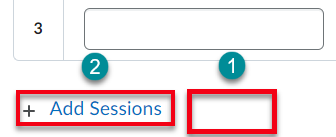
a. To add additional
sessions to the register, below the sessions table, enter the (1) number of
additional sessions desired and then select (2) add sessions.
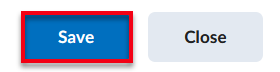
12. Once
done naming and adding sessions, select save at the bottom of the page.
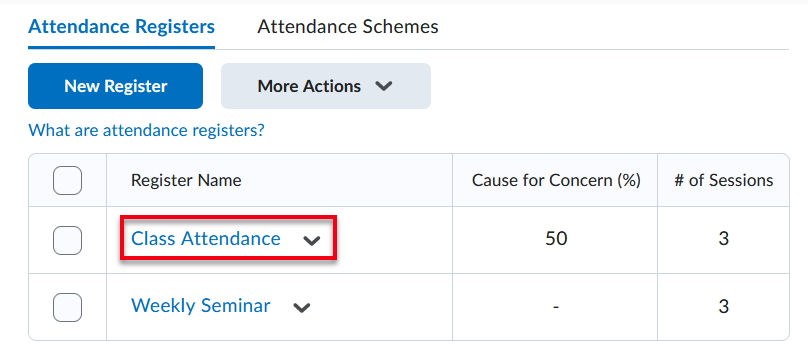
13. Once
ready to track attendance, select the title of the desired attendance
register.
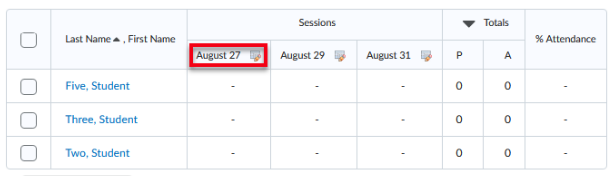
14. When
the register opens, locate the desired session and select the attendance
title and icon in the column header.
15. When
the page refreshes, to the right of each student’s name, select the desired
status for each student from the attendance status drop-down menu. The selections available will be based on the attendance scheme
selected in step 7 (i.e., P for Present or A for Absent).


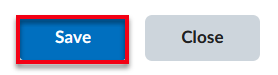
16. Select Save.
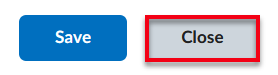
17. Then
select Close.
18. Review
the students' attendace scores in the % Attendance Column. If
students’ attendance records are falling below the cause for concern threshold
that was selected in step 8, the % Attendance column will show an alert icon and the students’ attendace score in red. It is highly recommended to
reach out to any student falling below the cause for concern threshold for
intervention.

19. If
the course includes an attendance grade item, then the total percentage
attendance score can be manually entered into the gradebook. Please refer to
the manually enter grades tutorial.
20. Once
done reviewing the attendance, select done at the bottom of the page.