Creator+ allows instructors and course creators to build
engaging and interactive learning materials directly in Brightspace, improving
engagement and simplifying grading and reporting. By leveraging existing
workflows with easy-to-use tools, users can build dynamic content and media
experiences that appeal to the love of learning, improve comprehension, and
achieve high engagement for instructors and learners.
Creator+ Insert Practice allows instructors to create
formative and interactive learning activities to let learners test their
comprehension and get immediate feedback on their understanding of a topic
outside of a formal assessment. This tutorial demonstrates how to build
Creator+ Practices on the Content & Assessments page.
1. Navigate to the Content and Assessments page.
2. Locate the module in which you would like to
create the content.

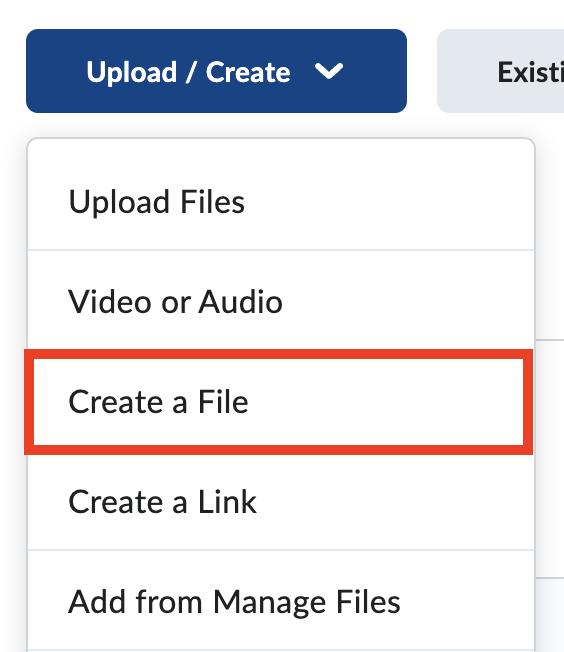
3. Select Upload/Create.

4. Select Create a File.
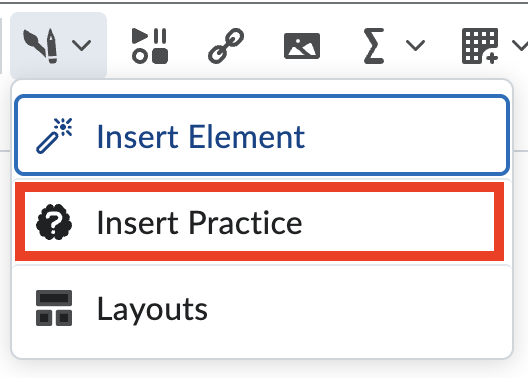
5. In the MyFIRE Editor textbox, select the
Creator+ icon.
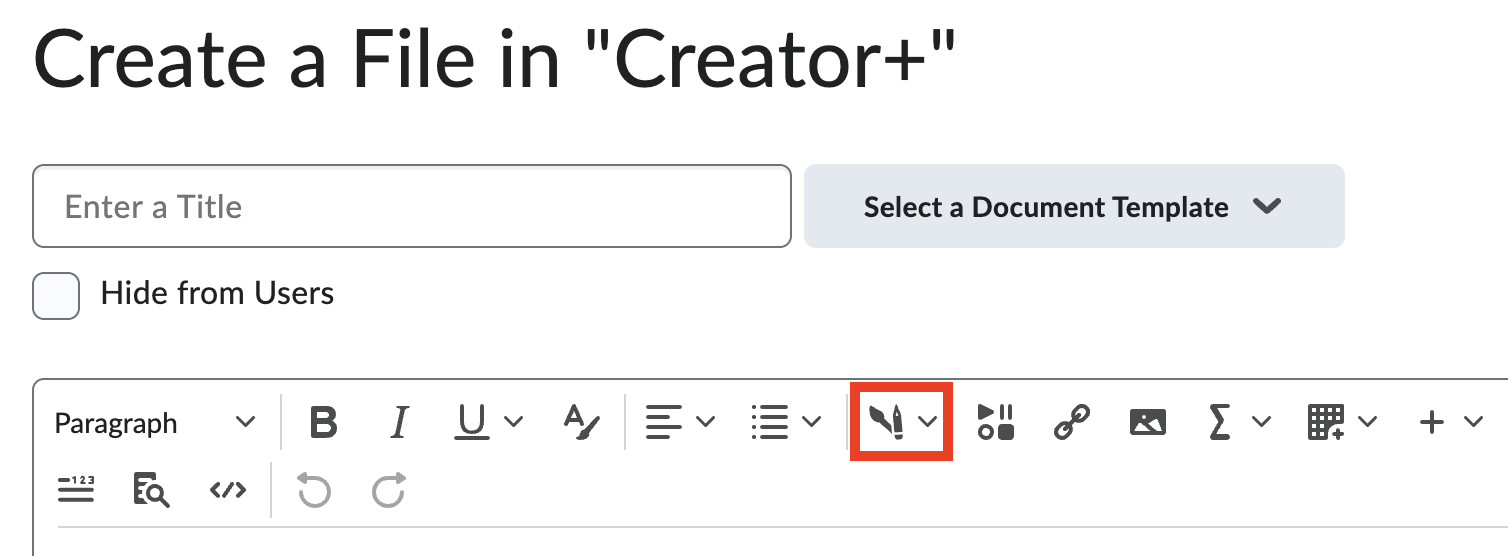
6. Select Insert Practice. Then select an option
from the following:
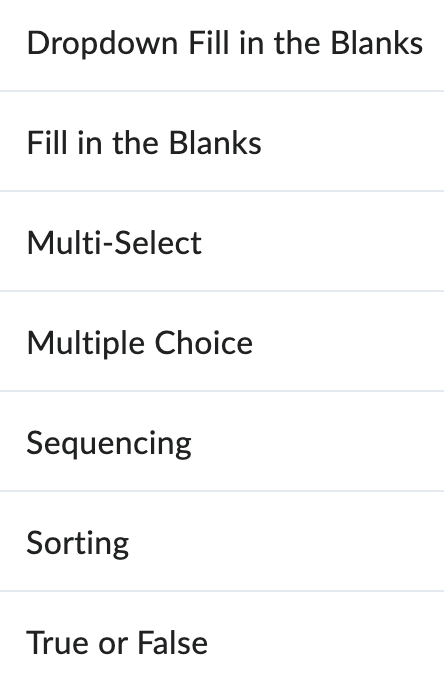
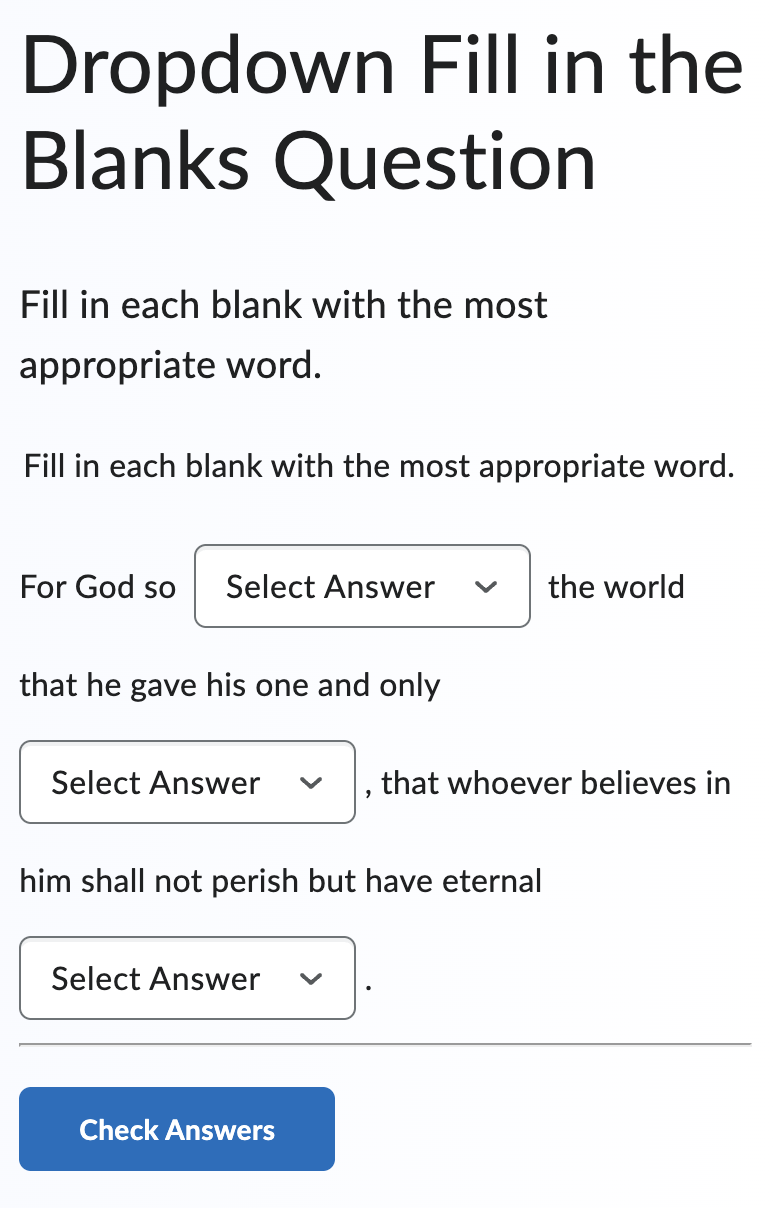
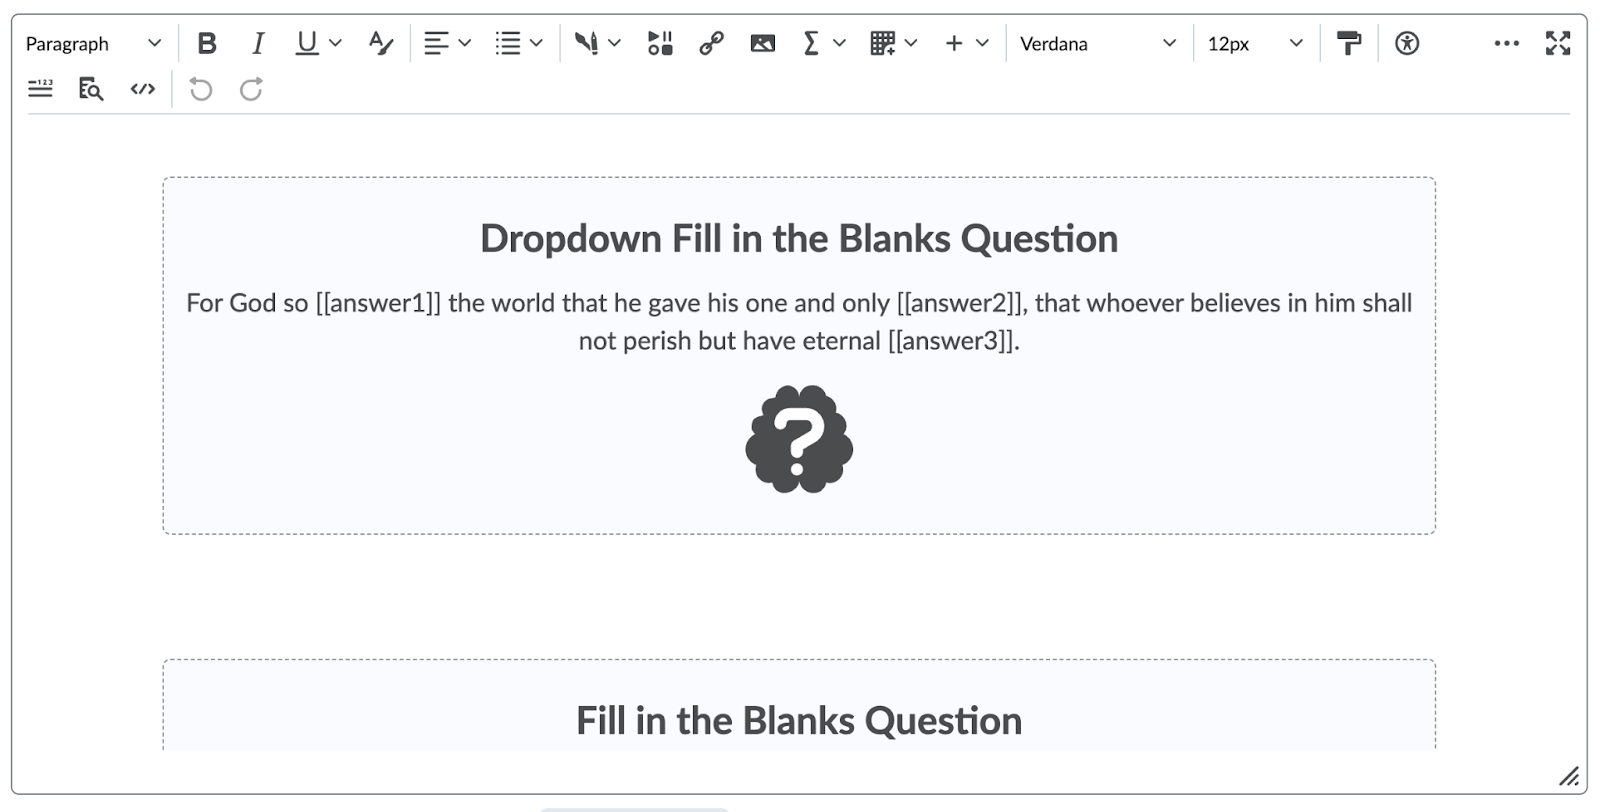
a. Dropdown Fill in the Blanks

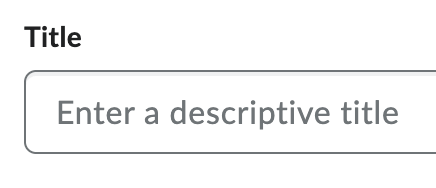
i. Add a Title.
ii. Add a Short Description. This text will not
display in the learner view, it will only appear for the instructor to assist
when editing the Practice. We recommend putting the Practice question in this
field for easy identification.

iii. Add Instructions for the Practice.

iv. Add question text. To format the blanks, type
any word and a number inside double square brackets, for example [[option1]].

v. Select Update Blanks.

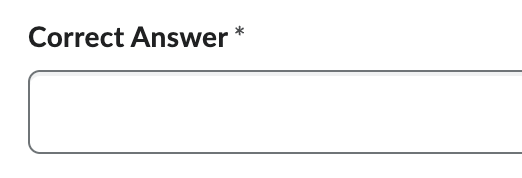
vi. Enter the correct answer for each blank in the
corresponding field.
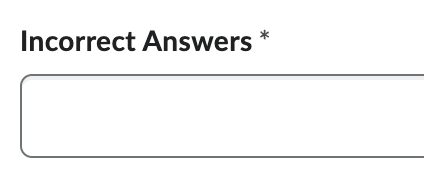
vii. Enter the incorrect answer to include in the
drop-down in the corresponding field.
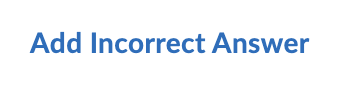
viii. Select Add Incorrect Answer to add an additional
incorrect answer.
ix. Delete an incorrect answer by selecting the
trash can icon.

x. Decide how this Practice will be scored by
selecting the ‘How will this practice be scored?’ drop-down menu.
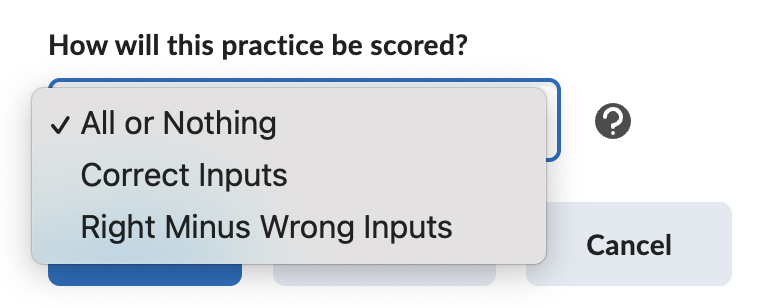
1. All or Nothing - the question is scored out of
one. The learner receives one point if they provide all correct responses or
zero if they provide one or more incorrect responses
2. Correct Inputs - the question is scored based on
the number of blanks. The learner receives one point for each correct response
they provide.
3. Right Minus Wrong Inputs - the question is
scored based on the number of blanks. The learner receives one point for each
correct response they provide. One point is deducted for each incorrect
response they provide to a minimum score of zero
xi. Preview the Practice on the right side of the
screen or select Preview to view in a new window.

xii. Select Insert.

xiii. Once the Practice has been saved, the page will
refresh. Select the ‘x’ located in the top right corner to return to the MyFIRE
Editor.
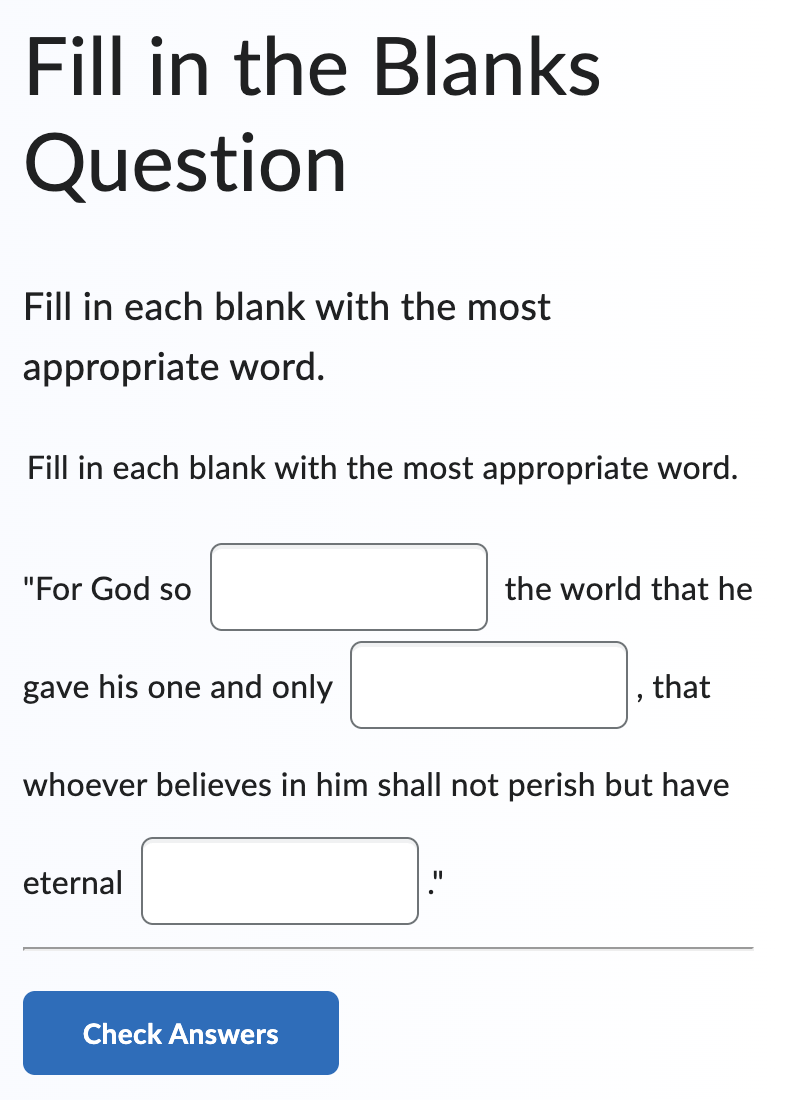
b. Fill in the Blanks
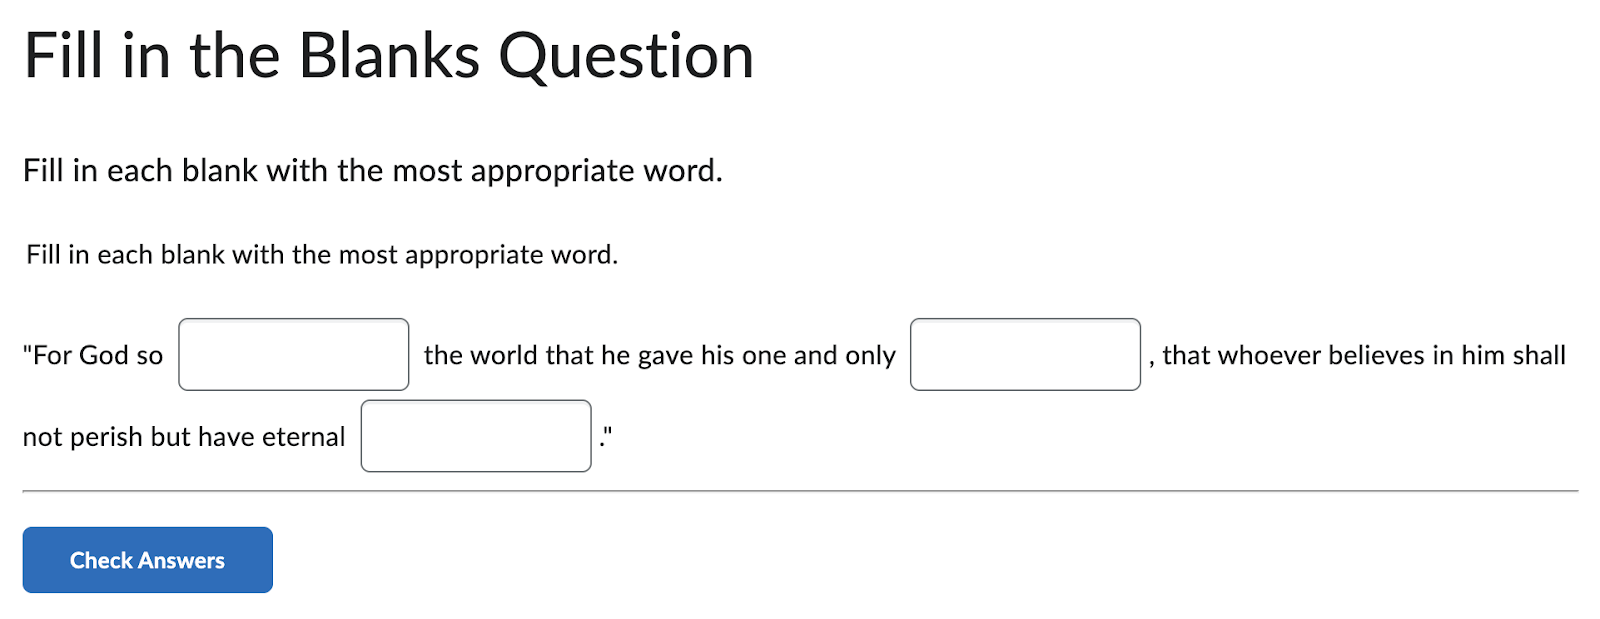
i. Add a Title.
ii. Add a Short Description. This text will not
display in the learner view, it will only appear for the instructor to assist
when editing the Practice. We recommend putting the Practice question in this
field for easy identification.
iii. Add Instructions for the Practice.
iv. Add question text. To format the blanks, type
any word and a number inside double square brackets, for example [[option1]].
v. Select Update Blanks.
vi. Enter the correct answer for each blank in the
corresponding field.
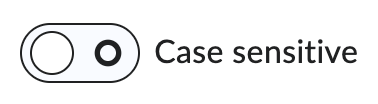
vii. Toggle the Case Sensitive option to ON if you
would like the answer to be case sensitive.
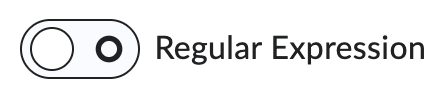
viii. Toggle the Regular Expression option to ON if
you would like to use regular expressions.
ix. Select Add Alternative Answer to provide
additional correct answers.

x. Decide how this Practice will be scored by
selecting the ‘How will this practice be scored?’ drop-down menu.
1. All or Nothing
2. Correct Inputs
3. Right Minus Wrong Inputs
xi. Preview the Practice on the right side of the
screen or select Preview to view in a new window.
xii. Select Insert.
xiii. Once the Practice has been saved, the page will
refresh. Select the ‘x’ located in the top right corner to return to the MyFIRE
Editor.
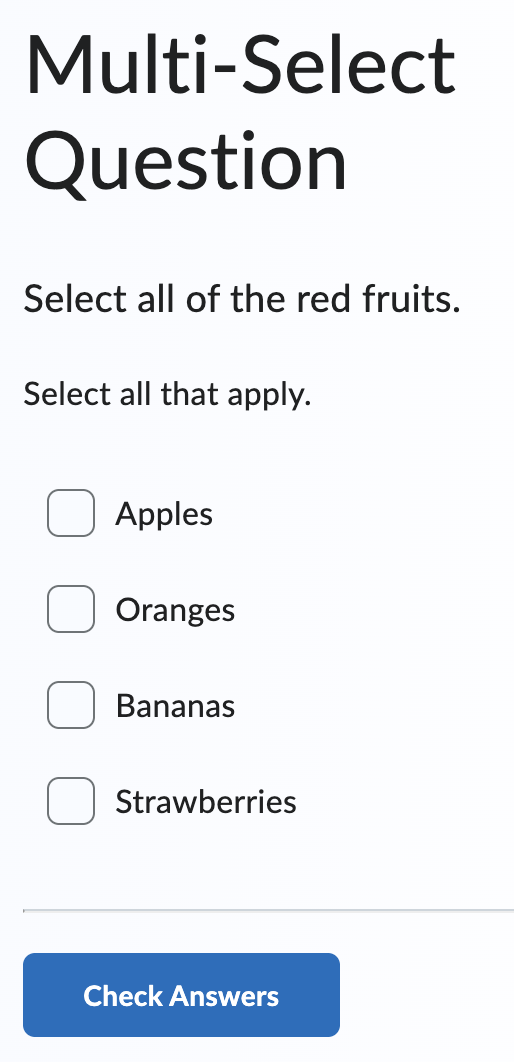
c. Multi-select
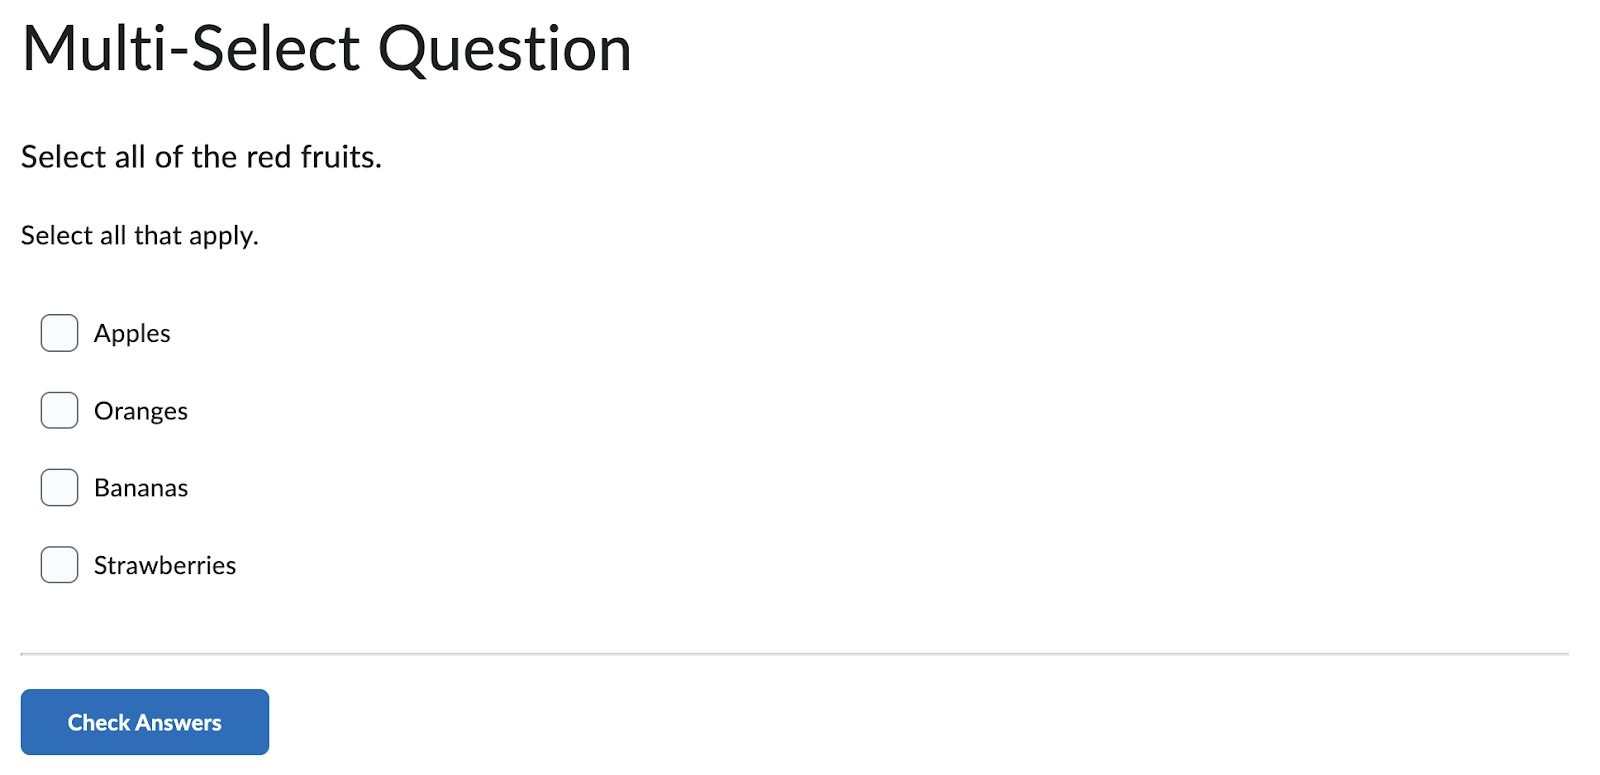
ii. Add a Short Description. This text will not
display in the learner view, it will only appear for the instructor to assist
when editing the Practice. We recommend putting the Practice question in this
field for easy identification.
iii. Add Question Text.
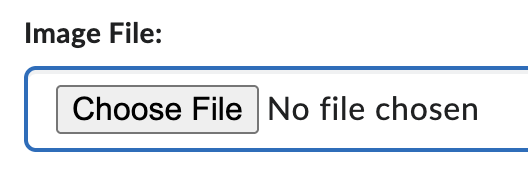
iv. If desired, select Add Image to add an image to
the question.

1. Select Choose File to locate the file on your
computer.
2. Provide alternative text for the image. This
text should convey the same information as the image.
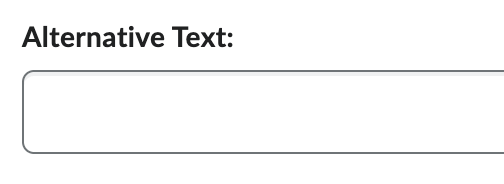
3. If the image does not convey any information,
select the "This image is decorative" checkbox.
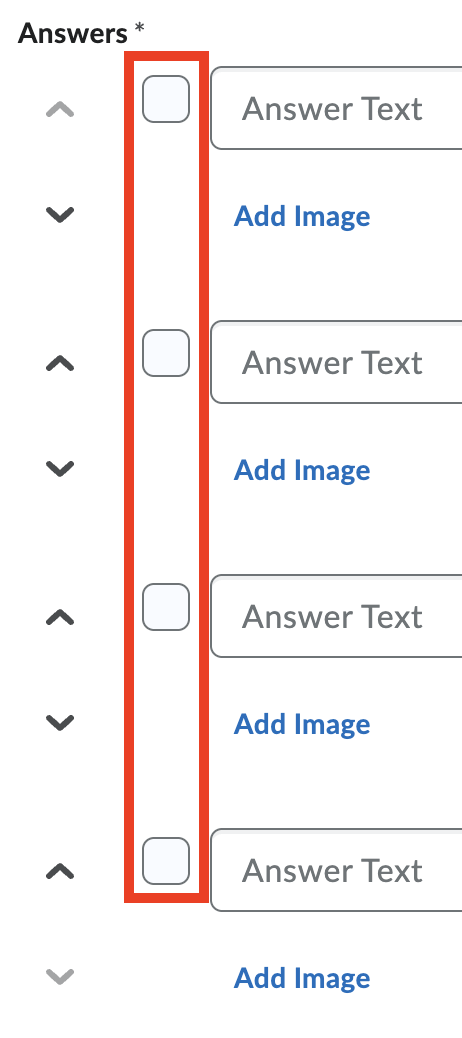
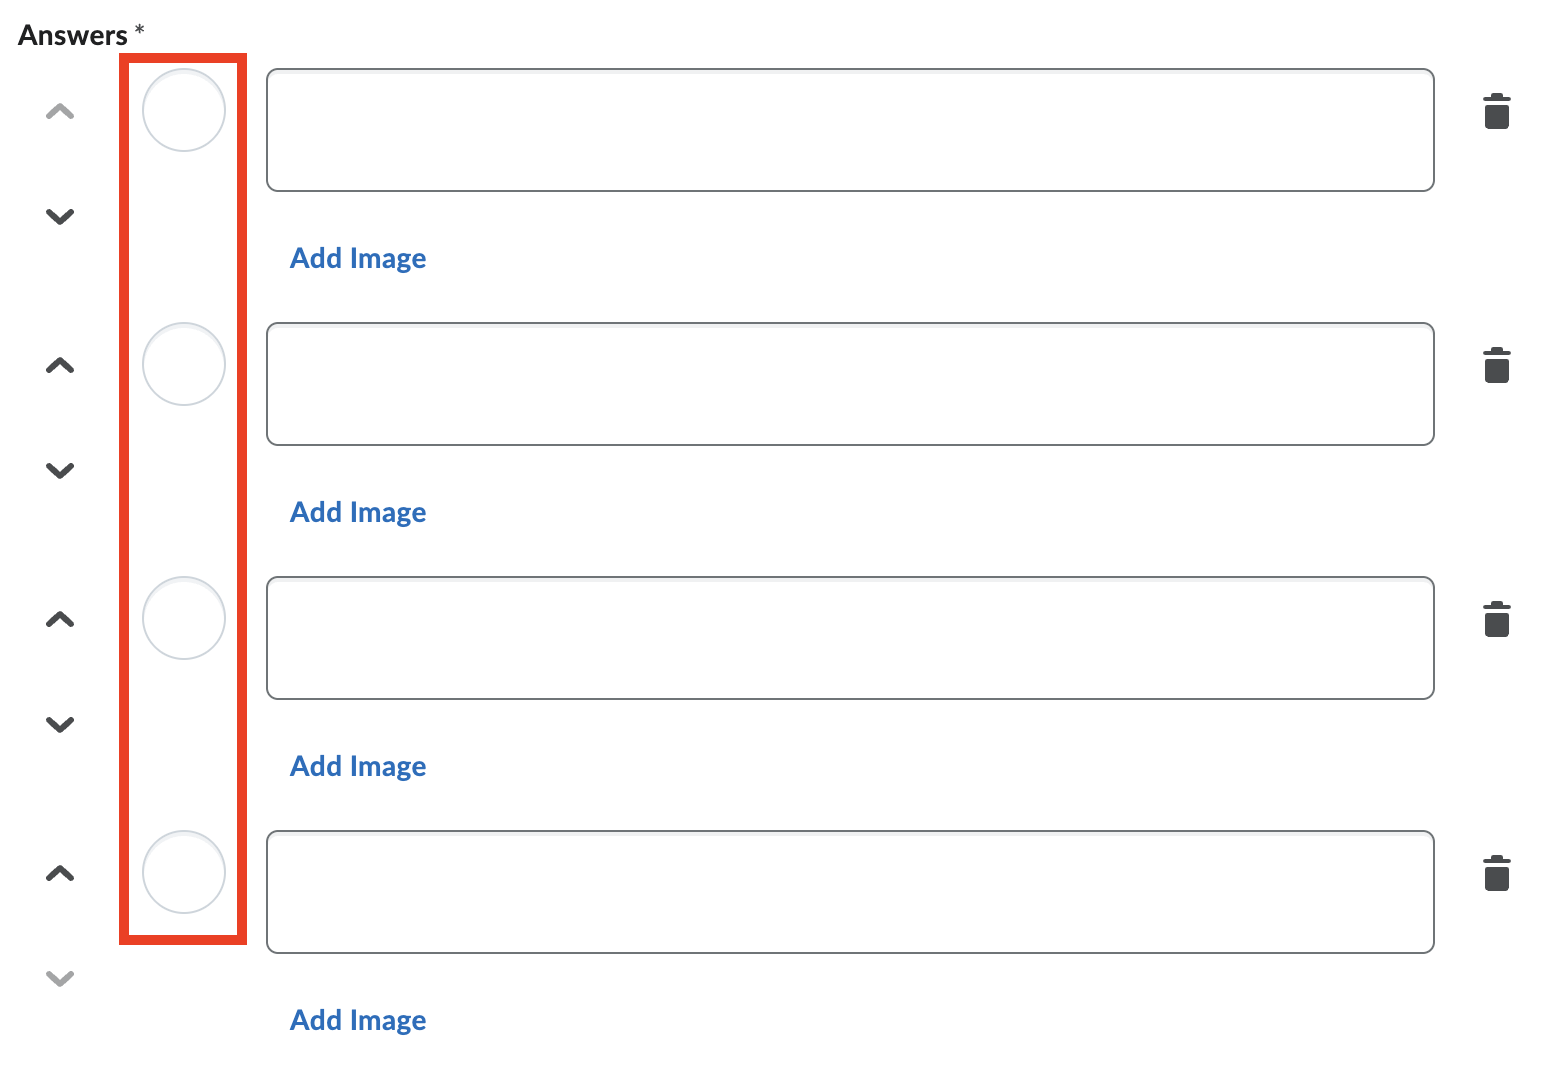
v. Enter possible question answers in the Answers
field.

vi. Add an image to an answer by selecting Add
Image.
vii. Reorder the Answers by selecting the up and down
arrows.
viii. Select Add Answer to add additional answer
options.
ix. Delete an answer option by selecting the trash
can icon.
x. Indicate which answers are correct by selecting
the checkboxes next to the correct answers.
xi. If desired, select the Randomize answer order
checkbox.
xii. Decide how this Practice will be scored by
selecting the ‘How will this practice be scored?’ drop-down menu.
1. All or Nothing
2. Correct Inputs
3. Right Minus Wrong Inputs
xiii. Preview the Practice on the right side of the
screen or select Preview to view in a new window.
xiv. Select Insert.
xv. Once the Practice has been saved, the page will
refresh. Select the ‘x’ located in the top right corner to return to the MyFIRE
Editor.
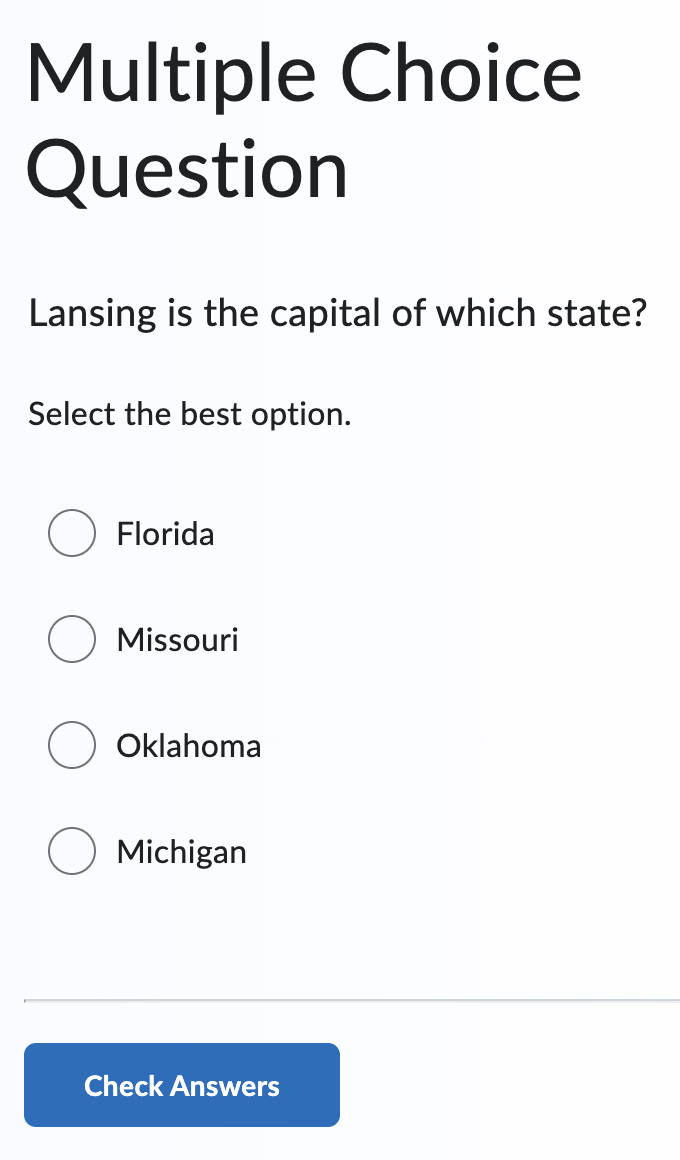
d. Multiple Choice
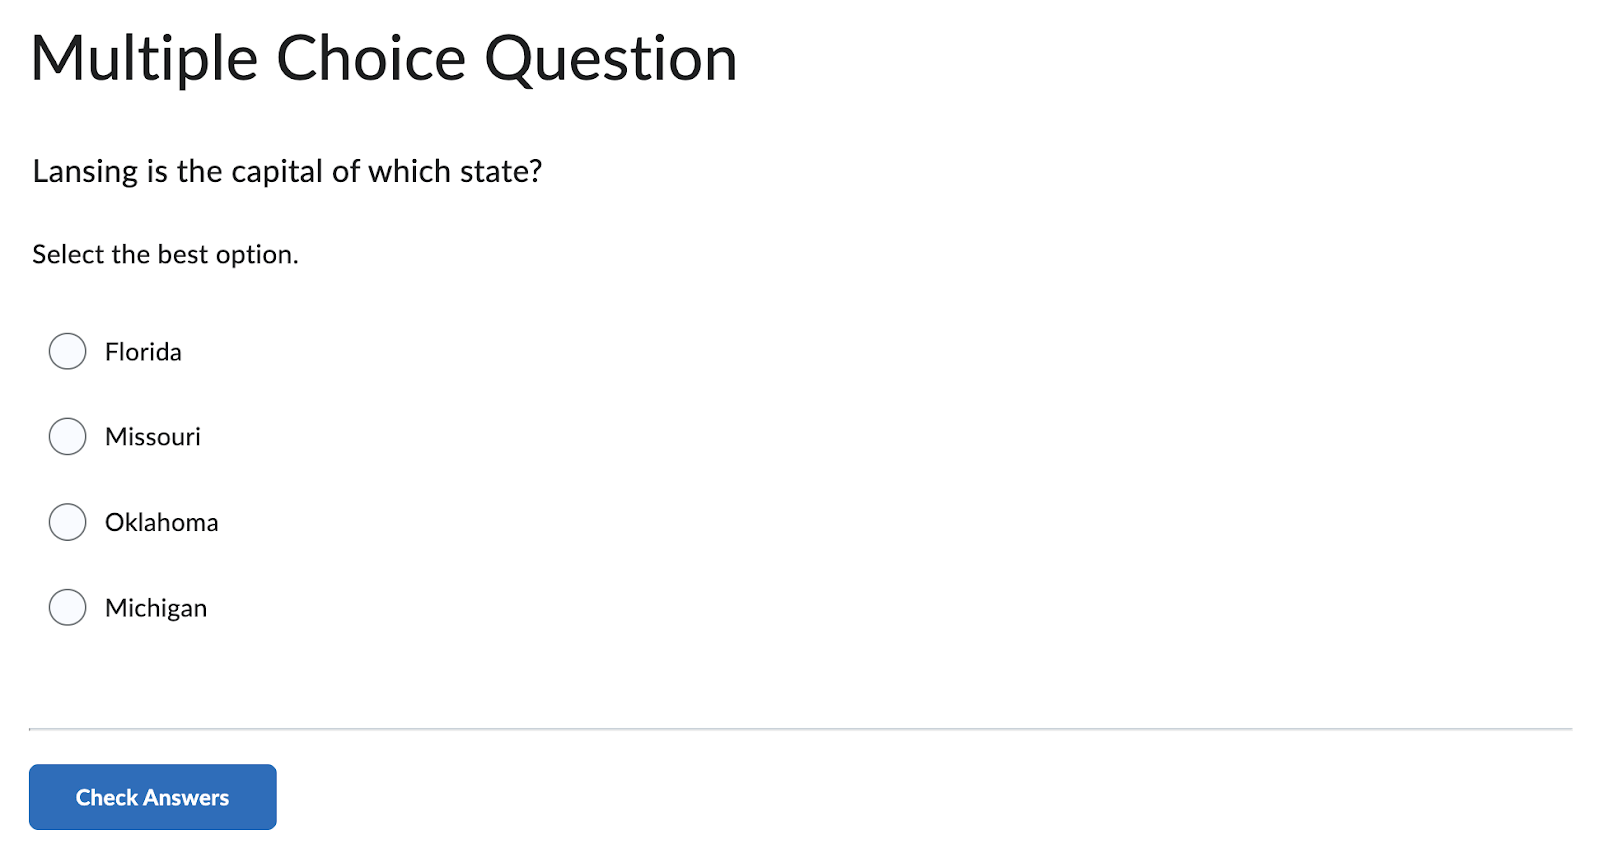
i. Add a Title.
ii. Add a Short Description. This text will not
display in the learner view, it will only appear for the instructor to assist
when editing the Practice. We recommend putting the Practice question in this
field for easy identification.
iii. Add Question Text.
iv. If desired, select Add Image to add an image to
the question.
v. Enter possible question answers in the Answers
field.

vi. Add an image to an answer by selecting Add
Image.
vii. Reorder the Answers by selecting the up and down
arrows.
viii. Select Add Answer to add additional answer
options.
ix. Delete an answer option by selecting the trash
can icon.
x. Indicate which answer is correct by selecting
the checkbox next to the correct answer.
xi. If desired, select Randomize answer order.
xii. Preview the Practice on the right side of the
screen or select Preview to view in a new window.
xiii. Select Insert.
xiv. Once the Practice has been saved, the page will
refresh. Select the ‘x’ located in the top right corner to return to the MyFIRE
Editor.
e. Sequencing
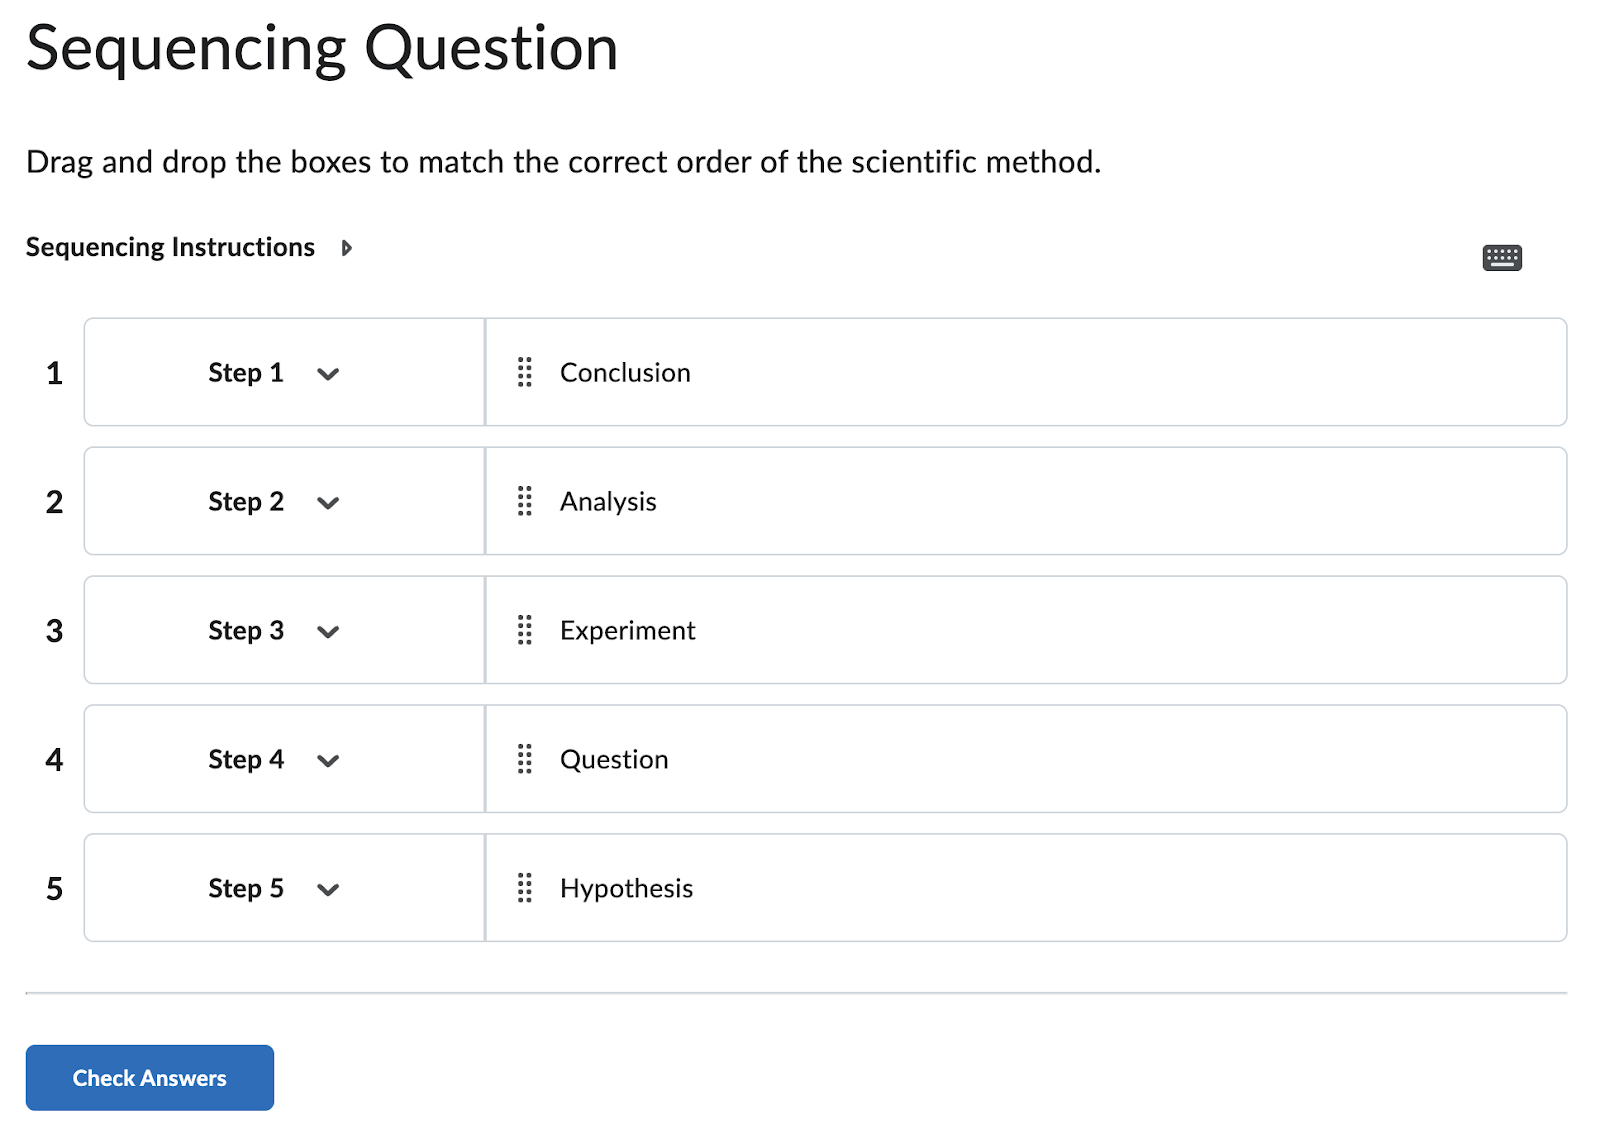
i. Add a Title.
ii. Add a Short Description. This text will not
display in the learner view, it will only appear for the instructor to assist
when editing the Practice. We recommend putting the Practice question in this
field for easy identification.
iii. Add Instructions for the Practice.
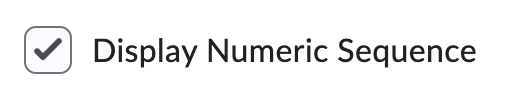
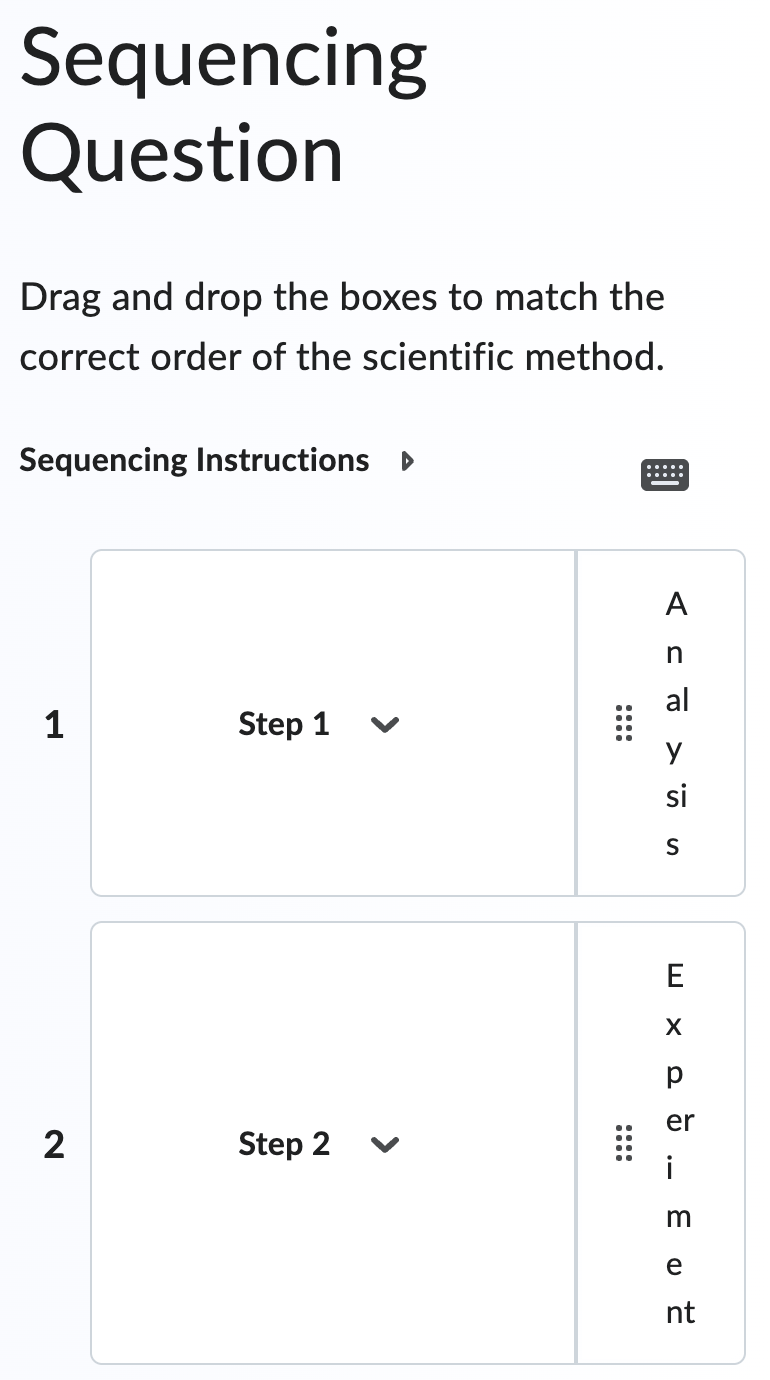
iv. Decide if you would like to display the numeric
sequence for each step by selecting the corresponding checkbox.
v. Rename the Sequence Steps and Sequence Items.

vi. Add an image to a Sequence Step or Sequence Item
by selecting Add Image under each.
vii. Reorder the Sequence Steps by selecting the up
and down arrows.
viii. Add a Sequence Step by selecting Add Sequence
Step.

ix. Delete a Sequence Step by selecting the trash
can icon.
x. Preview the Practice on the right side of the
screen or select Preview to view in a new window.
xi. Select Insert.
xii. Once the Practice has been saved, the page will
refresh. Select the ‘x’ located in the top right corner to return to the MyFIRE
Editor.’
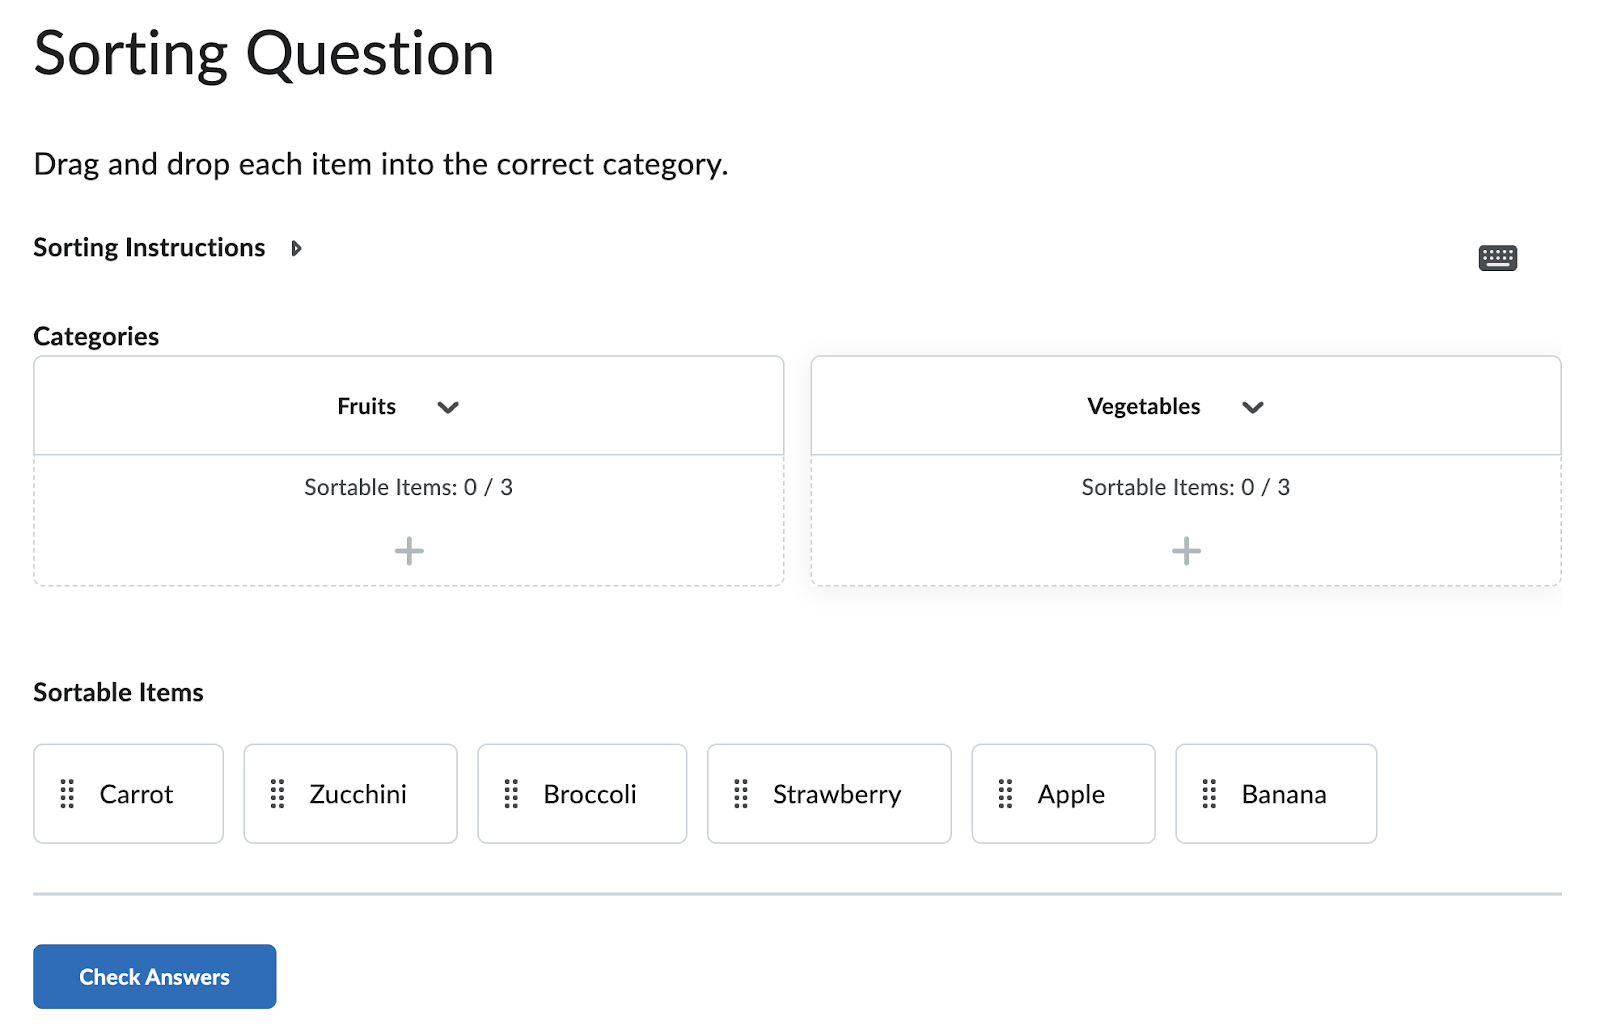
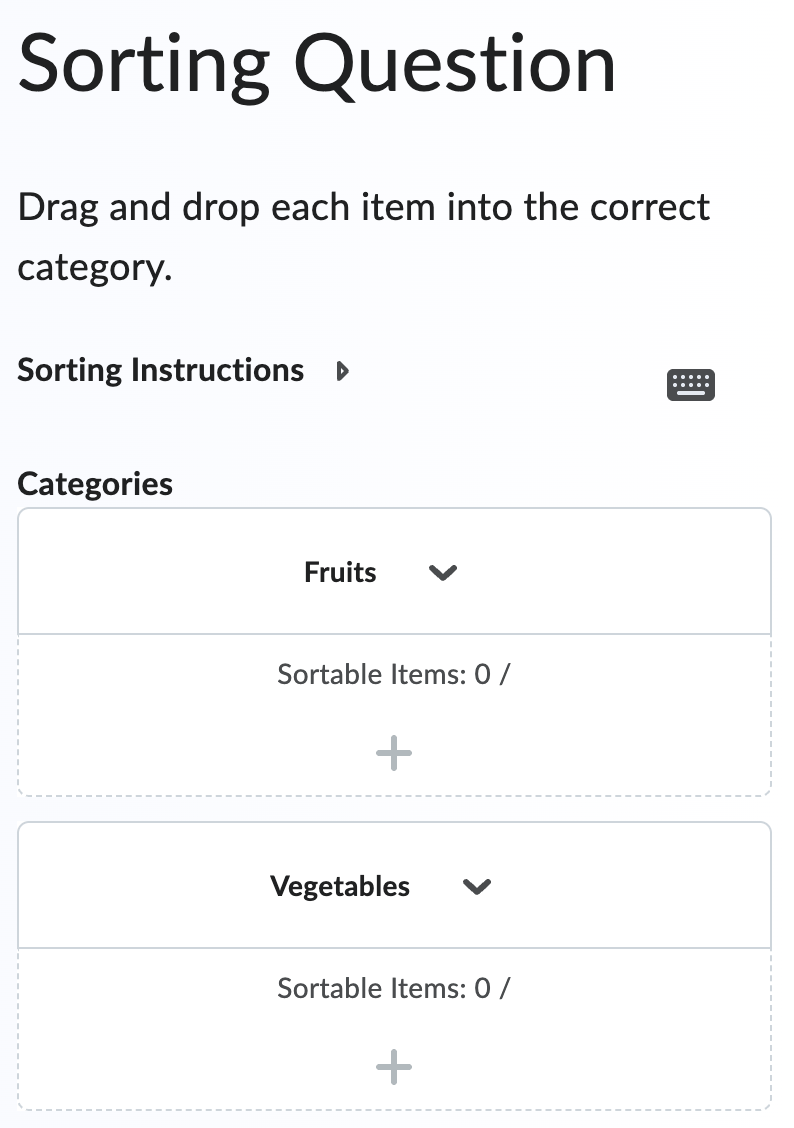
f. Sorting
i. Add a Title.
ii. Add a Short Description. This text will not
display in the learner view, it will only appear for the instructor to assist
when editing the Practice. We recommend putting the Practice question in this
field for easy identification.
iii. Add Instructions for the Practice.
iv. Decide if you would like to display the item
count per category by selecting the corresponding checkbox.

v. Add titles for the categories.
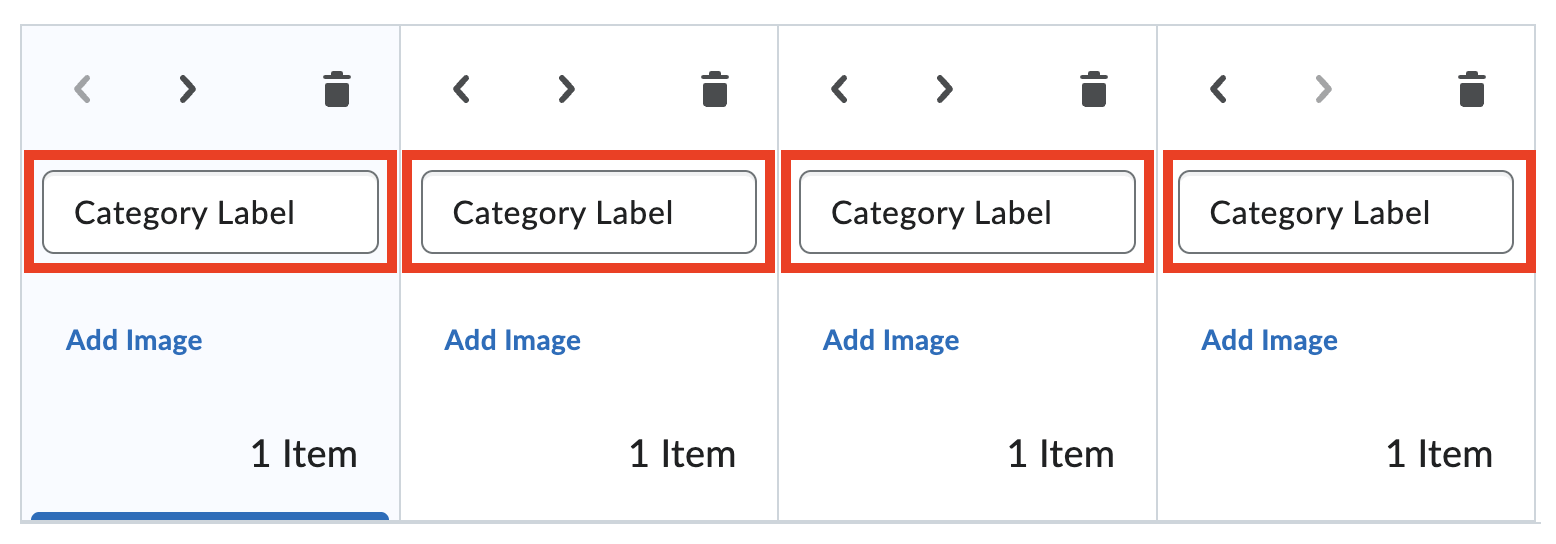
vi. If desired, add an image to a category by
selecting Add Image.
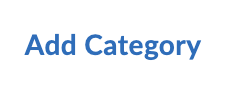
vii. Select Add Category to add an additional
category.
viii. Delete any unwanted categories by selecting the
trash can icon.
ix. Reorder the categories by selecting the left and
right arrows.
x. Select a category to add its sortable items.
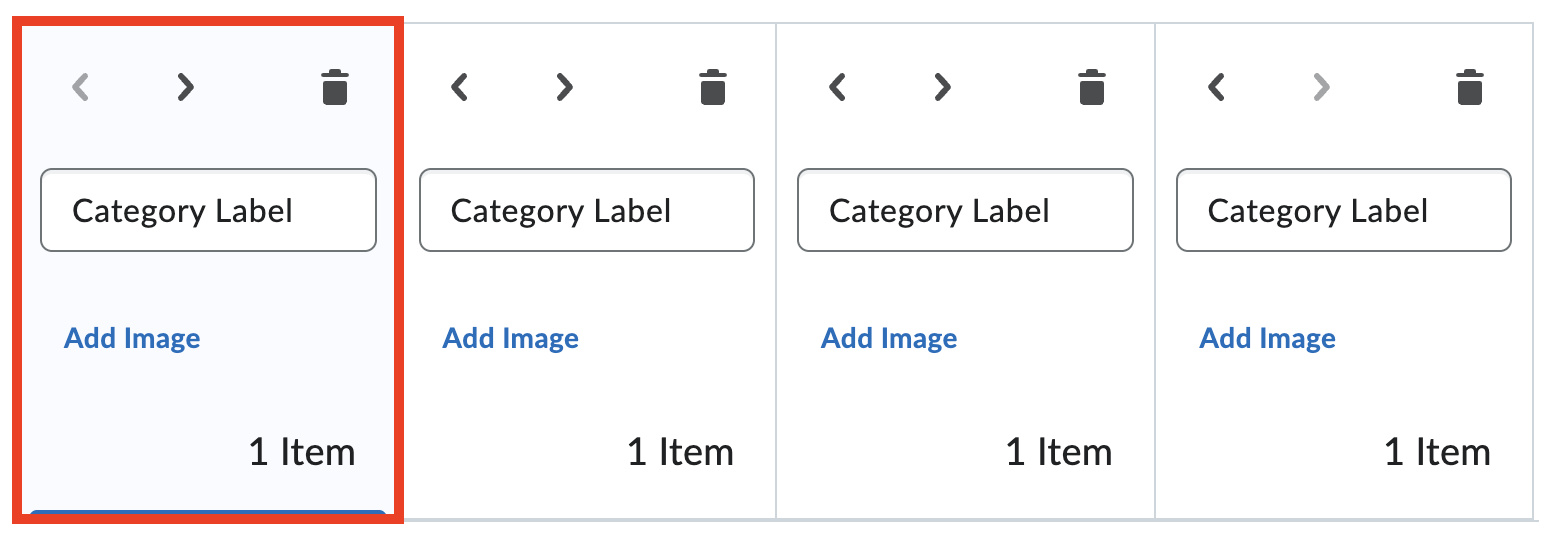
xi. Title each item.

xii. Add an image to an item by selecting Add Image.
xiii. Select Add Sortable Item to add additional
items.
xiv. Delete any unwanted items by selecting the trash
can icon.
xv. Reorder the items by selecting the up and down
arrows.
xvi. Preview the Practice on the right side of the
screen or select Preview to view in a new window.
xvii. Select Insert.
xviii. Once the Practice has been saved, the page will
refresh. Select the ‘x’ located in the top right corner to return to the MyFIRE
Editor.
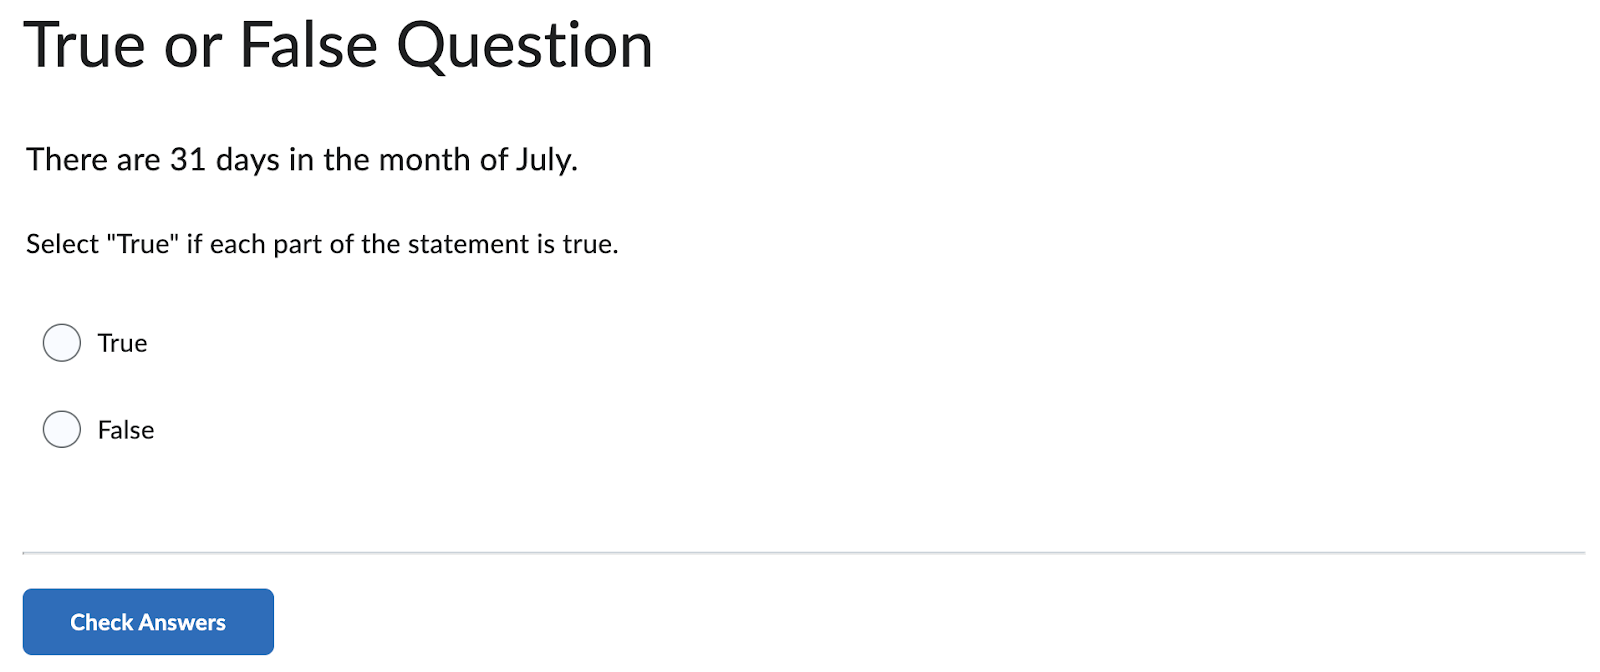
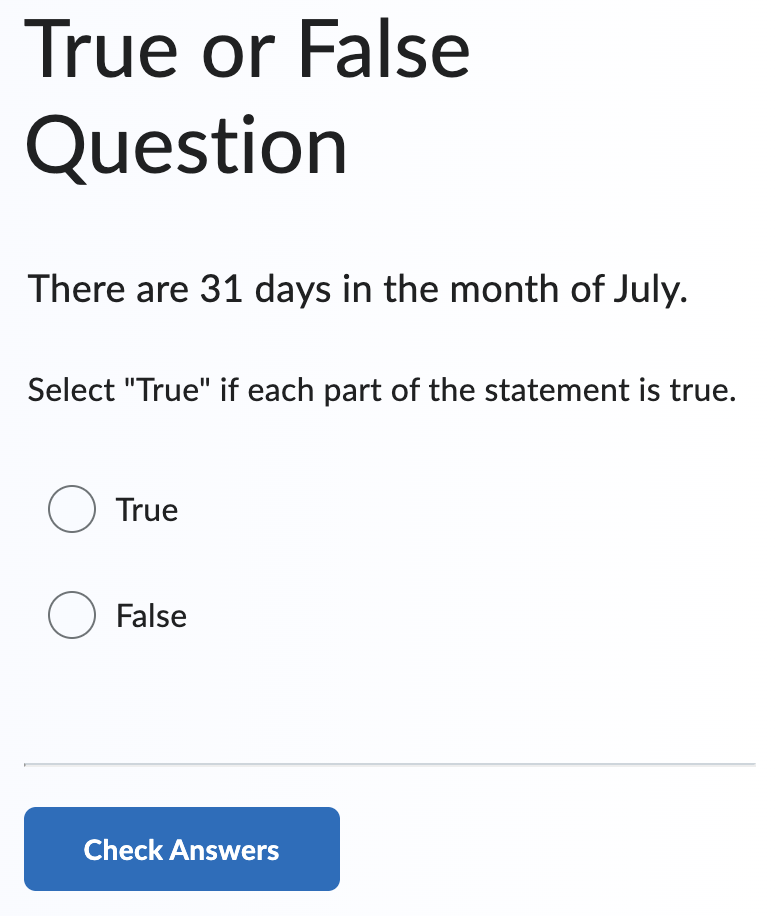
g. True or False
i. Add a Title.
ii. Add a Short Description. This text will not
display in the learner view, it will only appear for the instructor to assist
when editing the Practice. We recommend putting the Practice question in this
field for easy identification.
iii. Add Question Text.
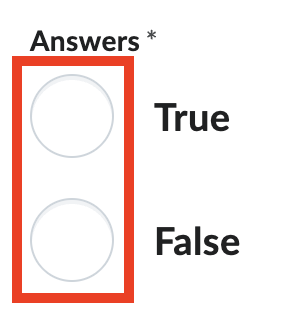
iv. Indicate if the answer to the question is true
or false by selecting the corresponding checkbox.
v. Preview the Practice on the right side of the
screen or select Preview to view in a new window.
vi. Select Insert.
vii. Once the Practice has been saved, the page will
refresh. Select the ‘x’ located in the top right corner to return to the MyFIRE
Editor.
7. Once you have added a Practice, add titles,
descriptions, or more information in the MyFIRE Editor textbox to provide
context for the practice activity you have added.
Note: The practices will not appear in the
editor textbox exactly as they will appear for students.
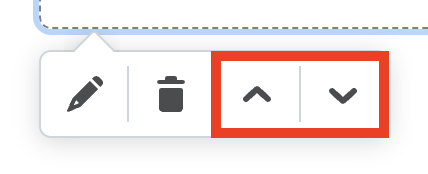
8. Select a Practice to access additional options.

a. Select the pencil icon to edit the Practice.
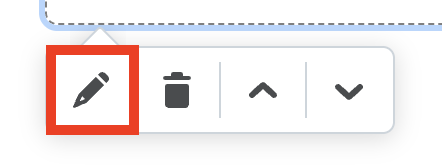
b. Select the trash can icon to delete the
Practice.

c. Select the up and down arrows to reorder the
content.