Course
Builder enables you to build a course outline, create and edit course materials
and assignments, and manage grades all from one central location using a drag
and drop interface, allowing you to visualize and review your entire course at
once while building the course.
As
you build your course, Course Builder interacts with the following MyFIRE
tools:
· Content
· Manage Files
· Discussions
· Assignments
· Quizzes
· Grades
As
you build your course outline with modules and placeholders, you can add notes
to each module and placeholder summarizing your course goals and learning
objectives. When you are ready, populate your outline by creating appropriate
content and activities within Course Builder. This tutorial demonstrates how to
design and outline a course utilizing the course builder tool in MyFIRE.
1. Navigateto the desired course in MyFIRE.
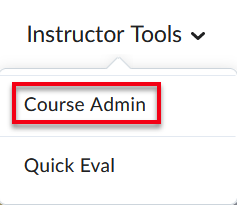
2. Select
the Instructor Tools tab at the top of the page.

3. Then
select Course Admin from the drop-down menu.
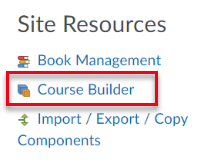
4. Select Course Builder from the Site Resources tools.
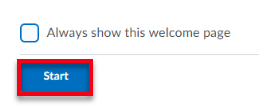
5. When
the page refreshes, select start at the bottom of the page.
6. When
the page refreshes, the Course Builder user interface will appear. It consists
of three sections: (A) the toolbox, (B) the course tree, and (C) the
selected panel.
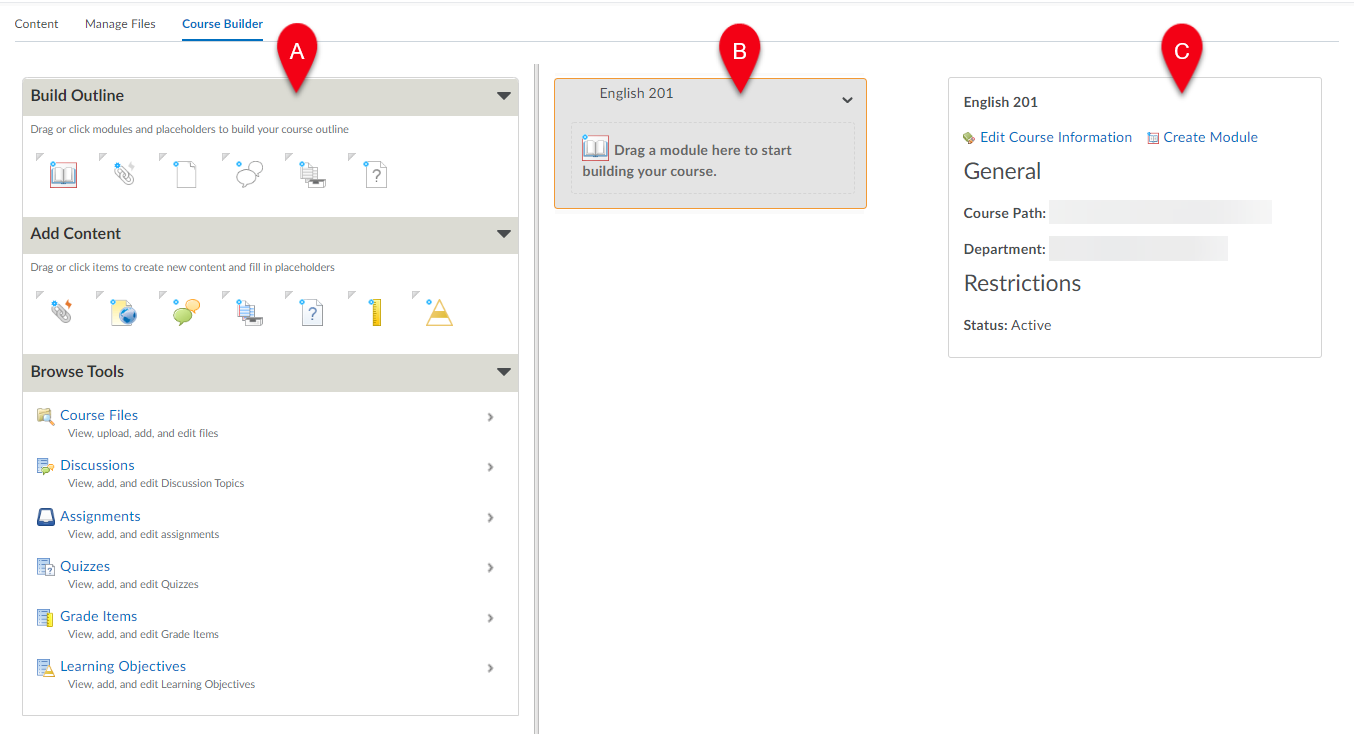
7. The
Build Outline area within the toolbox provides module and placeholder elements
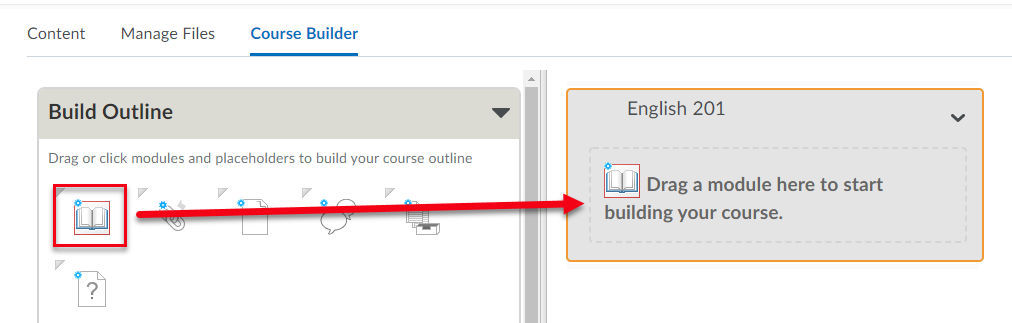
that can be added to create the course outline. To begin building your course
outline, select create a module from the build outline area and drag and
drop it into the course tree area in the middle of the page. The course tree
displays the hierarchy of your course content as a series of nested modules,
placeholders, or objects. Note: Each placeholder or object in the
course tree includes an icon indicating its type. This can help you to see
what's in your course at a glance.
a. A pop-up window will
appear. Enter a title in the name field.

b. Then add notes in the editor textbox. If needed, refer to the MyFIRE Editor tutorial for
directions on how to utilize the editor. Note: Students are not able to
see the notes that are created.

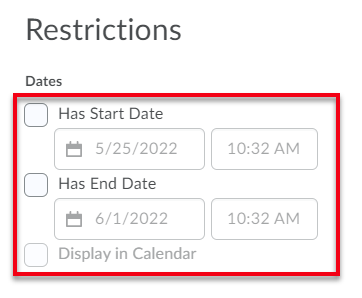
c. If desired, add start and end dates if desiring to hide the content from students’ view until
or after a certain date. However, ID&T does not recommend adding start and
end dates because adding start dates would create a time restricted flow of
access. If any students fall behind and/or wants to work ahead of schedule,
they would need special access for each restricted item (content and/or
assessments).
d. Select create at
the bottom of the pop-up window.
e. Repeatthe process (steps
6-6d) to add as many modules as desired.
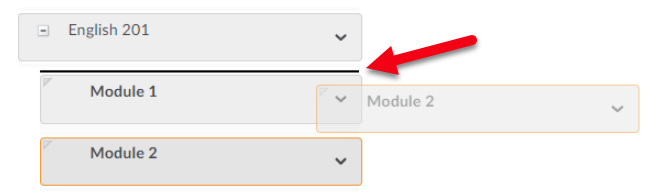
f. If needing to reorder
the modules, select and drag the module(s) to the desired location on
the course tree. The module that is outline in orange is the module that you
have selected.

i. When reordering the
modules, you are able to tell where you are placing the module that is being
moved. When a black line appears, the module will be moved to that
specific location in the course tree (before or after another module).
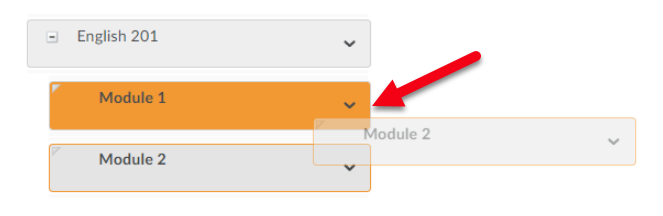
ii. When a module is
highlighted yellow, the module that is being moved will become a submodule of the module that is highlighted.
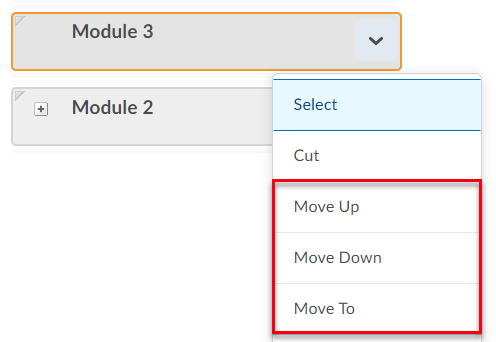
iii. As an alternative to
dragging and dropping modules in the desired locations, you may also select the drop-down arrow to the right of the module title.

1. Then select move up,
move down, or move to.
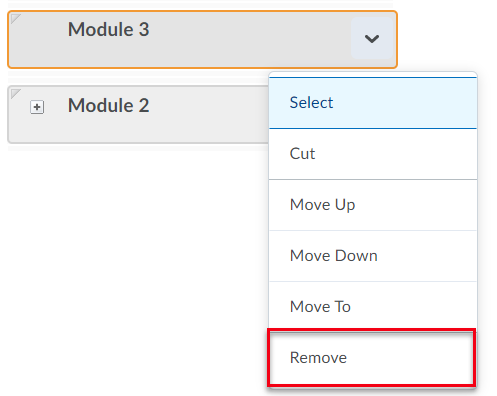
g. To delete a module,
select the drop-down arrow to the right of the module title.
i. Then select remove from the available options.
8. Then
drag and drop a link, file, discussion, assignment, and/or quiz placeholders
into the desired modules to create your course structure. This enables you to
plan out your lectures, discussion topics, assignments, tests, and other course
activities before actually creating them.

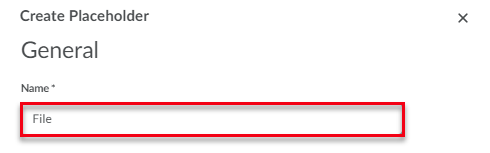
a. A pop-up window will
appear. Enter a title in the name field.
b. Then add notes in the editor textbox. If needed, refer to the MyFIRE Editor tutorial.

c. Select create at
the bottom of the pop-up window.
d. Repeatthe process (steps
7-7c) to add as many link, file, discussion, assignment, and/or quiz
placeholders as desired.
9. If
desiring to create placeholders for the content and assessments themselves in
the course, select and drag the create a link, HTML file (a web page),
discussion topic, assignment, quiz, and grade item objects from the Add
Content area into the desired placeholder.
Note:
ID&T highly recommends building the assessments through the tools
themselves (assignments, quizzes, and discussions) because the assessment
settings available through the Course Builder page are simplified, and
therefore, are missing advanced settings and features (such as adding rubrics,
creating group assessments, adding special access, release conditions, special
access, enabling Turnitin and Respondus, and more).
If
the course content includes integrated material, such as McGraw-Hill, Pearson,
Cengage, or Achieve, please contact idtsupport@seu.edu to ensure that the content has been properly setup and connected. Also, do not
select the Cengage icon if it appears in your course.

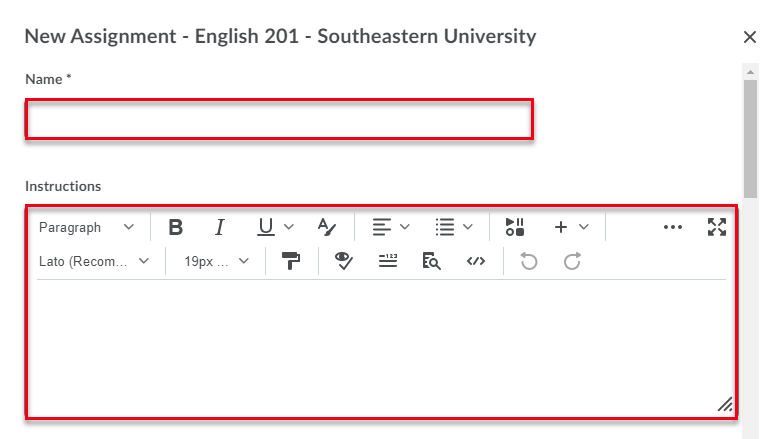
a. A
pop-up window will appear. Depending the type of content item or assessment
that was added, the required fields will change. Fill out the required
fields, including the title, instructions, attachments, max scores, grade
items, and availability dates.
b. Then
select create at the bottom of the pop-up window.
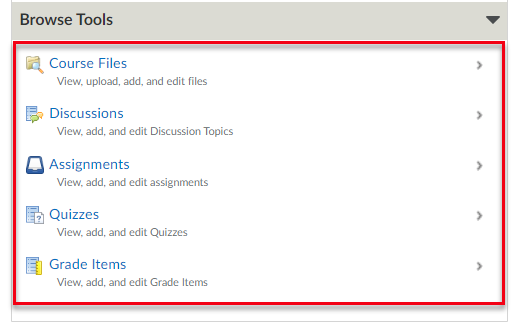
10. If
desiring to add assessments and/or content items that have already been created
in the course to the course tree, select either course files, discussions,
assignments, quizzes, or grade item from the Browse Tools area.
a. Once a tool has been
selected, the Toolbox area will change to show the available items that
has already been created for that specific tool.

Note: Only published assignments will appear in
the tool list.

i. To add the assessment
or content item to the course tree, select the item’s title.

ii. The Toolbox area will
then show the details of the specific assessment or content item. Review the
item details if needed, scroll down the page, and select add to course or add to object (for grade items and learning objectives) at the bottom
of the page.


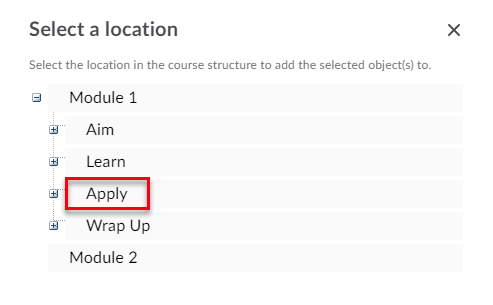
iii. A pop-up window will
appear. Choose the location that the assessment or content item should be
nested under in the course tree by selecting the gray plus boxes to the
left of the desired module and/or submodule.

iv. Select the module or
submodule title. The item will be added to the course tree.
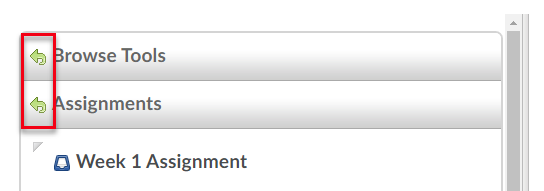
b. To navigate back to the
original Browse Tools area on the main page, select the green back arrow at the top of the Toolbox.
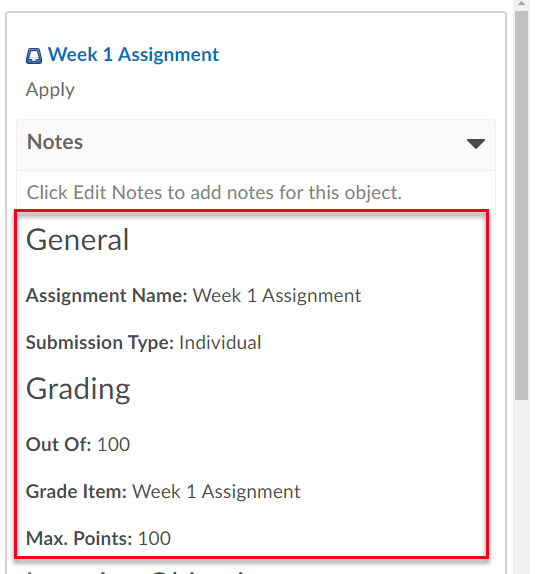
11. When
an item is selected from the course tree, the selected panel displays details
of the specific modules, placeholders, or objects and allows you to to perform
actions on that item.
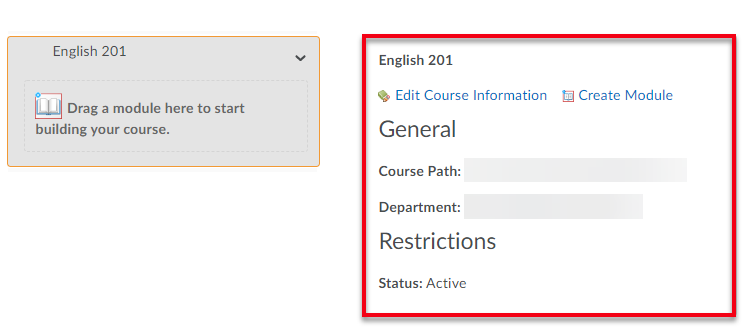
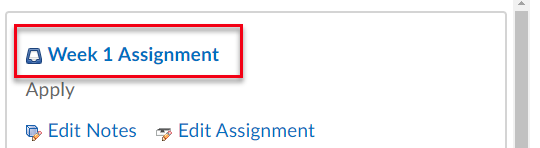
From
the selected panel, you can:
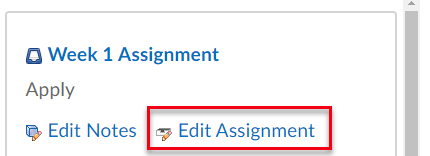
a. Launch the item's
associated system tool.
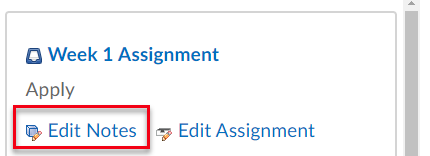
b. Edit planning notes.
c. Edit the Assessment
or Content item.
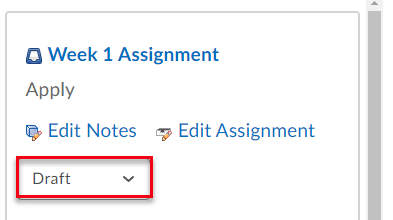
d. Change the visibility
of the item to publish or hide (draft) the item from students’
view.
e. Review general
properties.