
Use
groups to design special work areas where learners can discuss, share, and
submit work as a group. Group Categories house collections of related groups to
subdivide the students. This tutorial demonstrates how to create groups in a
course within MyFIRE.
Note:
If the self-enrollment option is selected for the group enrollment type (in
step 7), then it is highly recommended to utilize the start and expiry dates
for the open enrollment period and not start any required group work (learning
activities) until after the expiry date has passed.
1. Accessthe desired course in MyFIRE.
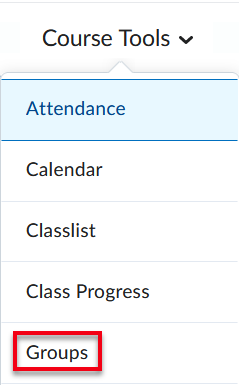
2. From
the navigation bar, select the Course Tools tab.
3. A
drop-down menu will appear. Select Groups.
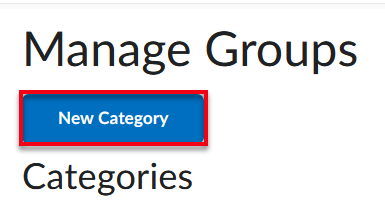
4. When
the page refreshes, select New Category
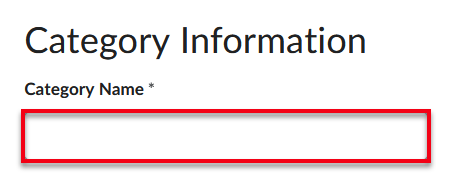
5. Enter
a title for the category in the category name field. Students will be
able to view the title.
6. Enter
a description for the category. Note: For further instructions on how to utilize
the editor textbox, please refer to the how to utilize the MyFIRE editor
tutorial.

7. Choose
an Enrollment Type. Enrollment types define how learners are enrolled
and how many groups are created. Once an enrollment type is set and has been
saved, the enrollment type cannot be edited.
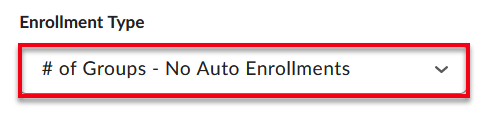
a. # of Groups - No Auto
Enrollments:
The instructor manually enrolls students into each group.
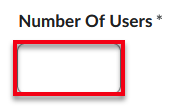
b. Groups of #: The students are
auto-enrolled into groups based on the maximum number of students that have
been defined.
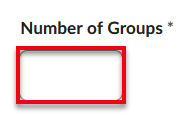
c. # of Groups: The instructor
defines the number of groups, and the students are automatically enrolled based
on the number of groups.
d. Groups of # - Self
Enrollment:
The students enroll themselves in groups until the maximum number of students
has been reached per group.
e. # of Groups - Self
Enrollment:
The instructor defines the number of groups and the students enroll themselves
into groups.
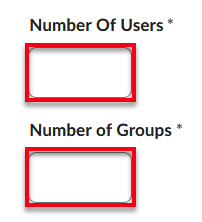
f. # of Groups, Capacity
of # - Self Enrollment: The instructor defines the number of groups and the
maximum number of students within a group. The students can enroll themselves
in groups until the maximum number of students has been reached per group.
g. Single user,
member-specific groups: This option provides a separate group for each student in
the course.
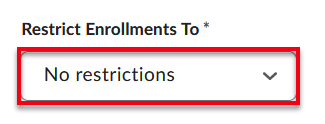
8. Optionally,
the Restrict Enrollments To is related to building subgroups in your
course. Choose this option if you would like to restrict enrollment to a
specific set of users.
9. Next,
we highly recommend adding a pre-fix to each group’s title. Type the prefix in the Group Prefix field. The recommended nomenclature for the pre-fix is to
list the course code. For example, “ENGL 1133 01 -” . MyFIRE will add the
prefix and numeration to each group in the category. Groups’ prefix can be
edited at a later date if needed.

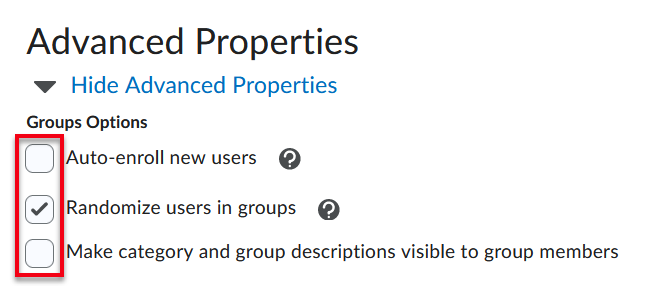
10. Under
Advanced Properties, choose the desired groups options that are
available based on the enrollment type of the category.
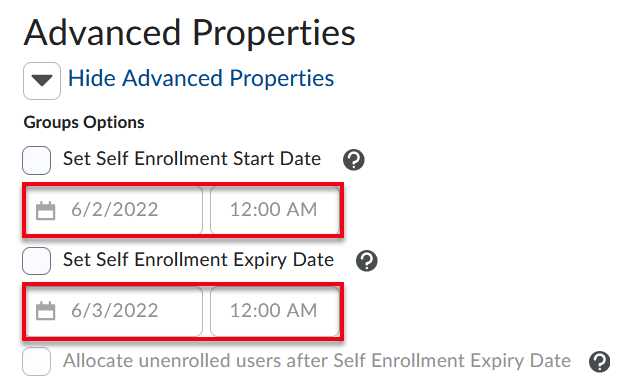
a. Note: If the Enrollment
Type in step 7 includes self-enrollment for students, then the advanced options
will include self-enrollment start and expiry (end) dates. It is highly
recommended to enable the start and expiry dates for students to self-enroll
within a group.
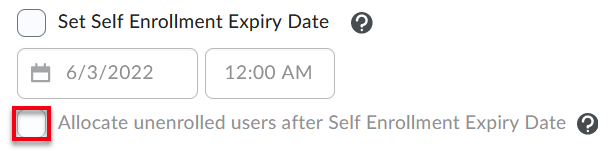
b. As a best practice, if
a start and expiry dates are selected for self-enrollment, then select the Allocate
unenrolled users after Self Enrollment Expiry Date checkbox.
11. Select Save

12. A
pop-up window will appear informing you that the groups are in the process of
being created. Depending on the amount of groups being created and your
internet connection, this process may take a few minutes. Select OK.

13. Select save once again.
14. Once
save is selected, you will be navigated to the manage groups page. If the
groups are still being created, the group creation in progress message
will be visible.

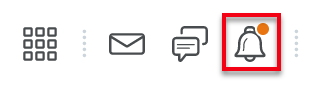
15. Once
the groups are created, you will receive a notification in your updates
alerts icon at the top of the page. An orange dot will appear if you have
an alert message available to you.
16. If
the creation process seems to be taking a little longer than expected, try refreshing
your screen. If the process is taking longer, ID&T recommends checking
back after a short period of time.