
The
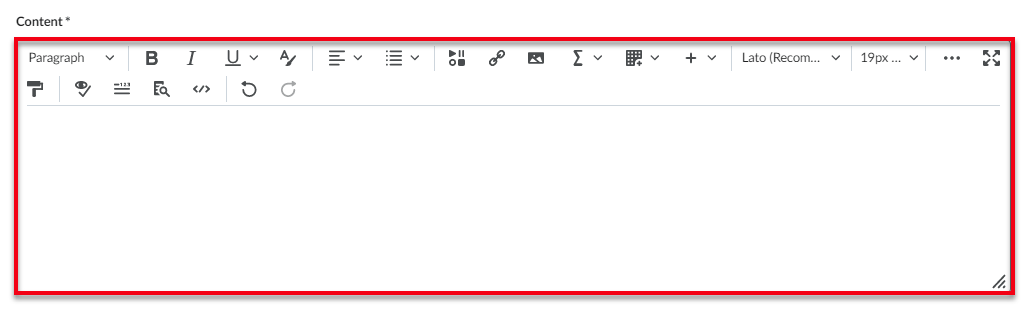
MyFIRE editor offers many options to create engaging messages or content. The
insert stuff feature within the MyFIRE editor tool includes the capability to
embed recorded video notes and media files into messages and content within
courses. One of the locations where media files can be added from is the media
library. The media library allows the option for storing, reviewing, and
editing video files. This tutorial demonstrates how to add media files from the
media library within MyFIRE.
1. There
are two options to add media library files to courses.
2. Option 1: via MyFIRE Editor
a. Navigate to the desired MyFIRE editor within your course.
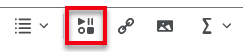
b. Select insert stuff.
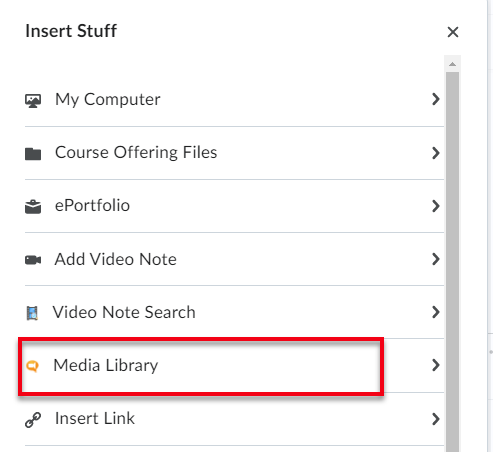
c. Select media library.
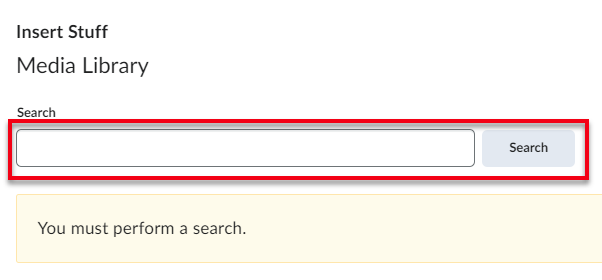
d. Enter keywords in the search bar and select search.
e. When the search results
appear, select the desired media file. Note: Depending on how
the desired files were named when they were recorded and saved, the process of
locating the desired media may take some time.
f. Select next.

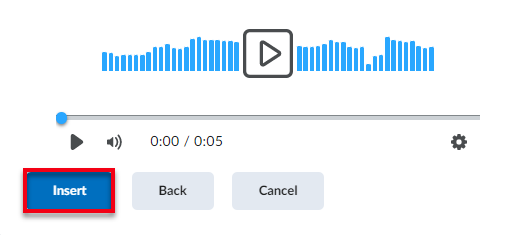
g. When the pop-up window
refreshes, select insert at the bottom of the pop-up window.
h. The media file will be added to your message or content. Continue customizing the message or
content as desired.
i. Once done editing the
message or content, select publish or draft at the bottom of the
page.

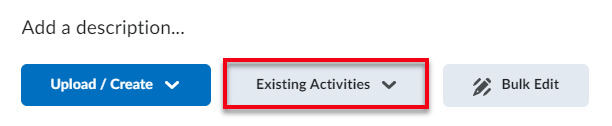
3. Option 2: via Existing Activities
a. On the Content &
Assessment page, locate and select the desired module.
b. Select existing
activities at the top of the page.
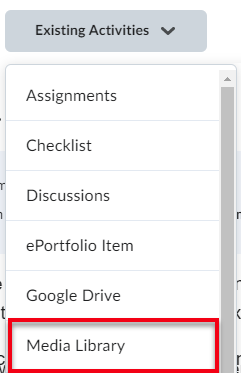
c. A drop-down menu will
appear. Select media library.
d. A pop-up window will
appear. Locate and select the desired media file by either typing the name of
the file in the search bar and selecting enter, or filtering and sorting the files.
i. Filters: If choosing to filter
the files, a a side-bar will appear. Choose which option to filter the files.
Select either content type, source, date modified, or date created.
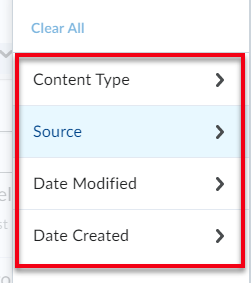
1. Content Type: This option allows
the files to be filtered by audio files and video files.
2. Source: This option allows
for the files to be filtered by where the files were originally uploaded.
Options include content, media library, video note, capture app, imported, and
other. Note: The Capture App is not available in MyFIRE and will not
produce any results.
3. Date Modified: This option allows
for the files to be filtered by today, yesterday, last 7 days, 30 days, and 90
days based on when the file was last edited.
4. Date Created: This option allows
for the files to be filtered by today, yesterday, last 7 days, 30 days, and 90
days based on when the file was created.
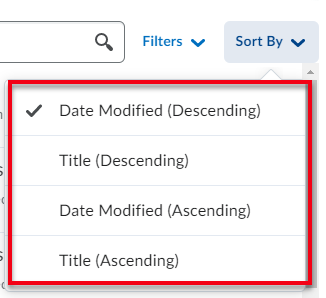
ii. Sort By: If choosing to sort
the files, a drop-down menu will appear. Choose to sort the files be date
modified or by title. Both options include the ability to sort the
files in ascending or descending order.
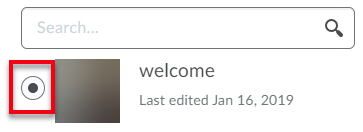
e. Once the desired file
has been located, select the circle (radio button) to the left of the
file.
f. Select next at
the bottom of the pop-up window.
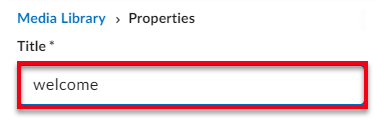
g. Name the file in the title field when the pop-up window refreshes. This will be the title that the
students will see in the course.
h. Select insert at
the bottom of pop-up window.
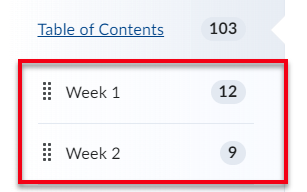
i. The pop-up window will
close and the newly added video will appear at the bottom of the module.
Move the file if needed.