
The Media Library offers instructors the option to manage
media files within courses. The Media Library allows the option for storing,
reviewing, and editing video files. Any change to a media file is automatically
reflected in all courses it is added to, ensuring consistency and saving time.
There are two main ways that instructors can utilize the Media Library.
· Uploaded media files to your course (e.g.,
recording a feedback video or adding a video note within the course) will
automatically be added to the Media Library.
· Media files can be uploaded or recorded directly
in the Media Library tool.
This tutorial demonstrates how to utilize the Media Library
tool within MyFIRE.
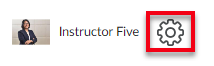
1. Access Media Library by selecting the Admin
Tools gear icon in the right top corner of the screen.
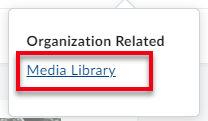
2. A drop-down menu will appear. Select Media
Library.
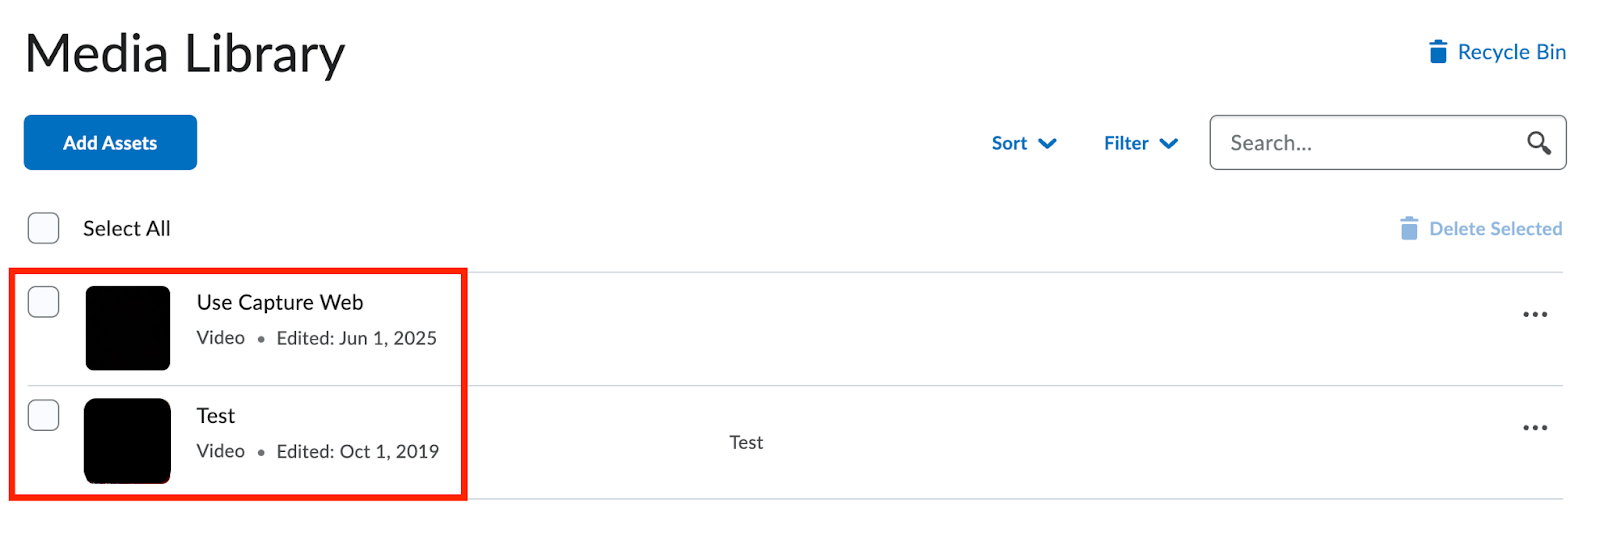
3. When the page refreshes, a list of all of the
media files that you have uploaded or created in your courses will be listed on
the page.
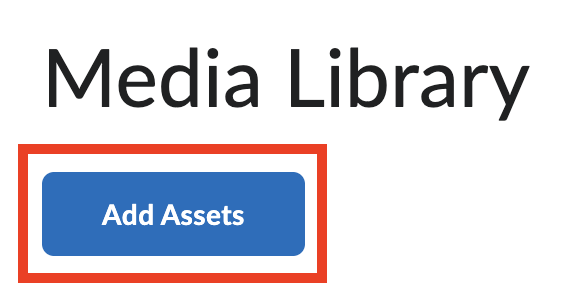
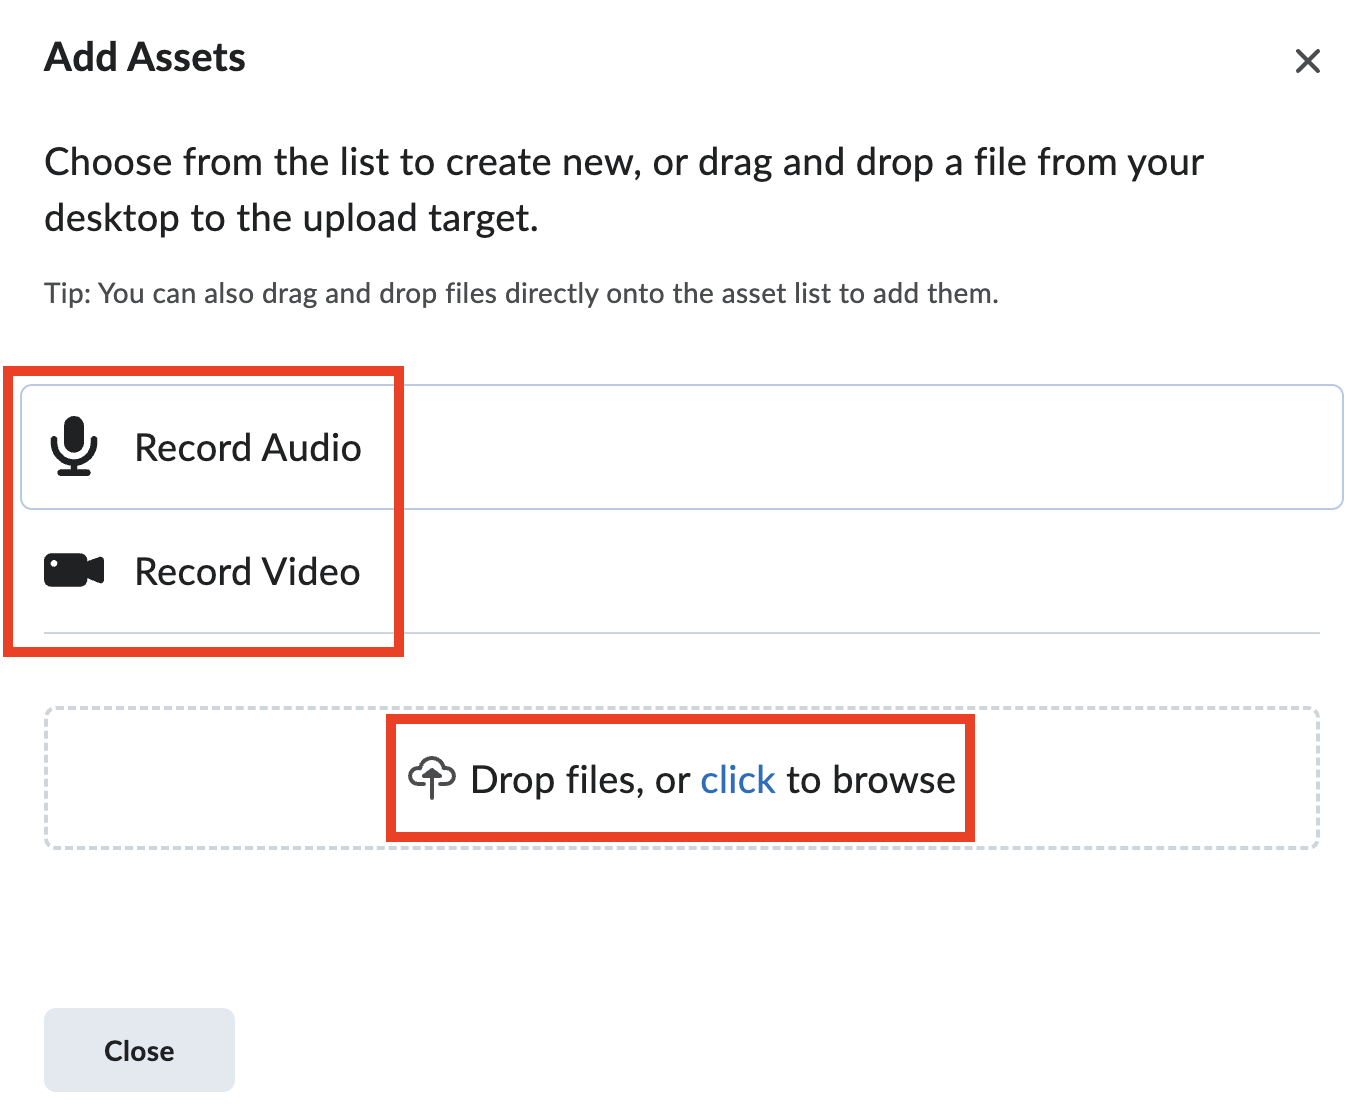
4. Add media files by selecting Add Assets.
a. Either record an audio file, a video file, or
upload an already created media file by selecting Record Audio, Record Video or
drop or browse for existing files.
5. To locate a desired media file, either type the
name of the file in the search bar and select enter, or select filters.

a. If choosing to filter the files, a drop-down
menu will appear. Choose an option to filter the files. Select either asset
type, date edited, or date created.
Note: Each time the filter is changed, select the magnifying glass in
the search bar to view the new results as the selection of the filter option
will not automatically update the results.
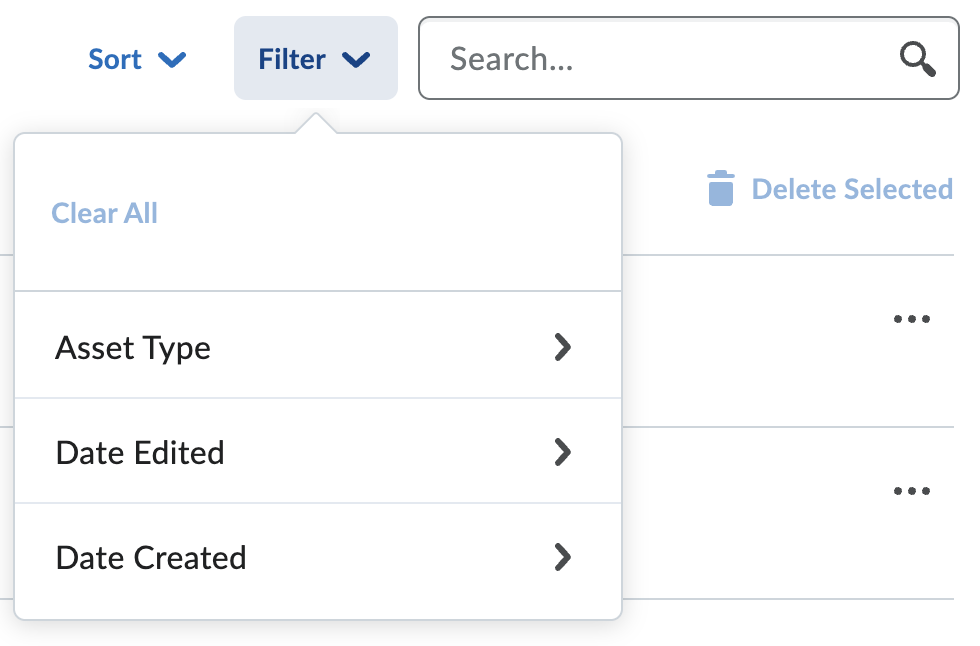
i. Asset Type: This option allows the files to be
filtered by audio files and video files.
ii. Date Edited: This option allows for the files to
be filtered by today, yesterday, last 7 days, 30 days, and 90 days based on
when the file was last edited.
iii. Date Created: This option allows for the files
to be filtered by today, yesterday, last 7 days, 30 days, and 90 days based on
when the file was created.
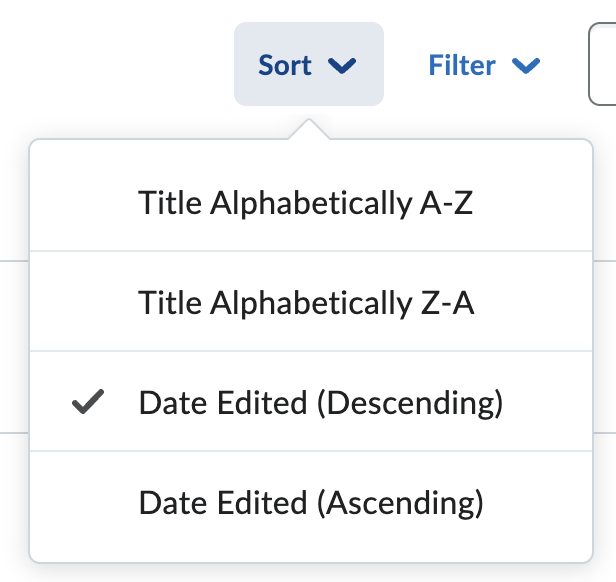
b. If choosing to sort the files, a drop-down menu
will appear. Select either Title Alphabetically A-Z, Title Alphabetically Z-A,
Date Edited (Descending), or Date Edited (Ascending).
6. Once a media file has been located, select the
ellipsis icon to the right of the file.
7. From the drop-down menu, users will be able to
preview, download, edit, rename, edit description, and delete the files. A
pop-up window will appear for all options, except for the download and edit
options.

a. If edit is selected, refer to the Edit a Media Library Video tutorial for further directions.
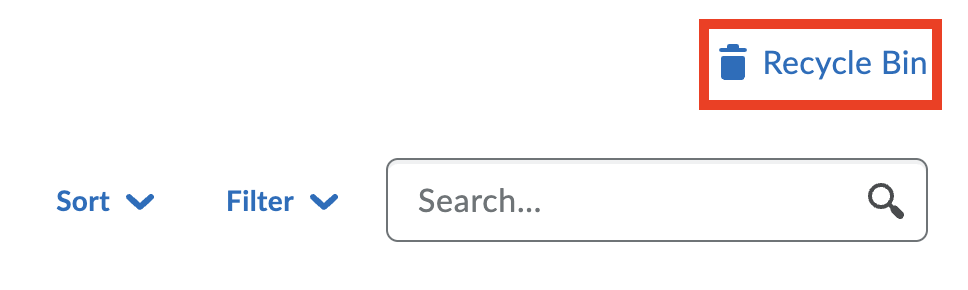
8. If any of the media files have been deleted,
select Recycle Bin to review and restore the files.
Note: Any files that have been deleted
will be permanently deleted after 90 days and will no longer be accessible.
a. To restore a file, select the ellipsis icon to
the right of the file.

b. Select Restore.
