Capture Web enables you to record full presentations from
your browser without the need to download a desktop client. This includes both
screen capture and mixed camera-and-screen presentations. This tutorial
demonstrates how to use the capture web tool.
To create a presentation with Capture Web:
1. On your course homepage, select the Admin Tools
icon.

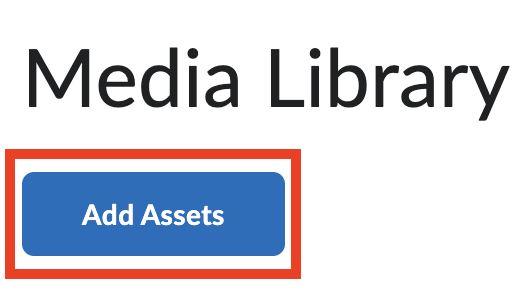
2. Select Media Library.

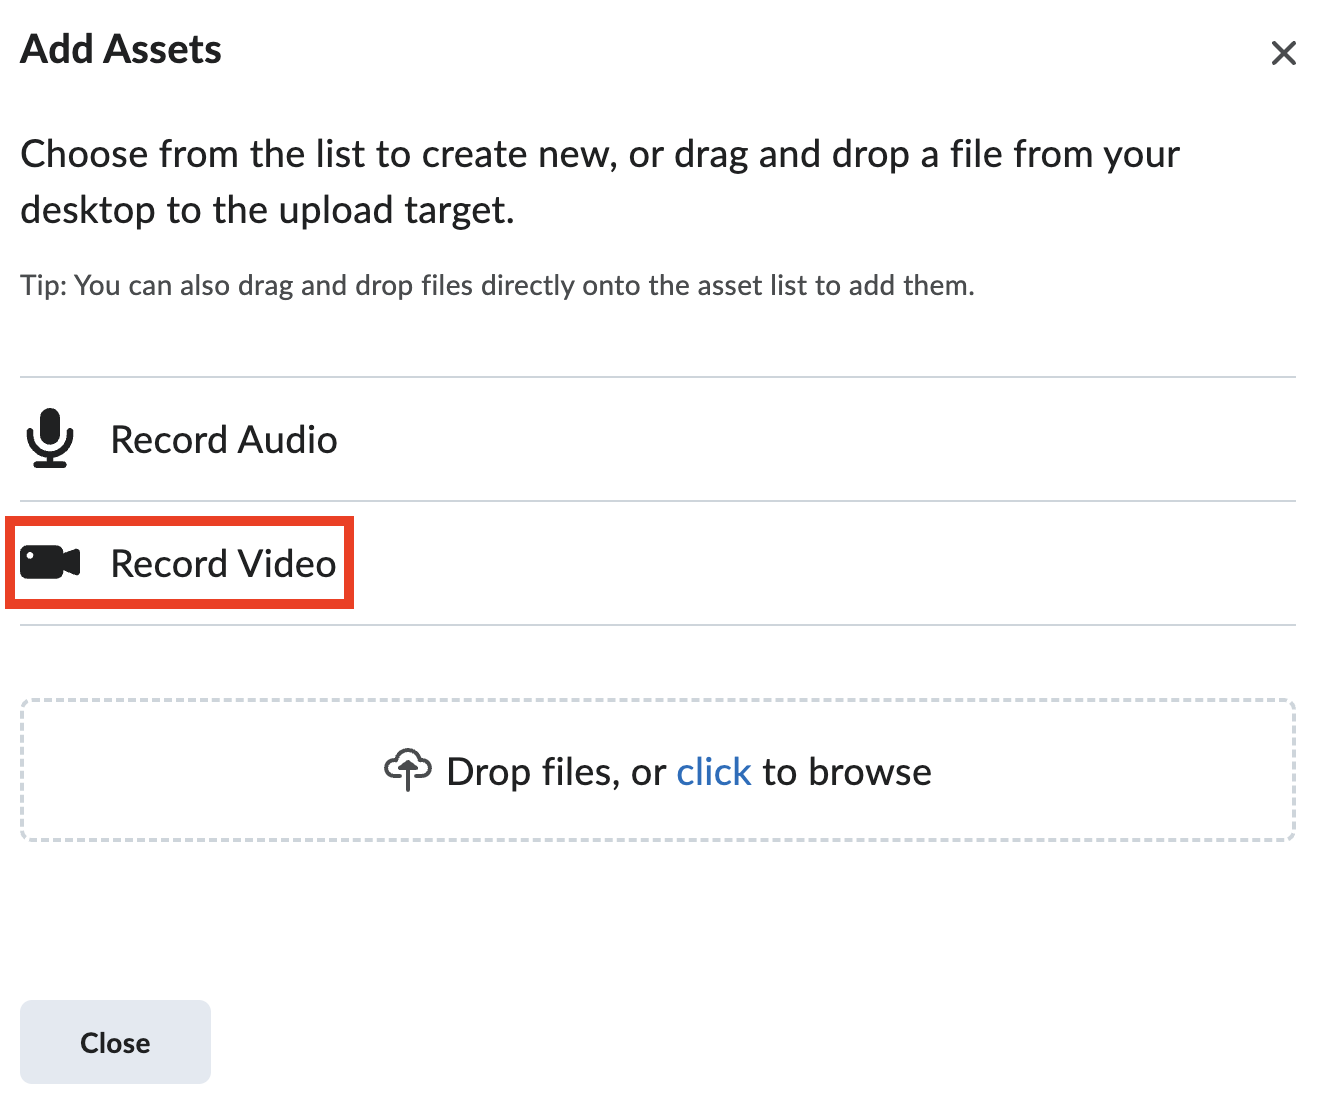
3. Select Add Assets.
4. Select Record Video.
5. If your browser prompts you to allow microphone
and camera access, select Allow.
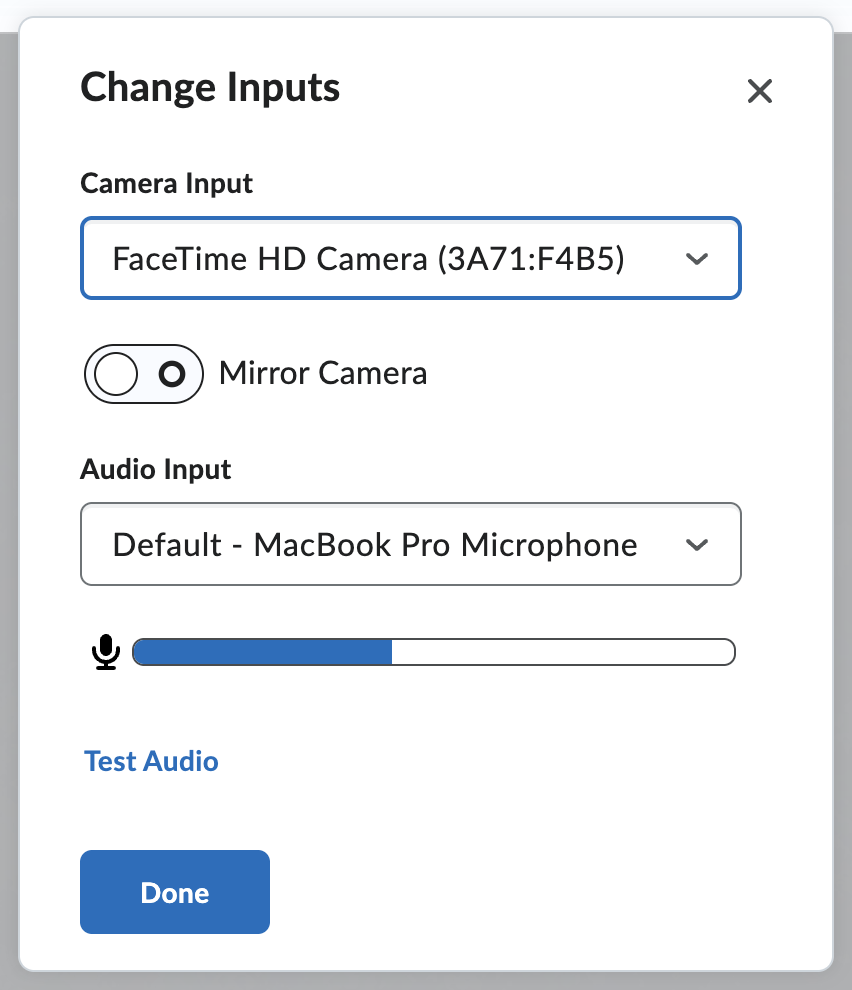
6. Select Change Inputs to change your camera
input, audio input, and test your audio. There is also an option to mirror your
camera. When finished, select Done.

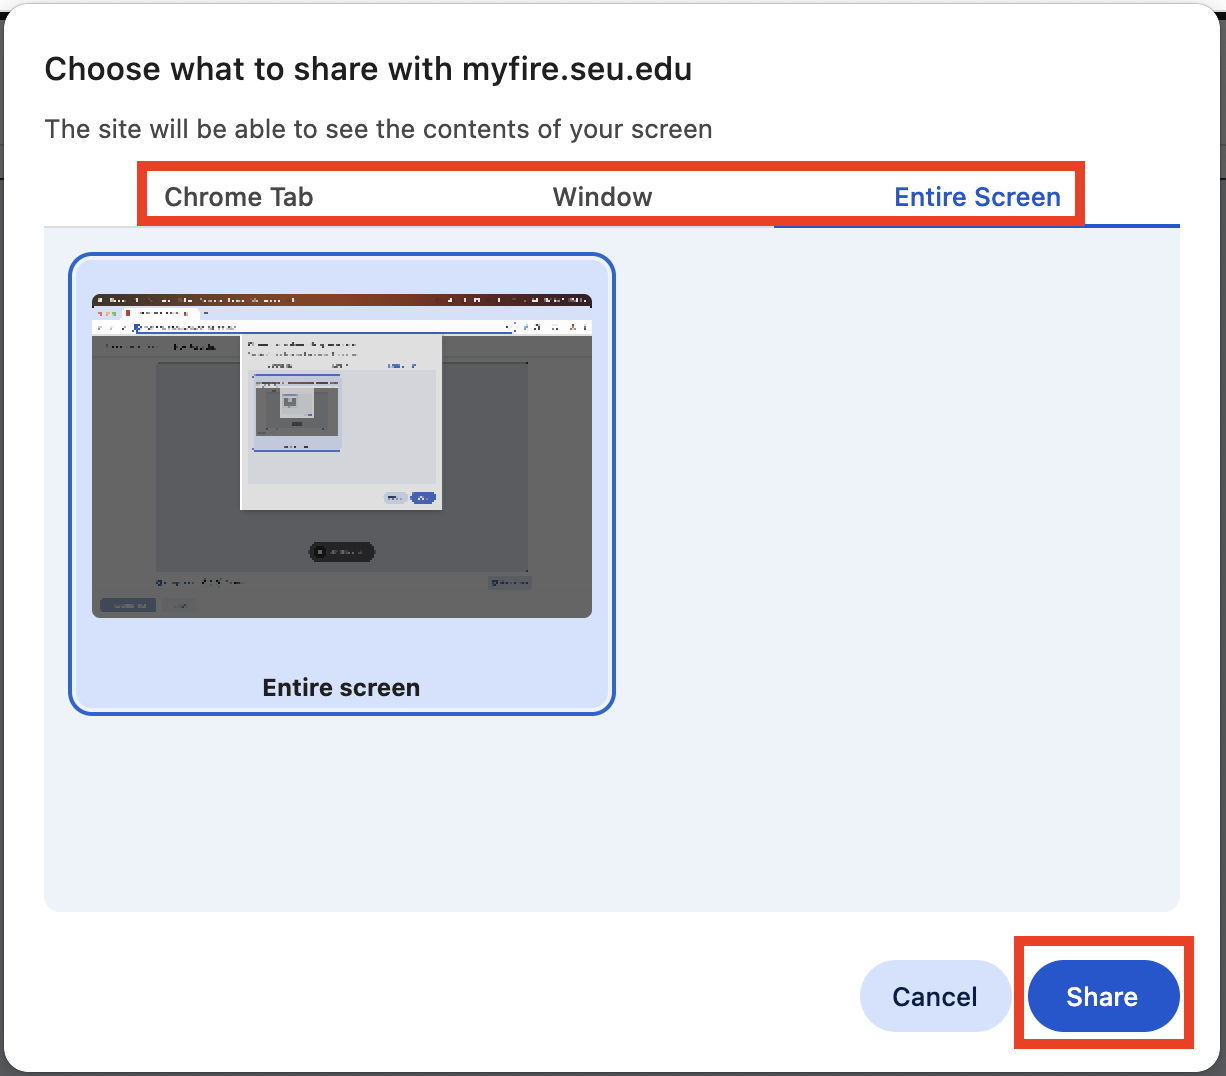
7. Select Share Screen and then select a tab in
your browser, a window, or your entire screen to display during your recording.
Then, select Share.
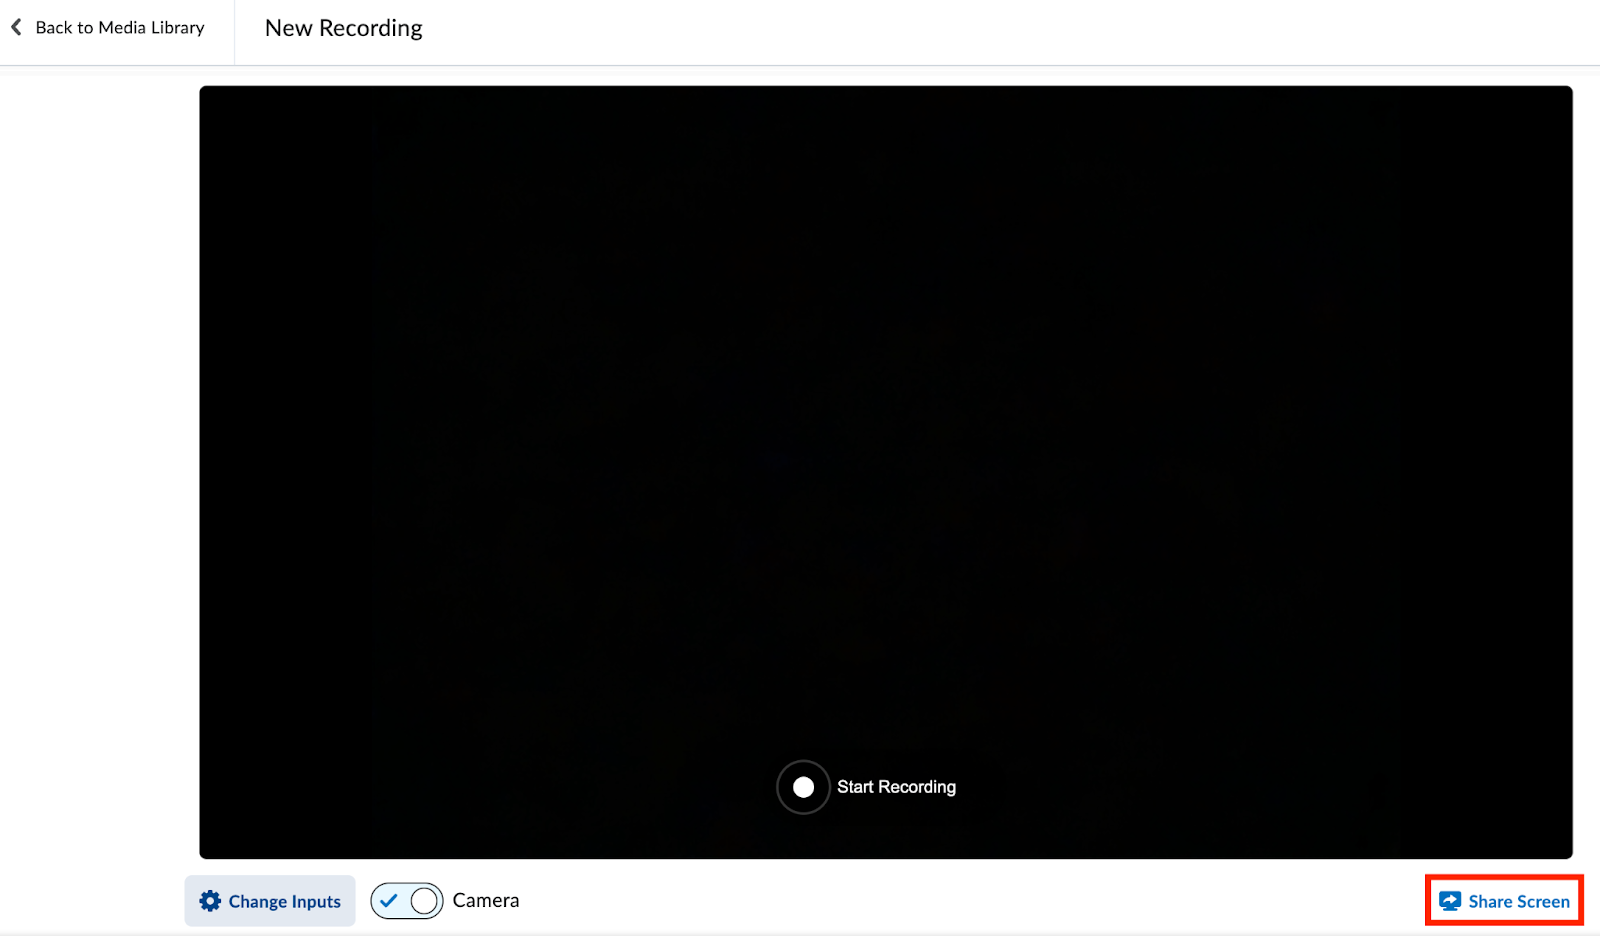
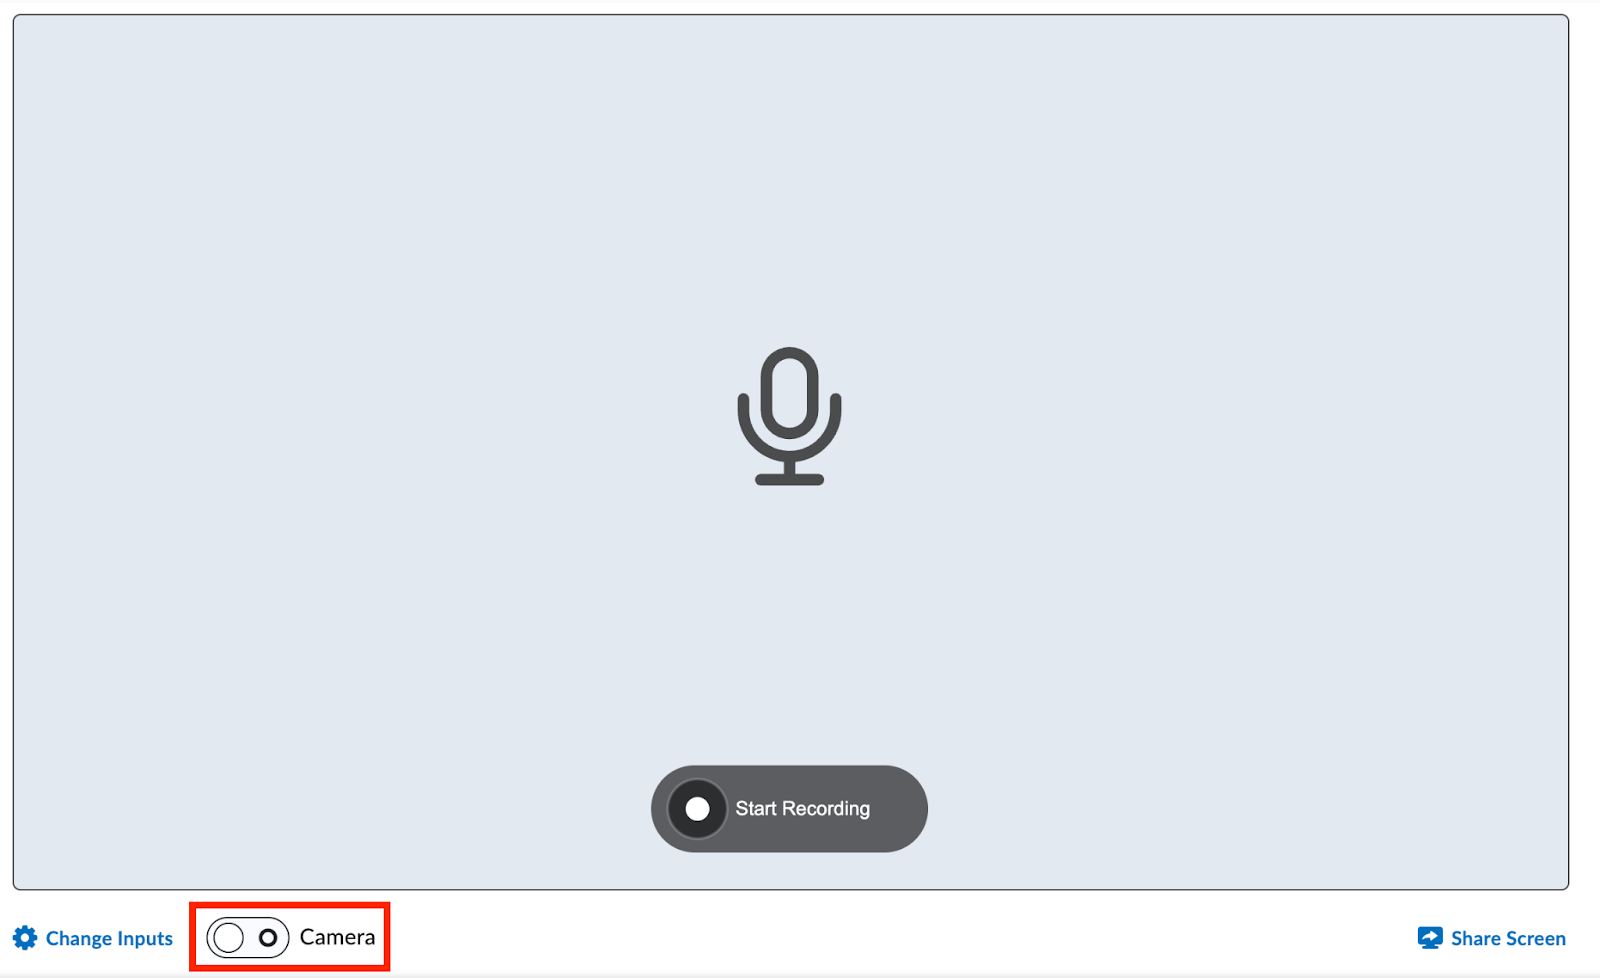
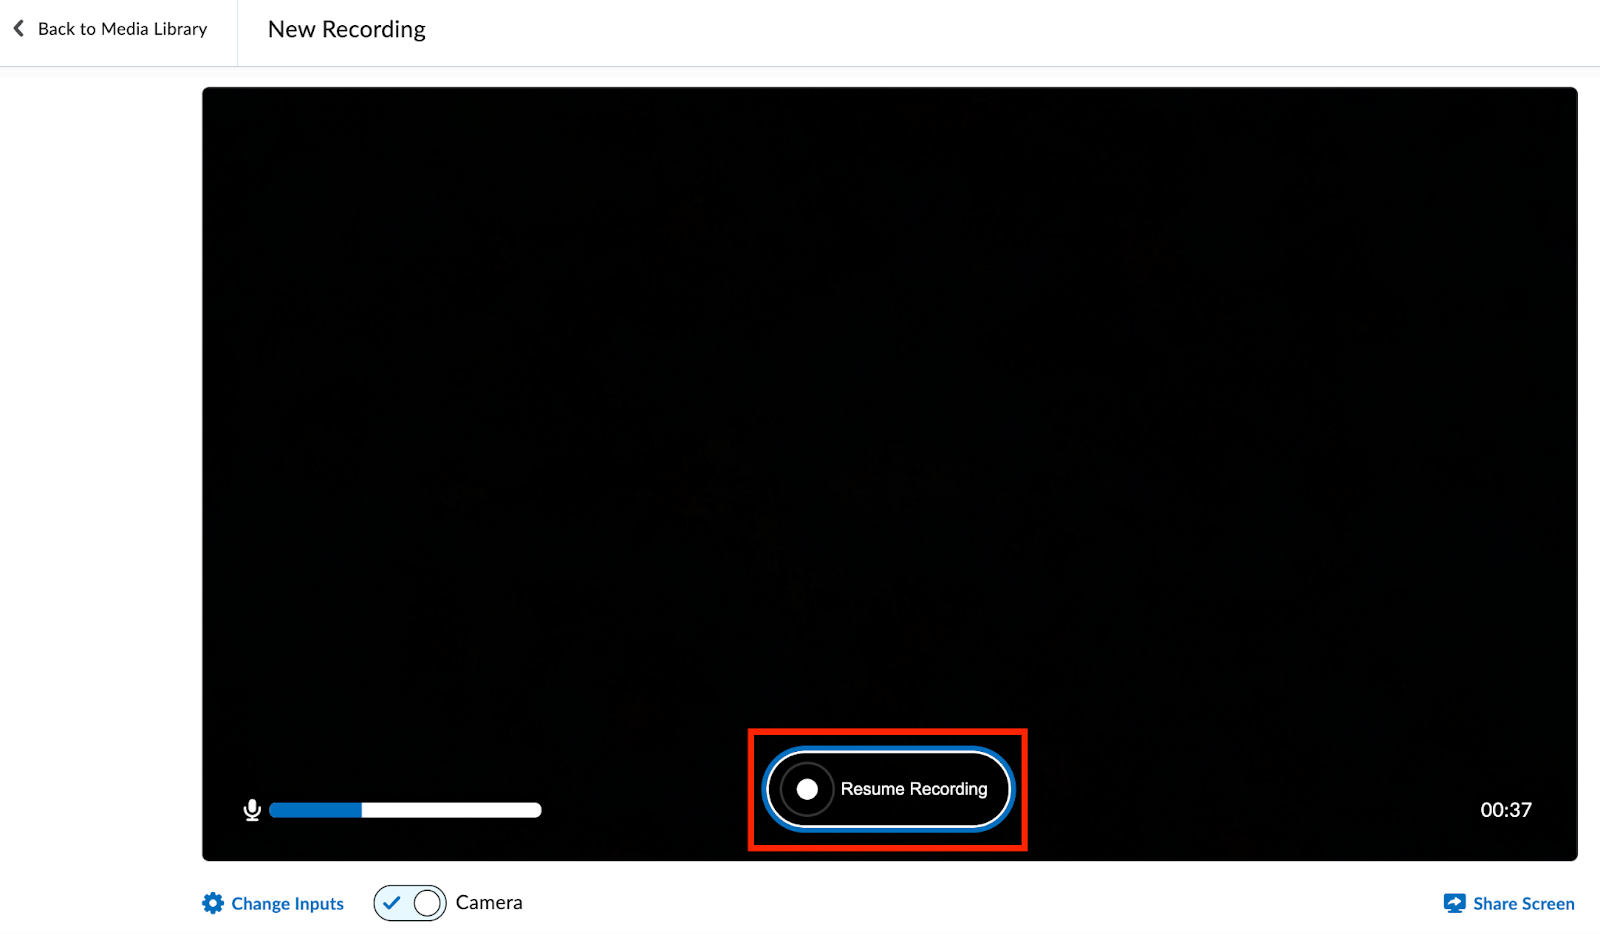
8. Turn your camera ON or OFF by selecting the Camera toggle. If you only need to
record audio, toggle the Camera option OFF.
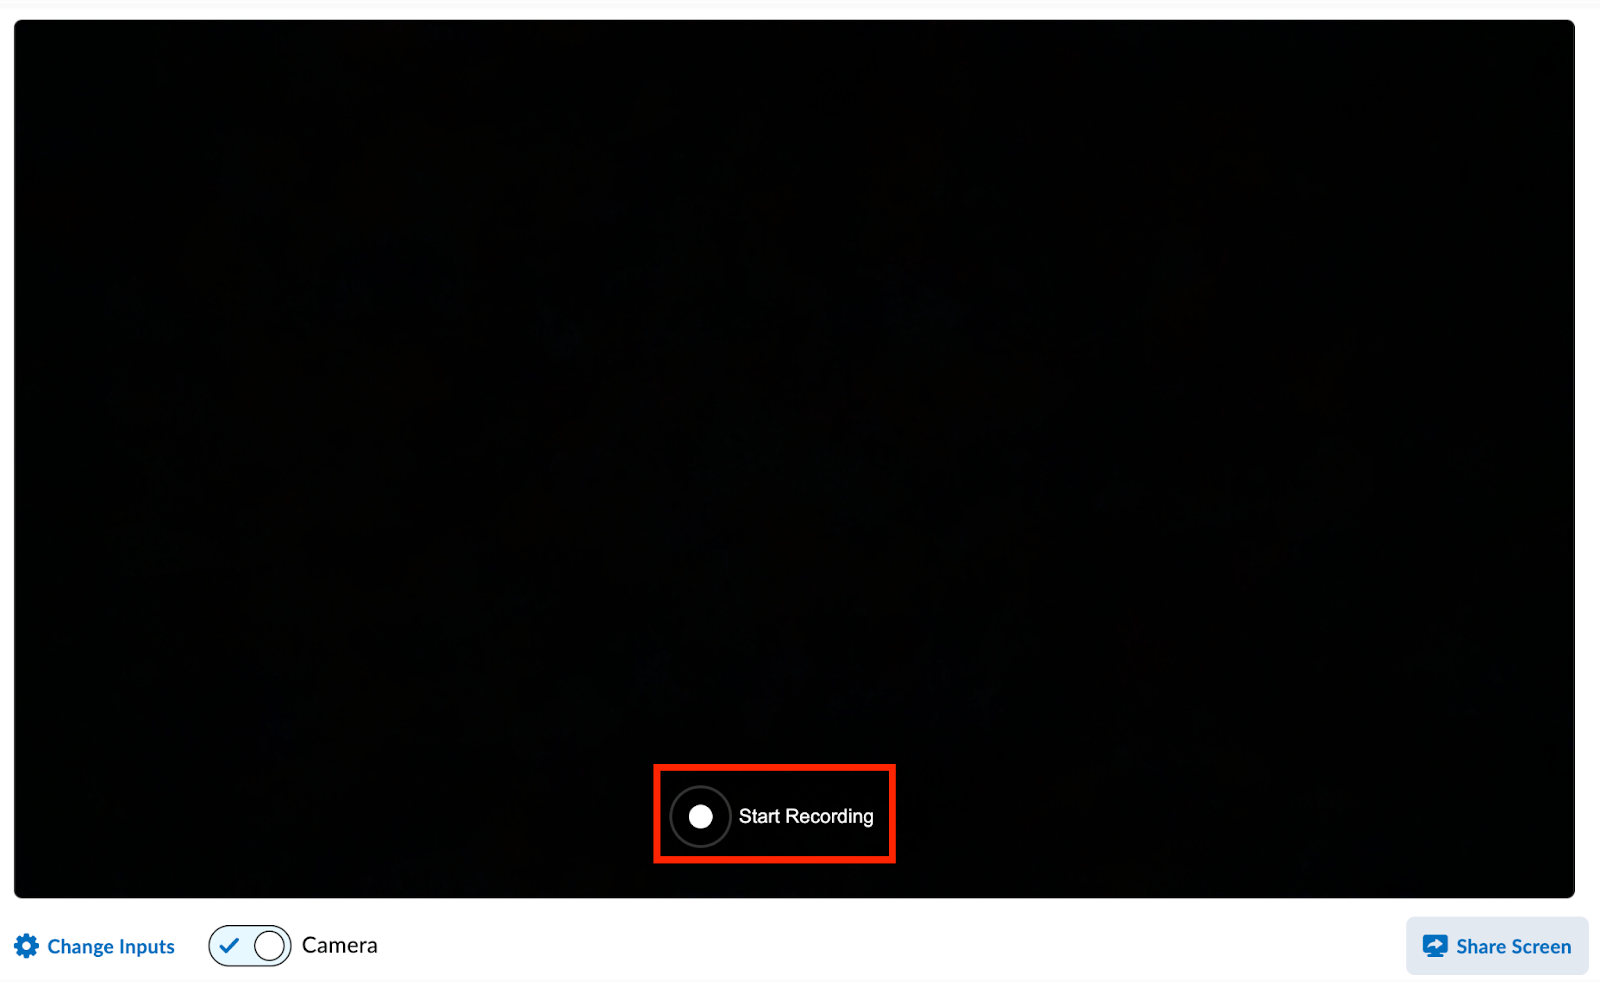
9. Select Start Recording to begin your
presentation.
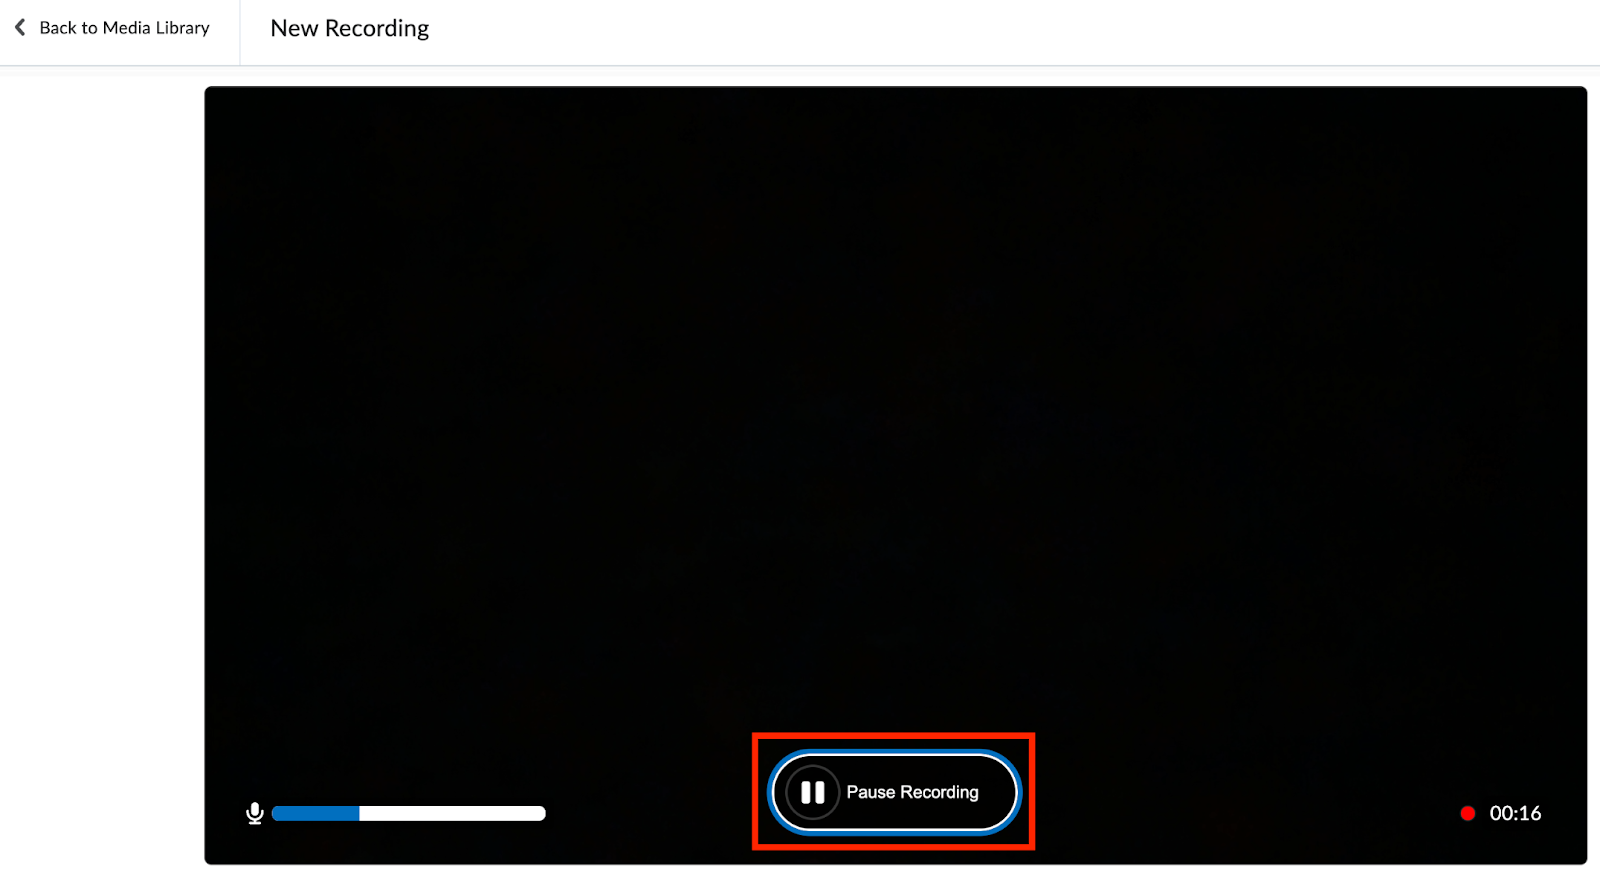
10. Select Pause Recording to pause the recording of your presentation. Select Resume
Recording to continue recording.
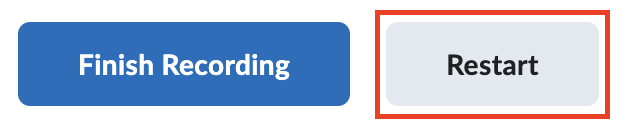
11. Select Finish Recording to stop your presentation.

12. Select Restart to restart your recording.
13. Add
a title for your presentation.
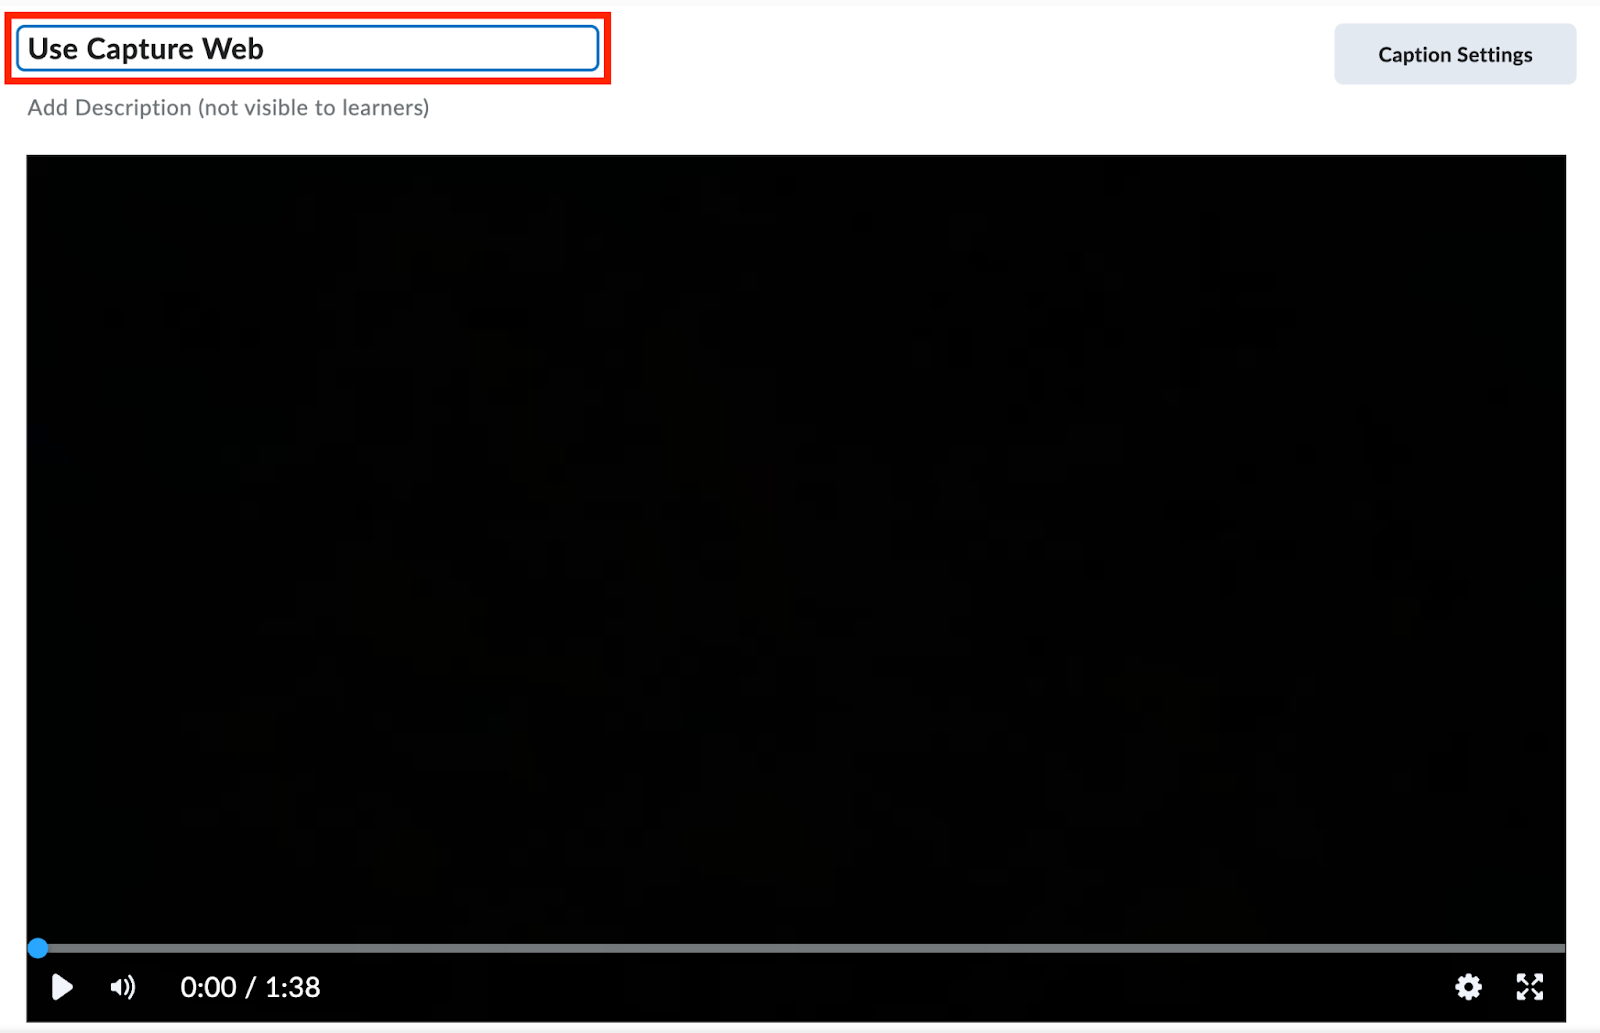
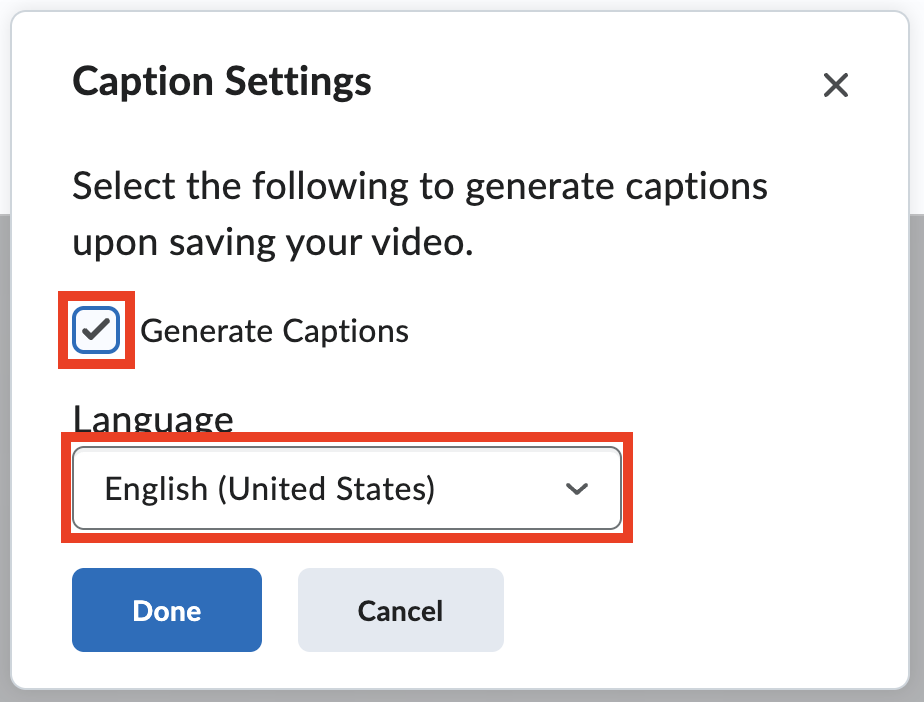
14. Select Caption Settings and then select Generate Captions to add subtitles to your
video. In the Language drop-down menu, select the language in which you
recorded your presentation. Select Done.

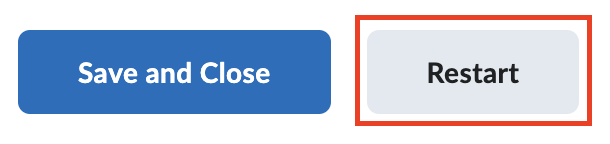
15. Select Save and Close.

16. Select Restart to restart your recording.
17. The
presentation will appear in the list. It may take some time for the recording
to process.