
Brainfuse is a free online
tutoring service that students can access through MyFire. Brainwave is one of
the many tools that Brainfuse offers. In Brainwave, students can create and
share dynamic content. They can also create movie-like notes (Brainwaves) by
recording their activity on the Brainfuse Whiteboard. Brainwaves are ideal for
studying or sharing concepts that involve multi-step processes. The following
tutorial demonstrates how to access the Brainwave academic tool.
1. Navigate to seu.onelogin.com/portal and log into your
account.
2. Select the MyFIRE icon within your Southeastern
dashboard.

3. You will be redirected to the MyFIRE user homepage.
If directions are needed on how to navigate through the homepage, refer to the user homepage instructions.

4. Select Need Help from the navigation bar.
5. Select Online Tutoring: Brainfuse from the drop-down
menu.

6. The Brainfuse Homepage will appear.

7. Scroll down on the main page to see the Brainfuse
academic tools.
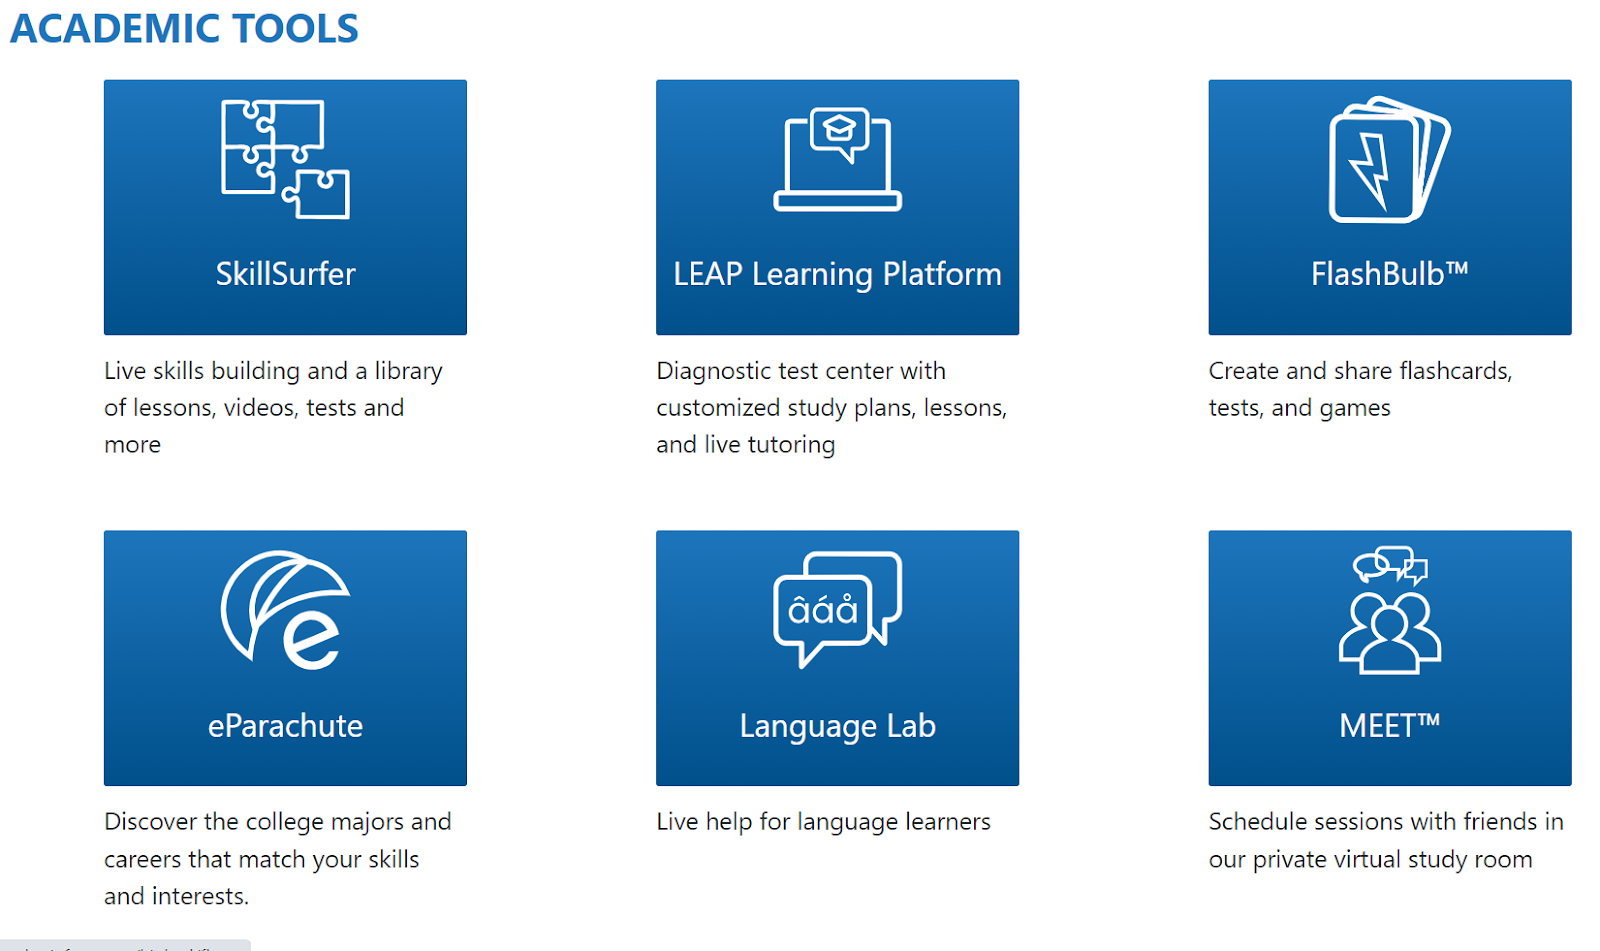
8. Select the Brainwave tile.

9. Once in Brainwave, students can create a Brainwave
or search the Brainwave archive by keyword. Students can check the
archive often as new Brainwaves are continuously added.
10. Select Create a
Brainwave to make a customized Brainwave.

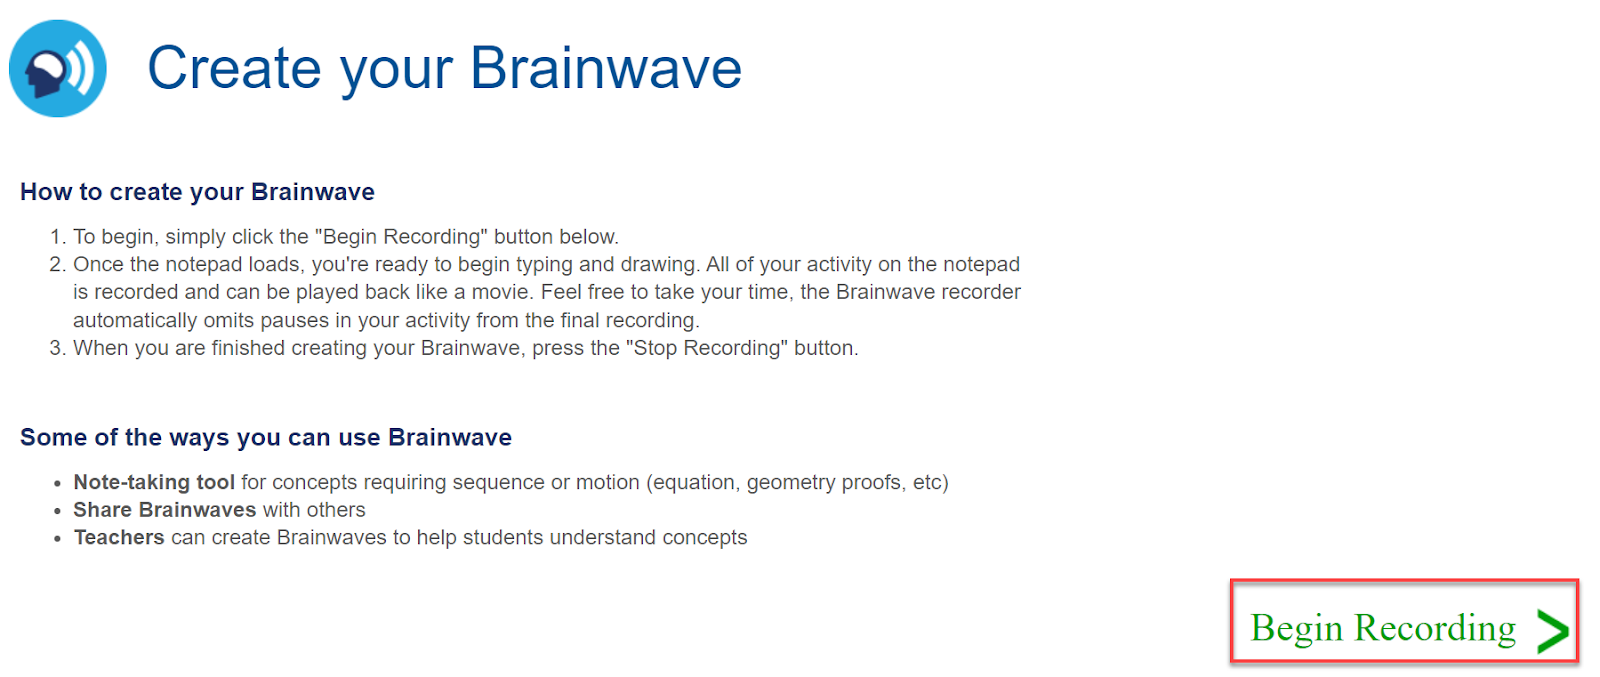
11. When the pop-up window
appears, read the instructions provided and select Begin Recording.
12. The Brainwave Whiteboard
will appear.

13. Utilize the Whiteboard’s editing tools to create a Brainwave recording.

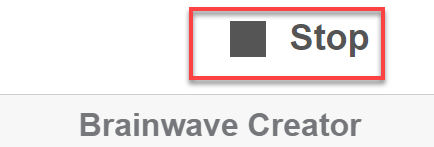
14. Select Stop from
the top right corner to end the recording.
15. In the textbox, write a short
description of the recording to easily locate it later.
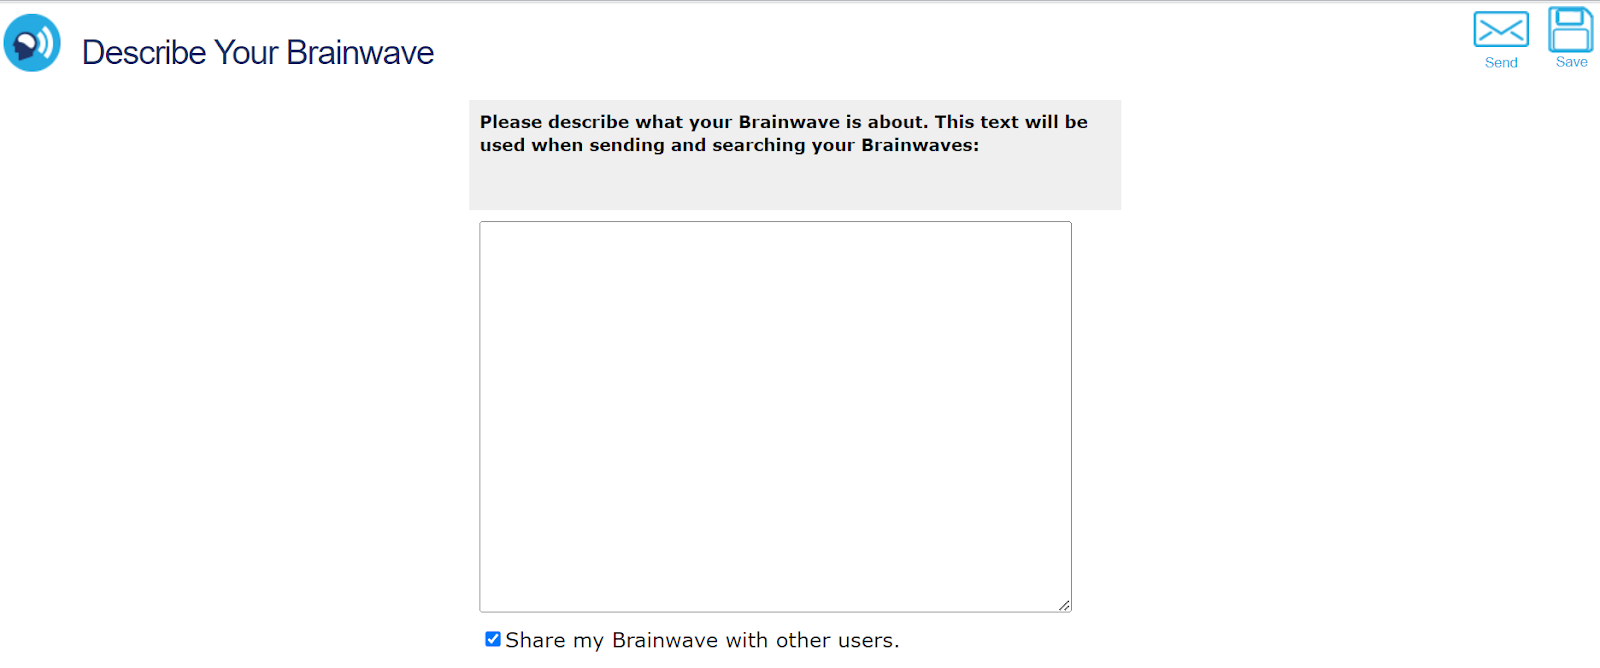
16. Select either the save or send buttons.

17. If save is selected, a
notification will appear confirming it has been saved. Select the Close button.

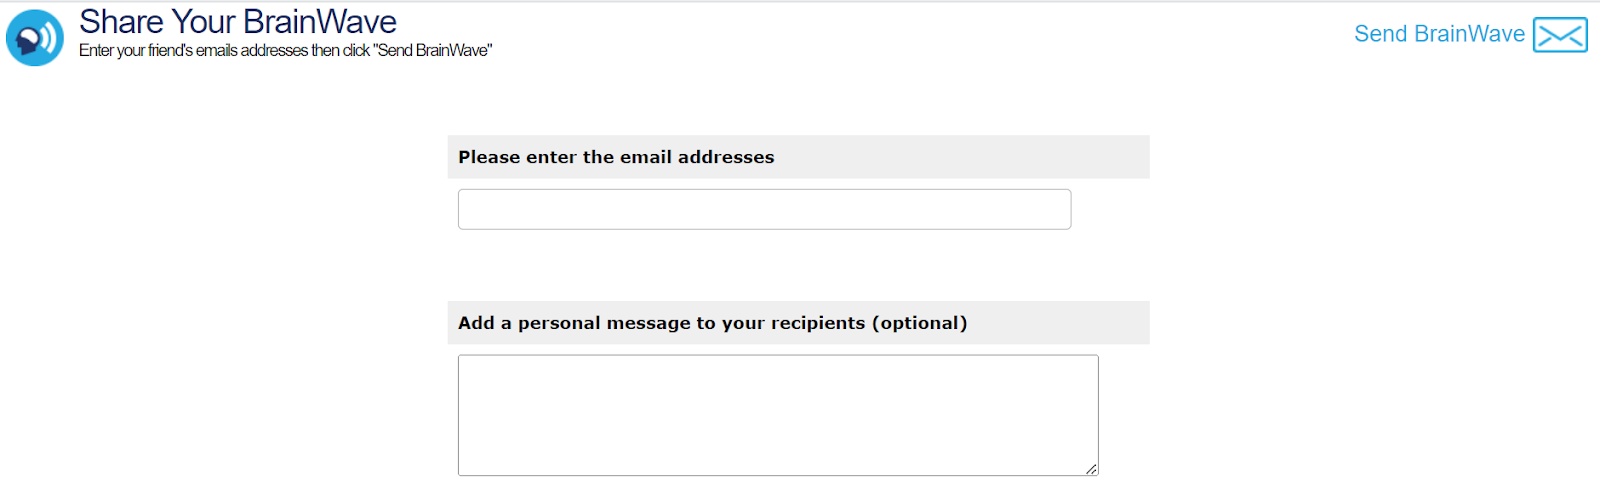
18. If the send button is
chosen, input the email addresses of the desired recipients. A message to them
can also be included. Select the Send Brainwave button when finished.
19. The page will refresh, and
your Brainwave will appear in the gallery.
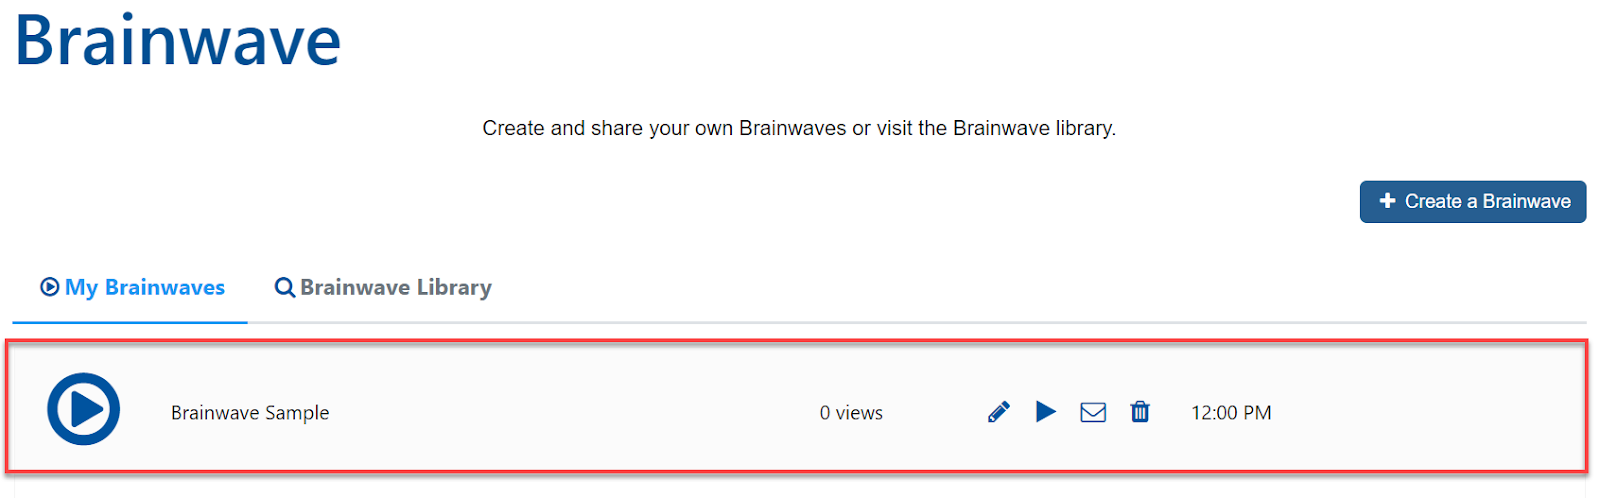
20. If action is needed on the
Brainwave created, use one of the following options.
a. Select the pencil icon to edit the description of your Brainwave.
b. Select the play button to watch your Brainwave.
c. Select the envelope
icon to share your Brainwave with others.
d. Select the trash can
icon to delete your Brainwave.
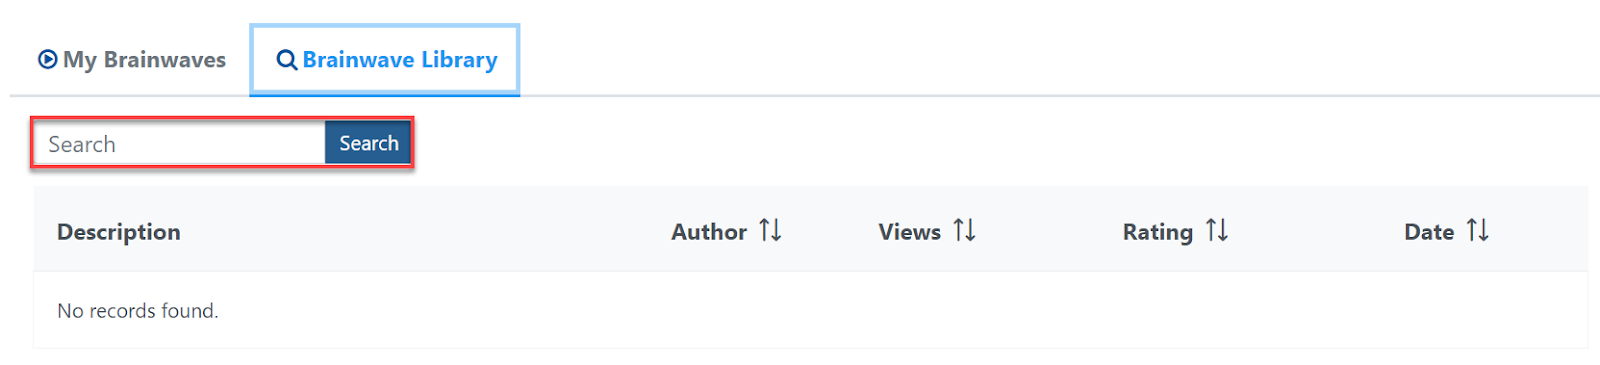
21. Navigate to the Brainwave
Library to search Brainwaves that others have created.

22. Type in keywords to the
search bar and select search.
23. Once the desired Brainwave
is located, select the play button to view it.

24. A pop-up window will appear,
and the Brainwave video will begin playing.

25. To exit the Brainwave, select the “X” in the top
right corner.
