View Respondus Videos
Some
courses in MyFIRE will require students to use Respondus LockDown Browser
online proctoring tool while taking an exam. Respondus is used to deter
students from digitally cheating. If Respondus Monitor has been enabled on an
exam, then instructors will have the ability to view recorded videos of the
students taking their exams. This tutorial demonstrates how to view Respondus
videos in MyFIRE.
1. Access the desired course.
2. Select instructor tools at the top of the page in the
navigation bar.
3. When the page refreshes, locate and select quizzes.
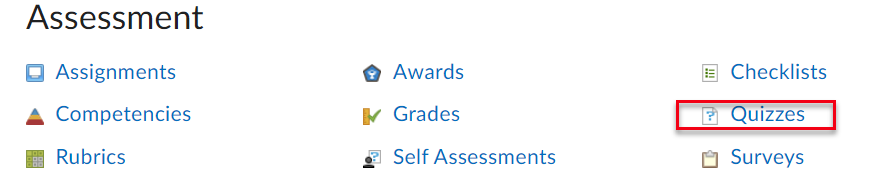
4. When the page refreshes, select LockDown Browser at the
top of the page.
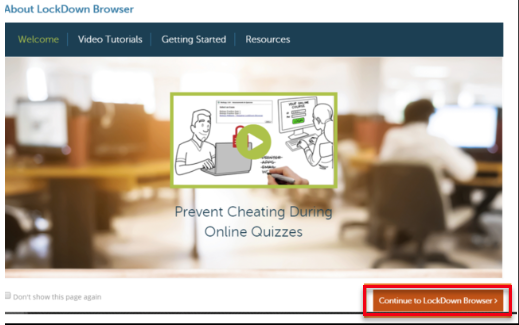
5. Select continue if the message below appears.

6. If the video message shown below appears,select continue to
LockDown Browser.
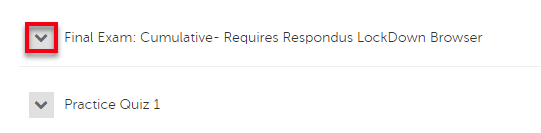
7. The page will changerefresh to show the list of quizzes and
exams. Locate the desired quiz/exam.

8. Select the drop-down arrow to the left of the quiz/exam.
9. A drop-down menu will appear. Select class results.

10. A list of the students will appear. From this page, you will be
able to view and filter the following:
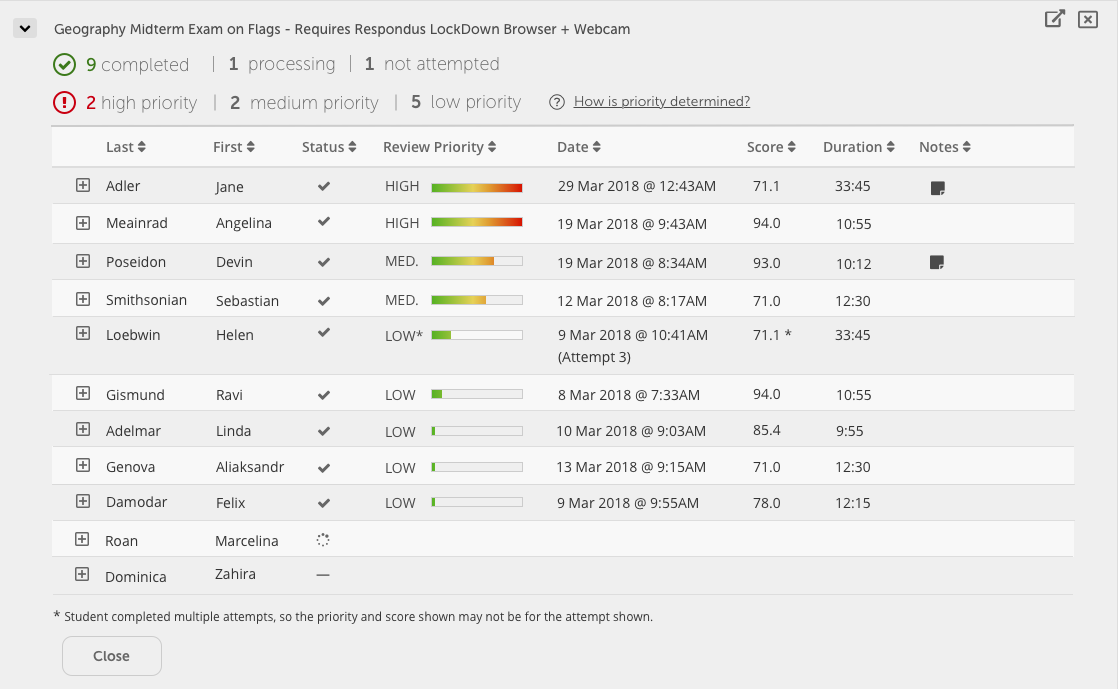
b. Students' first name
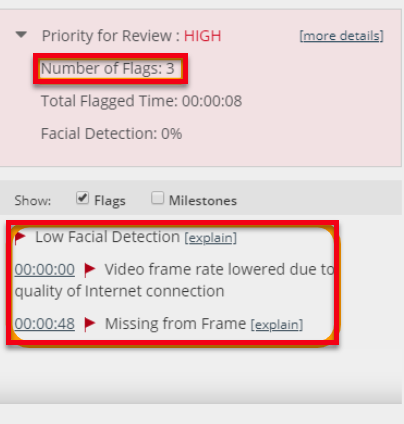
c. Review Priority- This
is a comprehensive measure that conveys whether a student's exam session
warrants a closer look by the instructor. Results appear in Low, Medium, and
High categories with a green-to-red bar graph conveying the risk level. Review
Priority measures two characteristics of the exam session: 1) the quality of
the data captured, and, 2) suspicious events that may indicate exam violations
have occurred. Refer to the how the respondus review priority is determined tutorial to review how review priority is determined and what flags students
could be marked for while taking an exam.
d. Date -This
feature lists the date and time of when the student took the exam. Also, the
number of attempts will be listed for the student if the student has attempted
the exam more than once.
e. Score - This
feature lists the students’ scores
f. Duration - This
feature lists the students’ time duration that they have spent on taking the
exam.
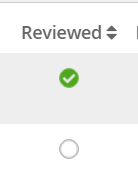
g. Reviewed- This
feature is an optional selection that can be made to mark that the student’s
Respondus videos and notes have been reviewed by the instructor. To mark that
the student’s attempt was reviewed, check the circle checkbox. Once checked,
the circle will turn green and be marked with a check.
h. Notes- This feature allows
instructors to add notes if desired from their review of the student’s attempt.
To add a note, follow steps
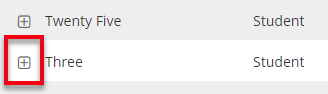
11. Locate the desired student from the class results list.

12. Select the [+] icon to the left of the student’s name.
The videos will appear for the student if the student has taken the quiz.
13. Review the list of milestones, flags, and desired video(s) to review the student’s attempt.
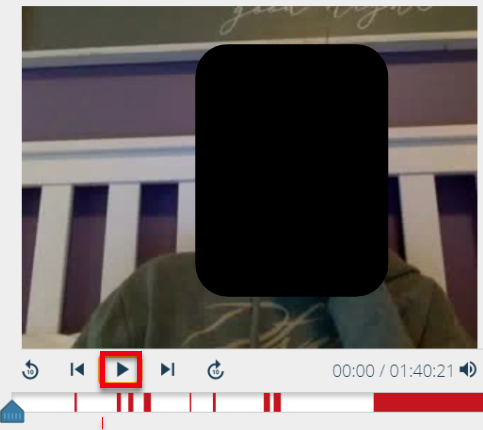
14. To view the student’s video, press play in the large
video viewer on the left of the screen.
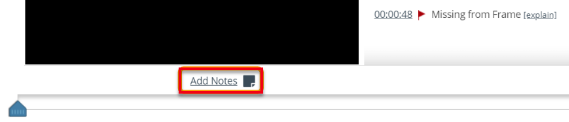
15. If you would like to add a note after viewing a student’s
attempt, select add notes below the video.
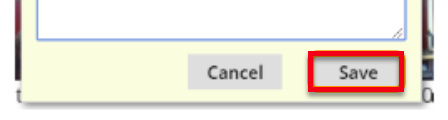
a. A pop-up plain text window will appear. Enter the desired notes.

b. Select save when finished. A black paper icon will appear
in the Note column to signify that notes have been saved on the student’s
attempt(s).
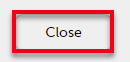
16. Once done viewing the student’s attempt in Respondus, select
close to navigate and view other students’ attempts.