
MyFIRE offers the option to allow students special access
to assignments. Special access allows instructors to extend the date and time
for when an assignment is due for individual students. This tutorial
demonstrates how to grant special access to students on an assignment in
MyFIRE.
1. Locate the desired course
in MyFIRE.
2. Select the Instructor
Tools tab in the navigation bar at the top of the page.
3. Select Course Admin from
the drop-down menu.

4. Select the Assignments category under the Tools section.

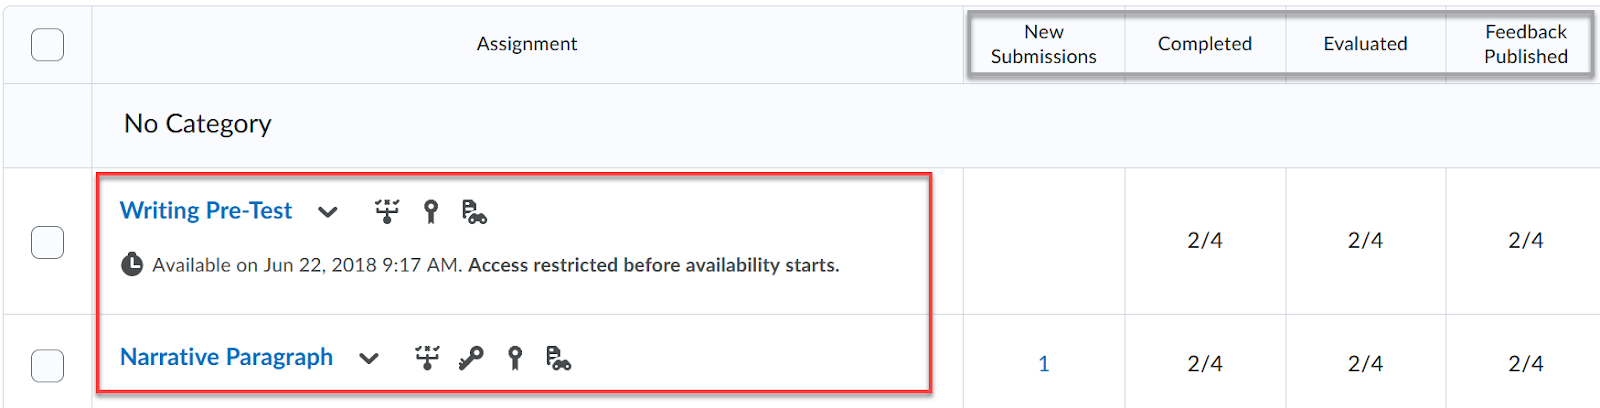
5. When the page loads, a
list of the assignments that have been created in the course will appear.
Select the desired assignment. From this page, instructors are
able to view if there are new submissions from students, the number of students
who have completed the assignments, the number of assignments evaluated, the
number of assignments where the feedback has been published, and the assignment
due date if added.
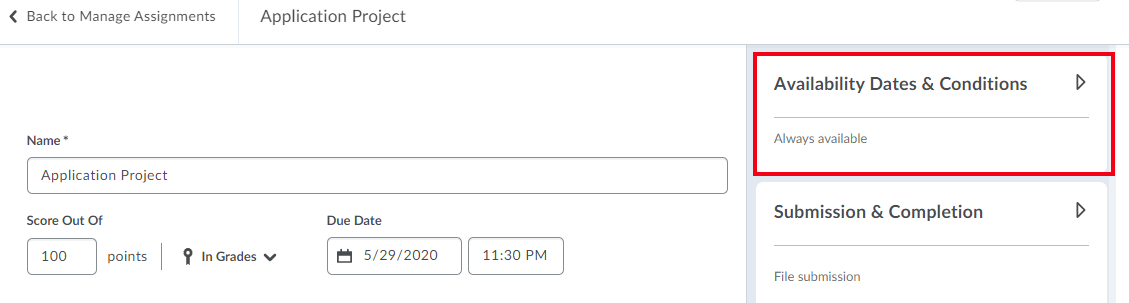
6. After selecting the
desired assignment, when the page refreshes, select the edit assignment button at the top of the page.

7. When the page refreshes
again, the assignment will be in editing mode. Select the availability dates
& conditions section on the right side of the page.
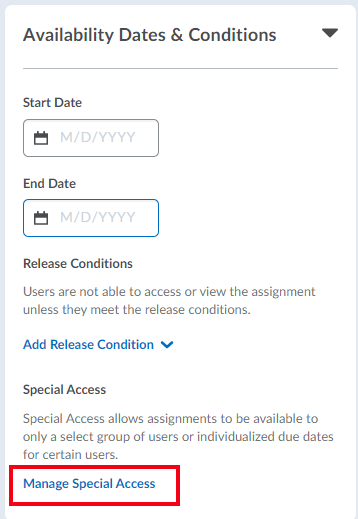
8. Once the availability
dates & conditions section is selected, the section will expand. Locate and
select Manage Special Access at the bottom of the section.
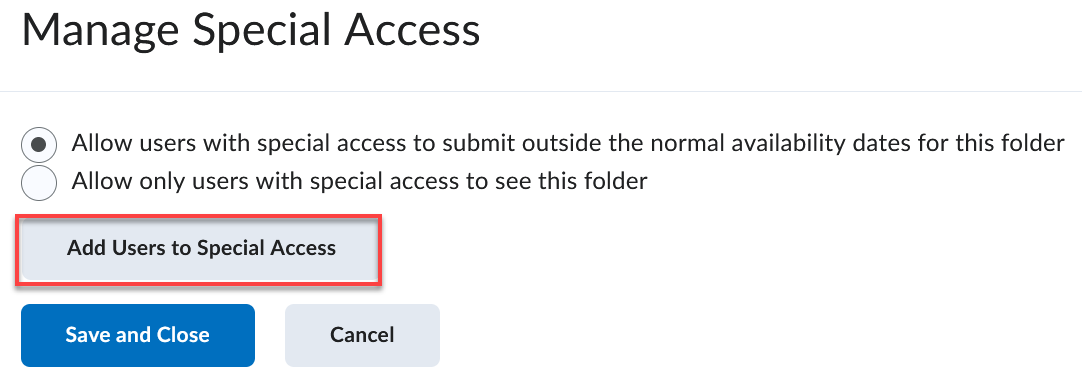
9. A pop-up window will
open. Choose the desired type of special access that you would like to
grant.
a. Allow users with special access to submit outside the
normal availability dates for this folder-
This option allows for individual students to have a different due date, due
time, amount of time to complete the assignment than the dates
that have been chosen for the entire class.

b. Allow only users with special access to see this folder- This option allows only specific individuals or a group
of students in the course to view and access the specified assignment.
Note: If this option is
enabled, then anyone who has not been granted special access on the assignment
will not have access to view or complete the assignment.
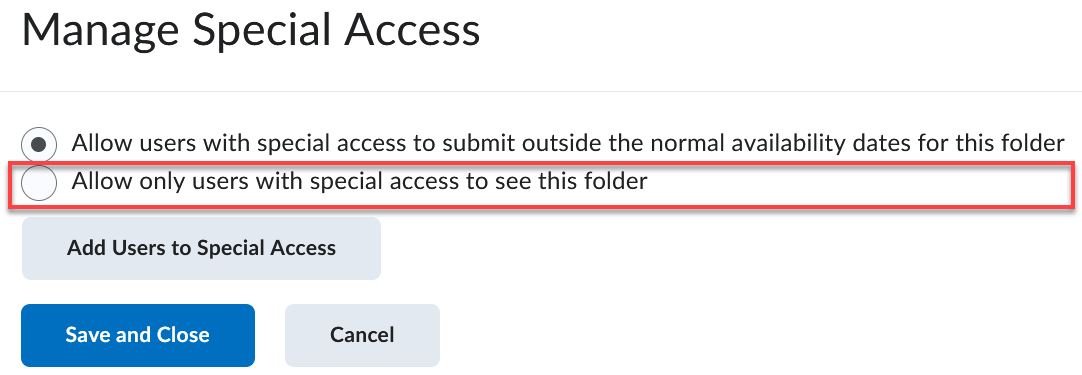
10. Next, select add
users to special access.
11. A pop-up window will
open. Set the desired special access properties by first determining if
the student(s) need to have a different due date, start date, or end date than
the rest of the class by selecting the corresponding checkbox and setting
the desired dates and times.

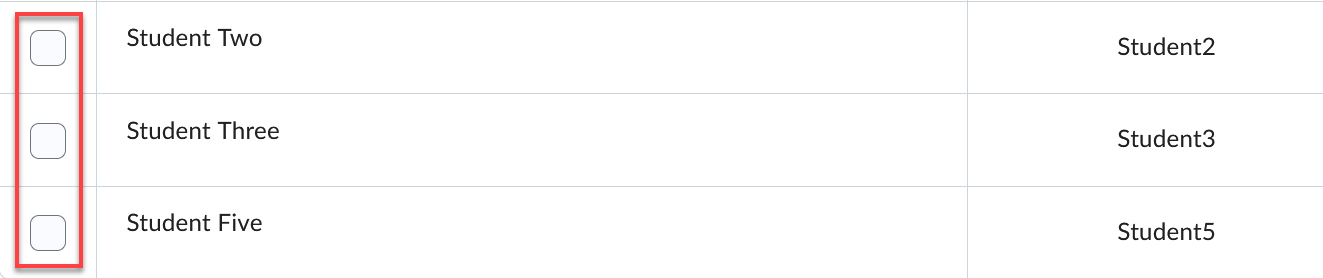
12. Then select which
student(s) in the class need the specified special access by placing a checkmark to the left of their name. If needed, use the search bar to search for the
desired student(s) by name.
13. Select Save at the bottom of the pop-up
window.
14. The pop-up window will close and the special access that
was just created will appear on the Manage Special Access page. Review the special access for correctness.

a. If needed, edit the special access by selecting the pencil
icon to the right of the specified student.

b. If needed, delete the special access by selecting
the “x” icon to the right of the specified student.
15. Once the special access has been set, select save and
close at the bottom of the Manage Special Access page.
16. Then select save and close once again at the bottom
of the edit assignment page.