The Virtual classroom tool allows students to virtually
attend class meetings and access assignment meetings. Anytime your professors
want to leave an explanation or review content with students, they can do so
using the virtual classroom. This tutorial will show you how to locate the
virtual classroom and navigate through the virtual classroom.
1. Navigate to the desired course on MyFire.
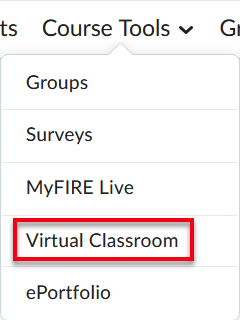
2. From the NavBar at the top of the page, select
Course Tools.
3. A drop-down menu will appear. Select Virtual Classroom.
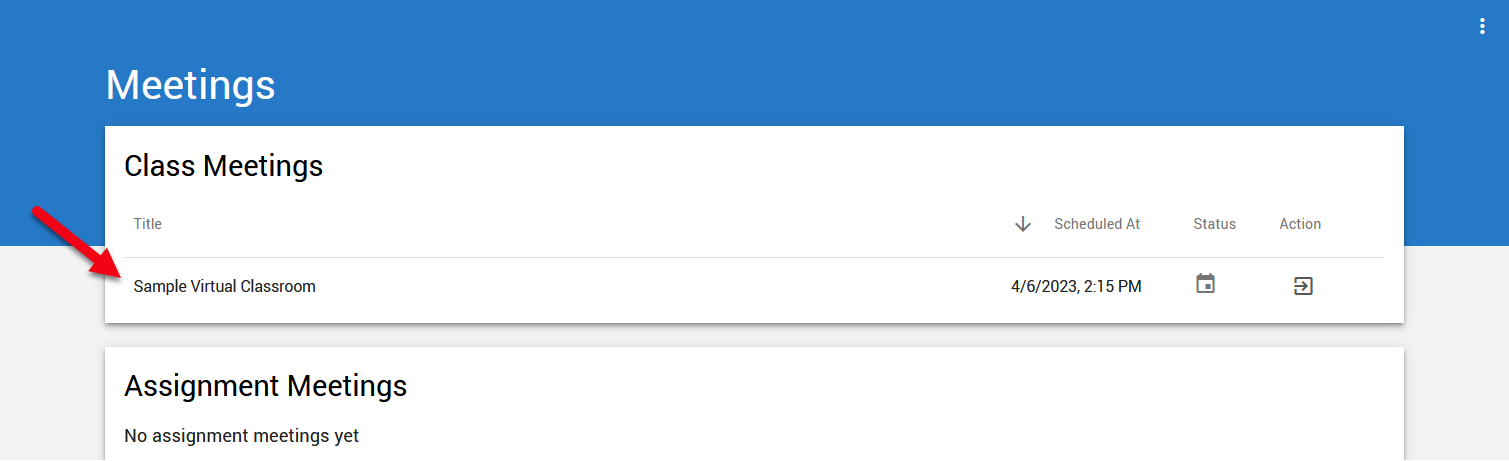
4. When the page refreshes, locate the desired
meeting under Class Meetings or Assignment Meetings.
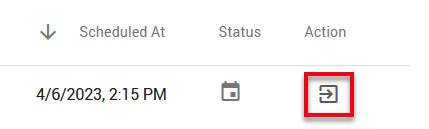
5. Select the Launch Meeting icon under action at
the right of the content title.
6. A new homepage tab will open; select Join at the
bottom of the page.
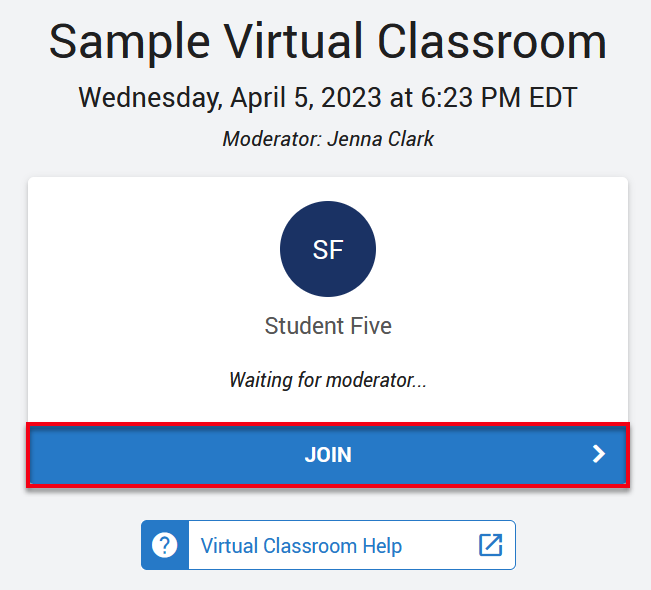
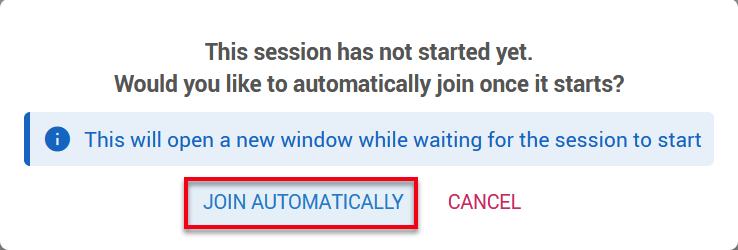
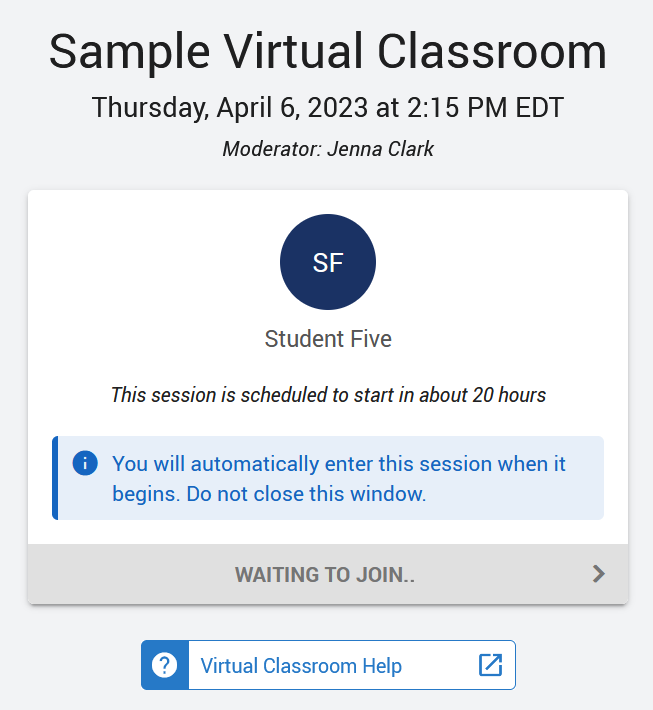
a. Students will not be able to join the meeting
before it begins. If the meeting has not yet begun, you can select Join
Automatically to be taken to a new window. Once the session begins, you will
automatically enter the session.
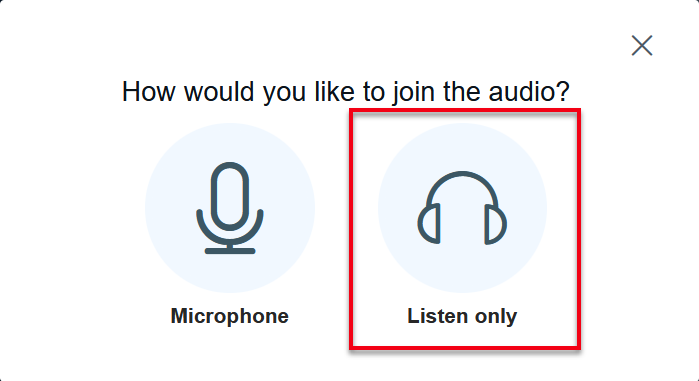
7. A pop-up window will appear. Select the desired
option on how you would like to attend the meeting.
a. If you plan to share a webcam, then select the
Microphone option.
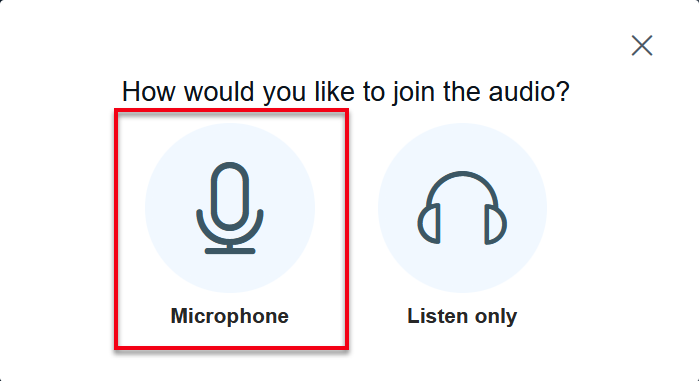
b. Students should select the Listen Only option if
you are not sharing a webcam and only plan to listen to the session or
participate by chat.
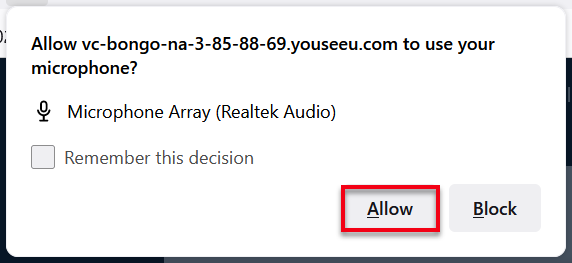
8. If you have selected to join by a microphone,
you will be prompted to allow Bongo the use of your microphone. Select Allow.
Only 7 participants will be able to share their webcam at one time. The
webcam option is first-come-first-serve, and any user trying to share their
webcam when 7 users are actively sharing their webcam already, then the
participant will receive a message: “Webcam Limit has Reached.”
9. The page will open to the meeting room. Students
can:
a. View other participants who are in attendance -
Select the User List Toggle (person icon) at the left top left corner of the
screen.

i. From the User List Toggle, a list of users who
are active in the virtual classroom session will appear. Each user, including
the instructor, will appear with a colored box to the left of the name.
ii. When a user is speaking, the colored box will
show a moving lighter color around it, signaling that the user is speaking.
iii. For each user that has their microphone enabled,
a green microphone icon will appear at the bottom right corner of the colored
icon. Also, the icon will change to a red crossed out microphone icon when the
user is muted. Presenters can mute and unmute users by selecting the
user's name that they want to mute.
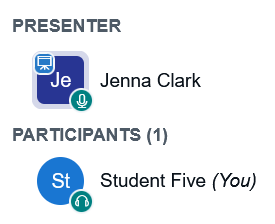
iv. When the user is presenting, a blue presentation
icon will appear in the top left of the colored icon.

b. Presenters can also chat with students by
selecting the chat icon located at the top left of the screen. A panel will
open to the left of the screen showing the public chat.

i. A note at the top of the chat will remind users
to use a headset to avoid background noise if needed. Also, if the instructor
has chosen to invite external participants setting during the creation process,
phone numbers will be listed so that the users can join the meeting by phone if
desired.
ii. At the bottom of the chat panel, users can enter
a message or add a file to send to the other users.

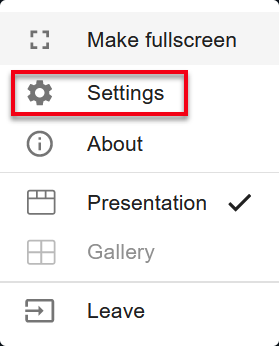
c. View Settings - Select the three dots located at
the right top of the screen.

d. The basic page of the virtual classroom starts
with a whiteboard that the presenter could write or type on during the meeting.

i. To edit the whiteboard, presenters have a tool
menu to the right of the screen.

1. Tool options - this option includes a text,
line, eclipse, rectangle, pencil, and pointer tools that can be selected by
selecting the pointer icon.
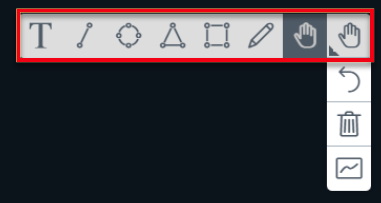
a. Once a tool is selected, thickness and colors
options to choose from will appear.
2. Undo Annotations - this option will undo the
last line, word, or mark that was added to the presentation.

3. Clear All Annotations - this option will clear
all marks on the presentation.
4. Multi-User Mode - this option will allow for
multiple users to write, type, or mark the presentation at one time. When
marking up the presentation, the name of each user be listed to each user’s
marks.

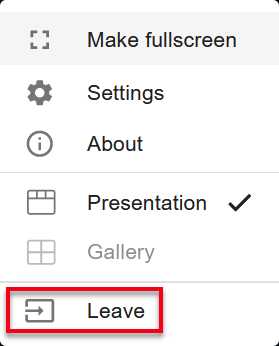
10. When
the meeting has ended, or to leave the meeting, select Leave from the three
dots options icon to leave the meeting. Then select Leave Meeting.
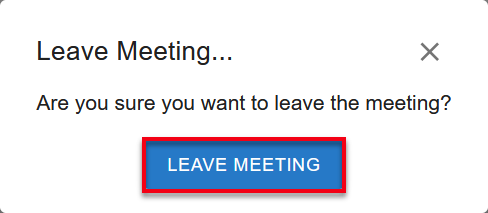
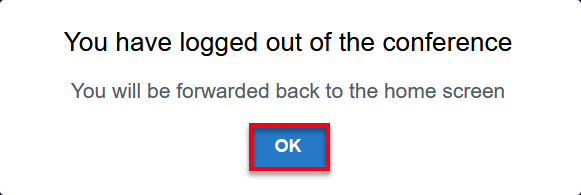
11. When
you leave the group, select OK and close the window to be redirected to the
main page.