It
is recommended that professors utilize the calendar tool to help keep students
on track and organized in their courses. This tutorial demonstrates how to
create and add a calendar event in a course in MyFIRE.
1. Navigate to the desired course in MyFIRE
2. Once
in the course, select course tools.
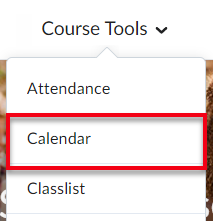
3. From
the drop-down menu, select calendar.
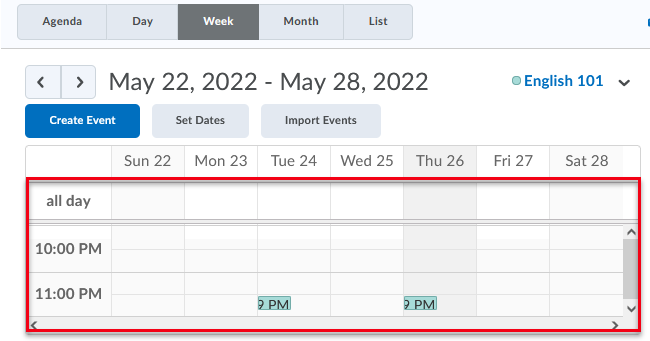
4. When
the page refreshes, navigate to the desired view of the calendar by selecting
either agenda, day, week, month, or list.

a. Agenda: This option will
provide an overview of the upcoming events that are scheduled for today and
tomorrow.

b. Day: This option will
provide a list of events for a specific day.

c. Week: This option will
provide a list of events for a specific week.
d. Month: This option will
provide a list of events for a specific month.

e. List: This option will
provide an overview list of the events that are scheduled for the course.

5. To
add an event to the calendar, select create event.

6. If
the event that you would like to create should be attached to a content item in
the course, select add content to connect the calendar event to the
content item. If the new calendar event should not be connected to a content
item, continue to step 7.

a. If selected, a pop-up
window will appear. Select the content module or content item that needs to be connected to the calendar event.

i. If a content item that
is nested within a module needs to be attached to the calendar event, select
the arrow to the right of the module title that the item is nested
within.
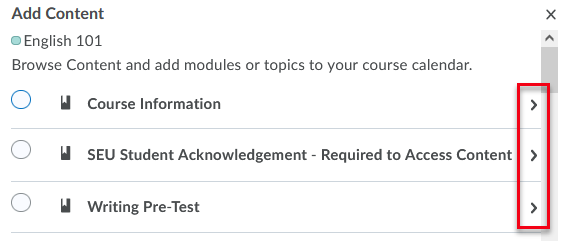
b. Once the desired module
or content item has been located, select the circle to the left of the
title.

c. Then select add at
the bottom of the pop-up window.
d. Then if desired, a
separate custom name can be added to the calendar event with the attached
content item by selecting the use custom name checkbox.

i. If the use custom name
checkbox is selected, a title field will appear. Enter the custom title in the title field.

7. If
the event is not connected to a content item, enter a title in the event
title field.

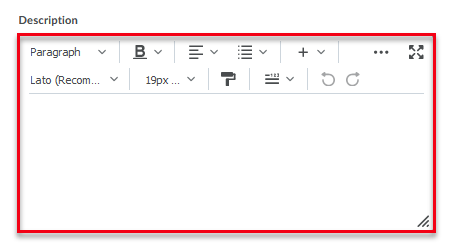
8. Next, enter a description of the calendar event in the description field. If
needed, refer to the utilize the MyFIRE Editor tutorial.
9. Then
decide who should see the calendar event by selecting the attendees drop-down
menu. The options include:
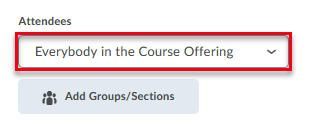
a. Everyone in the course
offering
b. Each individual in the
course offering
c. Any individual group
created in the course
i. If needed, groups can
be added by selecting add groups/sections.

10. Next,
decide the date and time of the calendar event by either choosing all
day or entering specific start and end dates and times.

11. Determine
if the calendar event is a recurring event or not. If it is a recurring event,
select add recurrence to repeat the event.

a. If Add Recurrence is
selected, choose how often the event will take place.

i. Recurrence: This option will allow
users to set the desired occurrence pattern between daily, weekly, monthly, or
annually. Note: ID&T does not recommend creating a calendar event
on an annual recurrence.
ii. Repeat Every:This option allows
users to choose how often the calendar event will repeat based on the
recurrence selection.
iii. Recurrence Ending:This option will allow
users to set an end date for recurrent events. The end date is required to set
a recurrence for a calendar event.
12. If
desired, select add restriction if the calendar event should be hidden
from students’ view for a specific period of time.

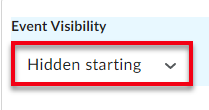
a. If selected, choose the desired event visibility option:
i. Hidden Until: This option will
allow users to have the event hidden on the calendar until a specified date or
time prior to the actual calendar event.

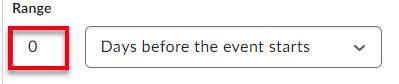
1. Choose if the hidden
range will be days, hours, or minutes prior to the event.

2. Enter the desired range
with a numerical number.
ii. Hidden Starting: This option will
allow users to have the event hidden on the calendar after an event has
occurred.
1. Choose if the hidden
range will be days, hours, or minutes after the end of an
event.
2. Enter the desired range
with a numerical number.
iii. Visible Between: This option will
allow users to choose to make the event hidden between a specified date and
time range.

1. Enter a start date and time.

2. Enter an end date and time.

iv. Hidden: This option will
allow users to completely hide the calendar event until the instructor manually
makes the event visible.
13. If
desired, add a location to the calendar event if appropriate. For
example, Building BVE Room 221.

14. Once
done filling in all of the calendar event details, select create at the
bottom of the page.