In MyFIRE, students can submit all assignments in one area
called the Assignment Submission Folder. These folders contain multiple
submission types including file submissions, text submissions, on paper
submissions, and observed in person. Instructors can house all assignments for
viewing, grading, and leaving feedback for each submission within an assignment
folder. This tutorial demonstrates how to create an assignment in a
course.
1. Navigate to the specified course in
MyFIRE.
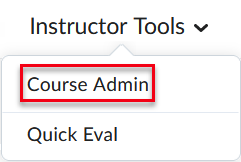
2. Once within the course, select Instructor Tools at the top of the page in the navigation bar.
3. Then select Course Admin.
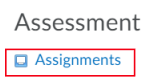
4. Locate and select Assignments.
5. Once the page refreshes, select New Assignment at the top of the page.

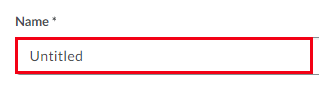
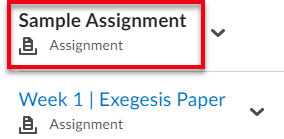
6. When the page refreshes again, title the
assignment folder in the name field.
Note: We recommend naming the assignment
the same name that is listed in the course syllabus to alleviate possible
confusion for the students.
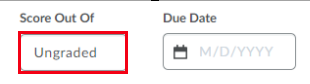
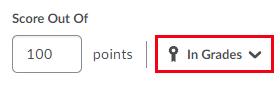
7. Next, enter the maximum points in the
Score Out Of field for the assignment.
a. Once the Score Out Of field is selected, a
drop-down menu will appear to connect the assignment to the grade book, to
unattach the assignment from the grade book, or to change the corresponding
grade item to ungraded by selecting the desired option below:
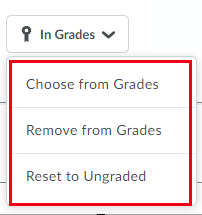
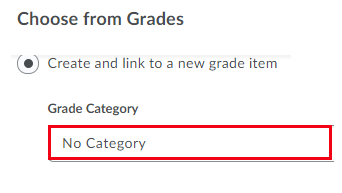
i. Option 1: Choose from Grades
1. A pop-up window will appear. To connect the
assignment to a grade item, select the desired option below:
a. Create and link to a new grade item
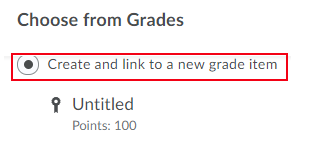
i. Under the Grade Category drop-down menu, select
the desired category that the new grade item will be nested under. Note:
the newly created grade item will not appear until this assignment has been
saved and closed.
b. Link to an existing grade item
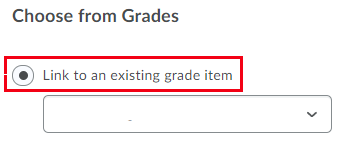
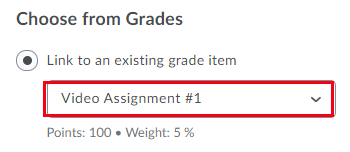
i. The pop-up window will refresh to show an
additional drop-down menu. Select the grade item that should be attached
to the newly created assignment.
2. Select OK
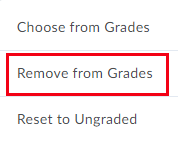
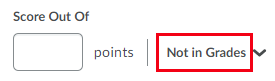
ii. Option 2: Remove from Grades - This
option will change the grade item to a Not in Grades status, and the
grade item will be removed.
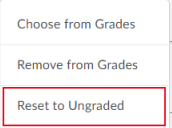
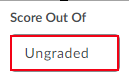
iii. Option 3: Reset to Ungraded - This option
will remove the grade item and score from the assignment completely. The
assignment will be set as ungraded.
8. Then enter the desired due date in the
Due Date field. Once selected, a calendar will appear to assist with choosing
the desired date.
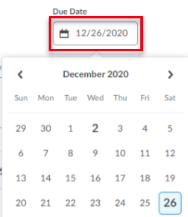
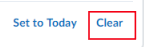
a. If the date that was chosen is no longer
desired, select Clear at the bottom of the pop-up window.
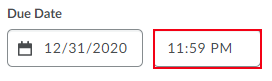
9. Once a date is selected, choose the time of
the day that the assignment will be due.
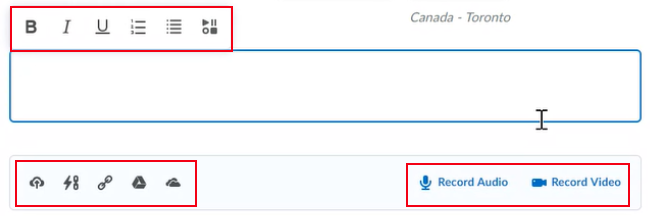
10. Enter
the directions for the assignment in the instructions field.
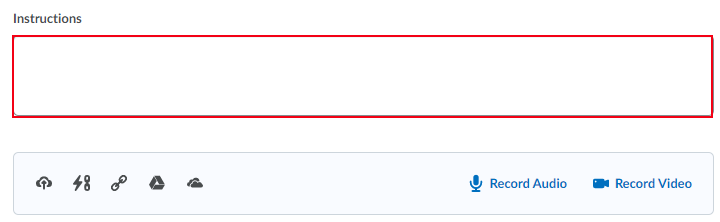
Note: Instructors have the option of adding
files, links, videos, and format the directions as desired by selecting the additional
format options.
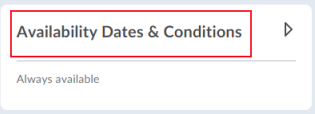
11. Then
select the Availability Dates and Conditions drop-down menu on the
right-hand side of the page. Once selected, the menu will expand.
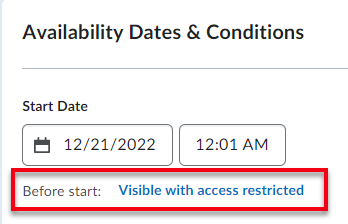
a. If desired, add a start date to the
assignment. Start dates will not allow students to submit to the assignment
until the start date and time has passed.
i. If adding a start date, select visible with
access restricted to determine how the assignment will appear to students
before the start date.
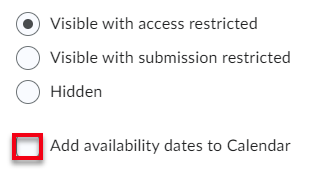
ii. Select the desired visibility behavior:
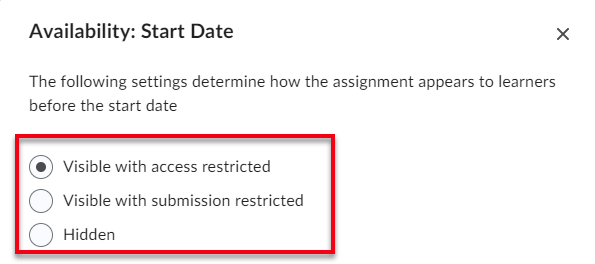
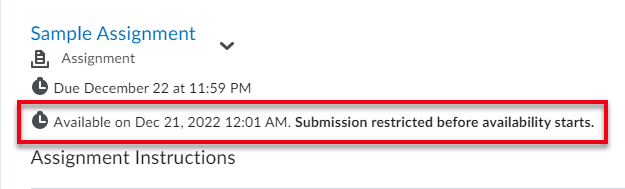
1. Visible with access restricted - This
option will allow students to view that the assignment exists; however,
students will not be able to see the assignment instructions or be able to
submit to the assignment until the start date has passed.
2. Visible with submission restricted - This
option will allow students to view the assignment and assignment instructions.
However, the students will not be able to submit to the assignment until the
start date has passed.
3. Hidden - This option will hide the
assignment from students’ view before the start date.
iii. If desired, add the start date to the course
calendar by selecting the add availability dates to calendar checkbox.
iv. Select Done at the bottom of the pop-up
window.
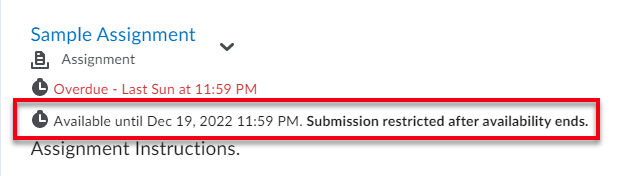
b. If desired, add an end date to the
assignment. End dates will not allow students to submit to the assignment after
the end date and time has passed.
i. If adding an end date, select visible with
access restricted to determine how the assignment will appear to students
after the start date.
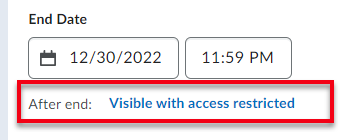
ii. Select the desired visibility behavior:

1. Visible with access restricted - This
option will allow students to view that the assignment exists; however,
students will not be able to see the assignment instructions or be able to
submit to the assignment after the end date has passed.
2. Visible with submission restricted - This
option will allow students to view the assignment and assignment instructions.
However, the students will not be able to submit to the assignment after the
end date has passed.
3. Hidden - This option will hide the
assignment from students’ view after the end date.
iii. If desired, add the end date to the course
calendar by selecting the add availability dates to calendar checkbox.
iv. Select Done at the bottom of the pop-up
window.
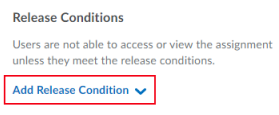
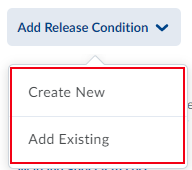
c. If desired, add a Release Condition to the
submission folder by selecting Add Release Condition. A release
condition is a prerequisite that the student has to complete prior to viewing
and gaining access to the assignment that is being created. If no prerequisite
is required, you can skip this step. Professors can create a new condition or
add an existing condition.
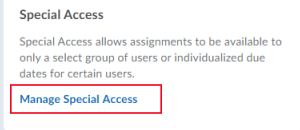
d. If needed, grant an individual or a group of
students extra time or give an extra attempt on the assignment by selecting Manage
Special Access.
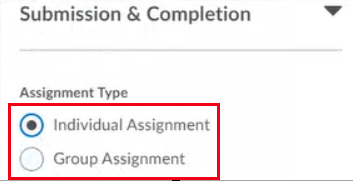
12. Select
the Submission & Completion drop-down menu. Once selected, the menu
will expand.

a. Select the type of submission folder the
assignment should be. Please note, once the assignment type has been selected
and saved, the type cannot be edited. Choose either individual submission or group submission.
i. If choosing group submission, select the
group category to connect to the assignment.
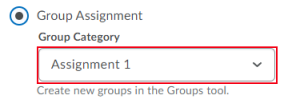
Note: Groups must be set up in advance (under the User Tools tab in the
navigation bar) for the group assignment option to become available to select.
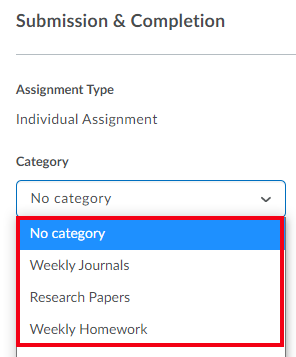
b. If desiring to visually organize the assignments
within the assignment tool, select the category drop-down menu.

i. Choose the desired created category.
ii. If needing to add a new category, select new
category.
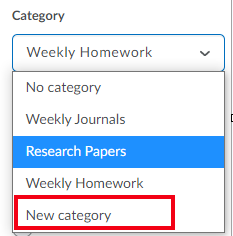
iii. A pop-up window will appear. Type the category
title in the name field.
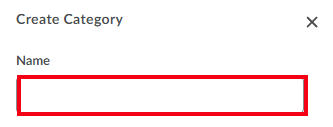
iv. Then select Create.
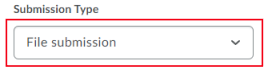
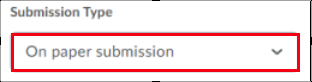
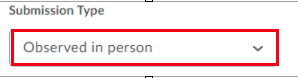
c. Select how the students should submit to the
assignment by selecting the submission type drop-down menu and choose
either file submission, text submission, on-paper submission,
or observed in-person submission. The default type is file submission.
Additional selections will need to be made for each option.
Note: Once students submit to the assignment, the submission type cannot
be changed.
i. File submission - This option requires a
file to be attached or uploaded when submitting to the assignment.
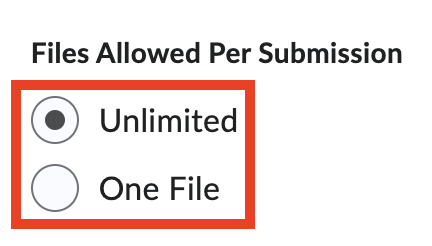
1. Choose how many files are allowed to be
submitted to the assignment folder:
a. Unlimited - This option allows for more than one
file submission to be submitted.
b. One File - This option allows for only one file
submission.
2. Next, choose how the submission(s) will be kept
for grading.
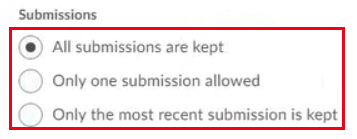
a. All submissions are kept - This option will
allow all of the students' submissions to be kept for grading
b. Only one submission allowed - This option only
allows one submission to be kept for grading
c. Only the most recent submission is kept - This
option will allow only the most recent submission (if more than one) to be kept
for grading
ii. Text submission - This option will
require students to type (or copy & paste) their response in a text field.
There is no file to attach or upload.

1. Choose how the submission(s) will be kept for
grading. Refer to step 11.b.2 above for the listed options.
iii. On paper submission - This option allows
students to submit their paper in class and provides a place-holder for the
assignment in the course and in the gradebook for the assessment.
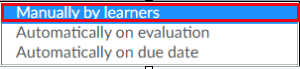
1. If this option is selected, please choose how
the submission will be marked as complete by selecting the marked as
complete drop-down menu.
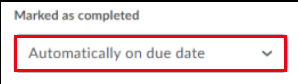
a. Manual by Learners - This option will require
students to mark the assignment complete in the course.
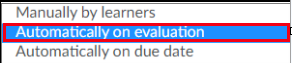
b. Automatically on Evaluation - This option will
automatically mark the assignment as complete once a grade has been entered for
the assignment.
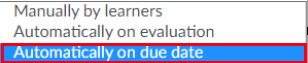
c. Automatically on Due Date - This option will
automatically mark the assignment as complete once the due date has passed. A
due date will need to be enabled as a restriction. This is the default option.
iv. Observed in person - This option allows
students to be observed in person when completing the assignment and provides a
place-holder for the assignment in the course and in the gradebook for the
assessment.
1. If this option is selected, please choose how
the submission will be marked as complete by selecting the marked as
complete drop-down menu. Refer to the 11.b.iii.1 step above for the listed
options.
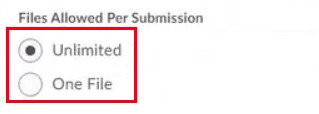
d. Select the number of files to allow to be
submitted to the assignment by selecting either Unlimited or One File underneath Files Allowed Per Submission.
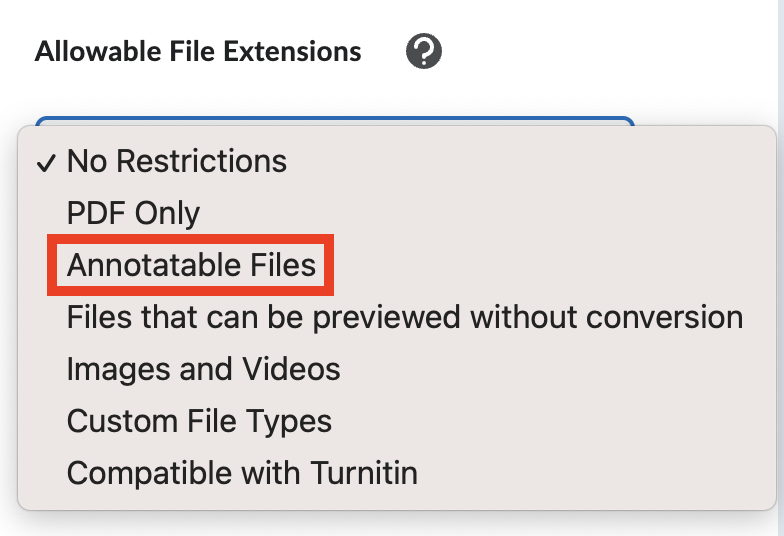
e. If you would like to restrict HEIC files, such as Pages files from Mac computers, from being submitted to the assignment, select the Allowable File Extensions drop-down menu and select Annotatable Files. If this option is selected, students will receive an error message when trying to submit an HEIC file.
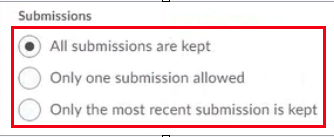
f. Under Submissions, select either All
submissions are kept, Only one submission allowed, or Only the
most recent submission is kept.

g. For File & Text assignment options, if
desiring to receive emails when students have submitted to the assignment,
enter the desired emails in the notification email field.
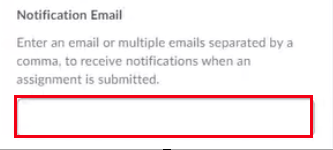
Note: ID&T does not recommend this option. If the content of the
course is copied forward to another offering, then the user that has been added
will receive emails for that course’s submissions too.
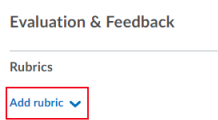
13. Select
the Evaluation & Feedback drop-down menu. Once selected, the menu
will expand.
a. If desired, attach a rubric to the assignment by
selecting Add rubric. Professors will have the option of creating a new
rubric or to add an existing rubric.
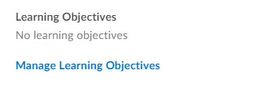
b. If interested in attaching Learning Objectives
to assignments, please reach out to idtsupport@seu.edu for further assistance.
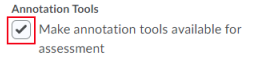
c. The Annotation tool is a mark-up tool that is
available directly in MyFIRE. This option is automatically enabled. If desired,
select the annotation tools checkbox to disable the tool.
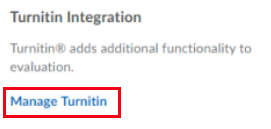
d. If interested in enabling Turnitin on the
assignment, please refer to the Enable Turnitin on an Assignment tutorial.
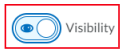
14. Next,
choose if the assignment should be visible to the students by selecting the visibility
toggle at the bottom of the page to change the visibility status.

a. Open Eye icon - means that students can view the
assignment.
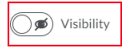
b. Eye icon with a Strikethrough - means that
students cannot view the assignment.
15. Select Save & Close at the bottom of the screen.