
MyFIRE offers the option to email students from within the
learning platform. This allows instructors and students to stay in
communication with each other. When emails are sent through the MyFIRE
platform, students receive the emails in their personal SEU email account. This
tutorial demonstrates how to email students within your course in MyFIRE.
1. Log into MyFIRE and select the desired course.
2. Select the Course Tools tab at the top of the
page in the navigation bar.
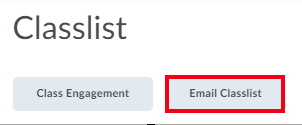
3. Select Classlist from the drop down menu.

4. When the page refreshes, select Email Classlist
at the top of the page.
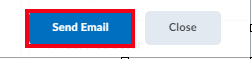
5. When the page refreshes, select the Send Email
button at the bottom of the page.
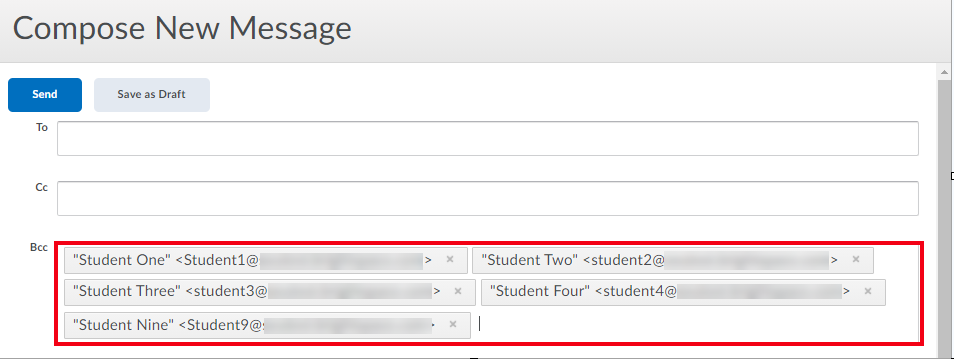
6. A pop-up window will appear to compose an email.
The students in the course will automatically be copied into the BCC field for
confidentiality. Note: If editing or adding users to the To and CC fields,
the maximum number of email addresses for a single email is 200.
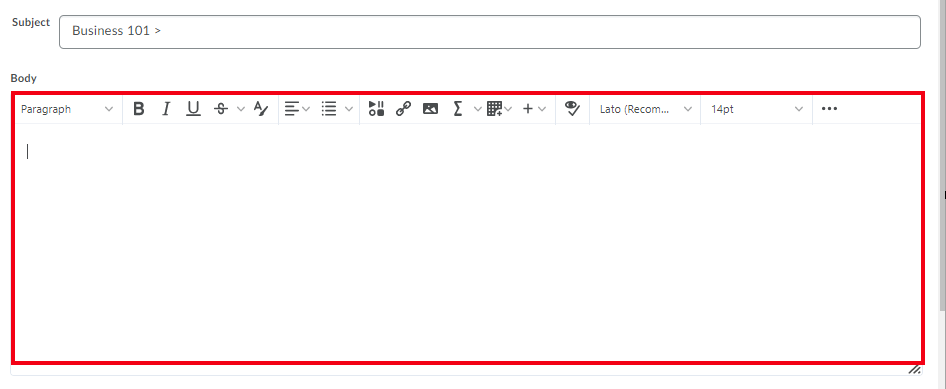
a. The course title will automatically be added in
the subject line. We recommend leaving
the course title in the subject line for easier searchability in your email
history.

7. Next, compose the desired message to the
students in your course within the MyFIRE Editor. Note: For further
instructions on how to utilize the MyFIRE editor textbox, refer to the ‘How to
Utilize the MyFIRE Editor’ tutorial.
8. If desired, add attachments to the email message
by dragging & dropping a file, selecting upload, record, or choose
existing.
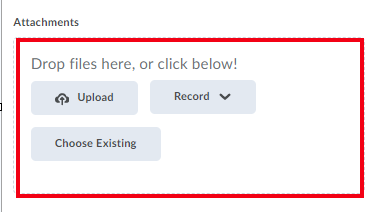
a. Upload - Allows for files to be uploaded
directly from a computer to the email message.
b. Record - Allows for either a 30-minute video
message or a 1-minute audio message to be recorded and attached to the email
message.
c. Choose Existing - Allows for files within the
course, files from your MyFIRE ePortfolio account, or a previously recorded
video note message to be added to the email.
i. If
selected, a pop-up window will appear. Choose either Course Offering Files,
ePortfolio, Video Note Search, or Google Drive.

d. Once the desired file(s) have been added, the
file titles or link will appear under the attachments section as a confirmation
that the files were successfully added.

i. Select
the ‘X’ icon to the right of the file title to delete the attached file from
the message.

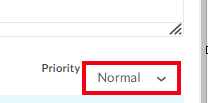
9. If desired, set the priority level for the
message that is being composed by selecting the Priority drop-down menu. The
options include low, normal, and high.
10. Once
done composing the message, select Send at the bottom of the pop-up window.

a. If you prefer to save and send the email at a
later date, select Save as Draft.

b. If the message needs to be deleted, select
Cancel.
11. There
is an alternative option for emailing all or a select group of students within
your course. From the Classlist page, choose the students that should receive
the email message by selecting the checkbox to the left of each student’s name.
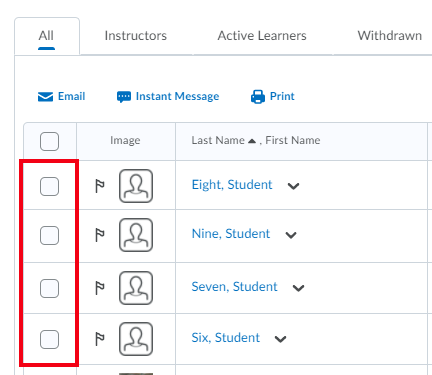
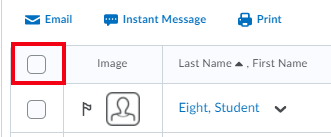
12. If
desiring to send all of the students in the course the email message, check the
select all rows checkbox at the top of the list.
13. If
the classlist is long and you are needing to locate specific students quickly,
at the top of the list there are additional searching options at the top of the
class list.
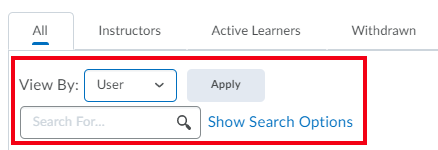
a. View By - This setting allows instructors to
filter the class list by users or by groups.
i. If
selected, choose either user or groups from the drop-down menu.
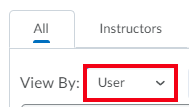
ii. Then
select apply.

iii. When
the page refreshes, if groups was selected, another drop-down menu will appear
to further filter the students by the groups in the class.

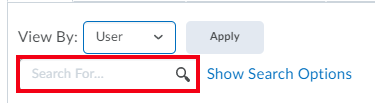
b. Search bar - This option allows instructors to
search for students by typing the specified student’s name in the search bar
and selecting the magnifying glass icon to initiate the search.
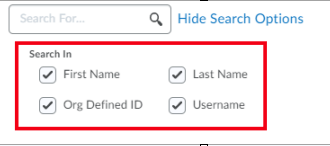
c. Show Search Options - This option allows
instructors to search for students by searching by filter options that include
the following categories:

i. Search
In - This option allows instructors to filter the search by First name, Last
name, Org Defined ID, and Username.
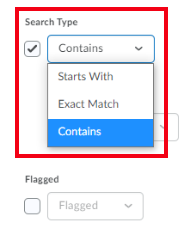
ii. Search
Type - This option allows instructors to filter the search by choosing if the
search starts with, contains, or if you are an exact match of the words that
are entered in the search bar.
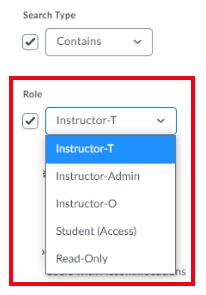
iii. Role
- This option allows instructors to filter the search by choosing a specified
user role in the class to search from.
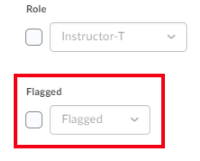
iv. Flagged
- This option allows instructors to filter the search by searching for users
that have been flagged in the class list. Note: We do not recommend flagging
students since students are able to view that they are flagged.
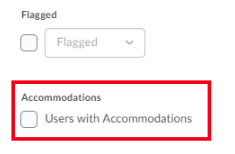
v. Accommodations
- This option allows instructors to filter the search by searching for users
that have had quiz accommodations granted to them in the course.
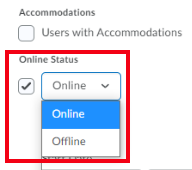
vi. Online
Status - This option allows instructors to filter the search by searching for
users that are either currently online or offline in the exact moment in
MyFIRE.
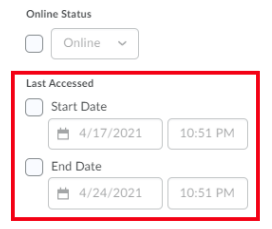
vii. Last
Access - This option allows instructors to filter the search by when students
have last accessed the course during a specified time by enabling a start
and/or end date.
d. Once finished locating the desired students,
select the email icon above the class list to compose and send an email.
