
Intelligent
Agents are emails that can be automated and personalized. Use intelligent
agents to monitor login activity, course activity, and release conditions in
your course. This tutorial demonstrates how to create an intelligent agent in
MyFIRE.
1. Before you begin creating your intelligent agent, decide the following conditions:
a. Criteria the agent looks
for (could include login activity, course activity, and attached release
conditions)
b. Content of the agent’s
email notification.
c. How often the agent acts
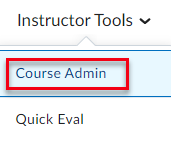
2. From within your course,
select instructor tools from the navigation bar.
3. Select course admin from the drop-down menu.
4. When the page refreshes,
locate and select intelligent agents from the available communication
tools.

5. When the page refreshes,
select new agent at the top of the page.

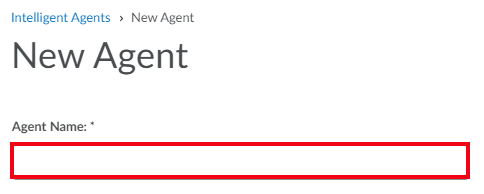
6. Enter a title for the
agent in the name field.
7. Enter a description for
the agent within the description field. Students will not see the
description.

8. If desiring to organize
your intelligent agents: Click the category drop-down menu and select
the desired category.
Note: Categorizing
intelligent agents provides visual organization to the agent list. Intelligent
agent categories are not tied or linked to grades.


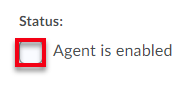
9. Determine if the agent should be enabled to run and take
action.
a. If the agent should run and be published, keep the status checked.

b. If you are in editing mode, we recommend unchecking the status checkbox until the agent is ready for publishing.
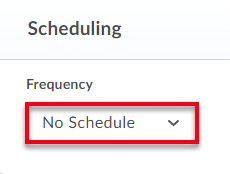
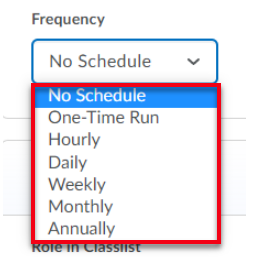
10. Next determine if the agent needs to run on a repeated
schedule by selecting the frequency schedule drop-down menu and choosing
the desired frequency option. The options include: no schedule, one-time run,
hourly, daily, weekly, monthly, and annually,
11. Next, enter the desired criteria for the
agent:
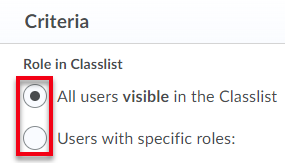
a. Role in Classlist - Choose if you want the intelligent agent to run for all
users in the course or if the agent should only run for designated roles in the
course, such as for students, by selecting the appropriate radio button.
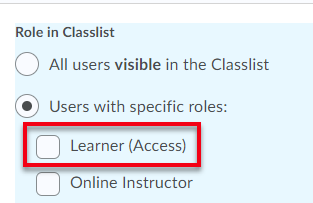
For example, if you only want active students to receive the agent, select
Users with specific roles.
i. Then select the Learner
(Access) role from the expanded role list.
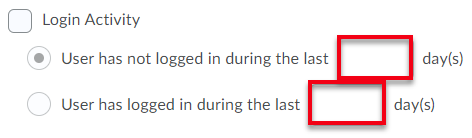
b. Login Activity - If the agent should take action based upon a user’s
login activity, whether the activity is based on users logging in or not
logging into the MyFIRE system, check the login activity checkbox.

i. Then select the desired login
action that the agent should be based on (either login or not logged
in).

ii. Enter the number of
days in the specified text field.
c. Course Activity - If the agent should take action based upon a
user’s access to the course, whether the activity is based on users accessing
or not accessing the specific course, check the course activity checkbox.
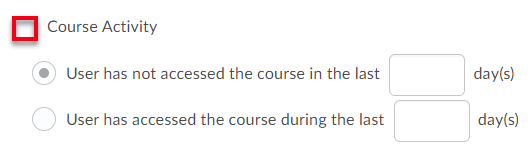
i. Then select the desired course access activity that the agent should be based on (either accessed
or not accessed).

ii. Enter the number of
days in the text field.

d. Release Conditions - If the agent should
take action based on a user’s completion of a specified task or action in the
course, select Create and Attach to create a new release condition or
select Attach Existing to add an already created condition from the
course to the agent.

i. If selecting to create a
new agent, a pop-up window will appear. Choose the condition type and
condition details according to the type of action that needs to be
performed by the agent. Depending on your selections, there may be multiple
condition details that need to be selected.

ii. Once the condition details
have been set, select create at the bottom of the pop-up window.

12. Then enter the desired actions:
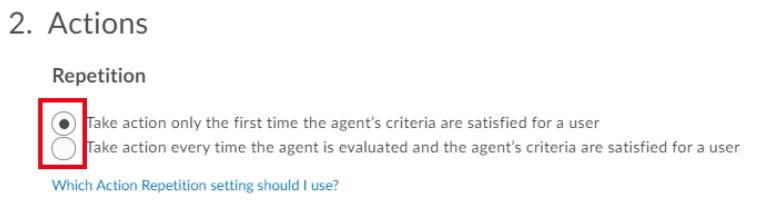
a. Repetition- Determine how often the agent should take action by
choosing if the agent should take action on the first time the agent’s
conditions are met or everytime the conditions are satisfied for a specific
user by selecting the appropriate radio button. If choosing to take
action every time the conditions are met by a user, then the user could receive
the agent message multiple times.
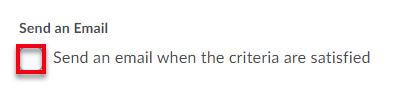
b. Send an Email- This option allows specified users to receive an
automated and personalized email message. To create the email message, select
the send an email when the criteria are satisfied checkbox.
i. Once the checkbox is
selected, the page will expand and show additional email options. Review the
name that the emails come from and the reply-to address for responses to
determine if the default settings are what is desired.
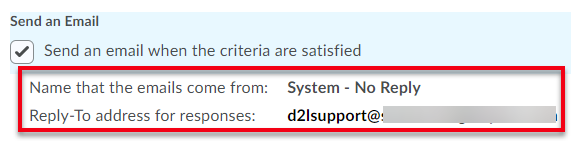
1 If the name that the
emails come from and the reply-to address for responses need to be changed,
after the intelligent agent has been saved, select the settings icon in
the top right corner of the intelligent agent tool page to set custom values.

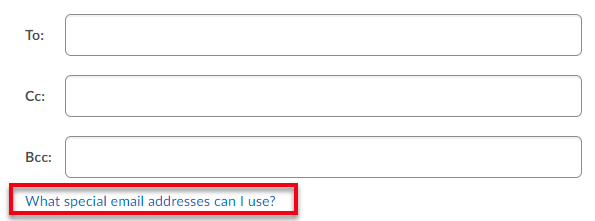
ii. Enter the recipients in
the To, Cc, and Bcc fields by entering the desired replace strings for
the recipient email addresses so that all of the specified users do not receive
a copy of the email every time the agent runs. Replace strings allow for the
personalization of the automated email without having to enter users’ direct
email address or names. View which replace strings can be used in the To, Cc,
and Bcc fields by selecting the What special email addresses can I use link.

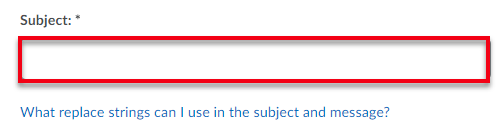
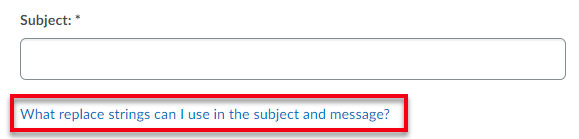
iii. Then enter a subject
title in the subject line field. Please note, you can customize the subject
line by utilizing the available replace strings. View which replace strings can
be used in the subject line by selecting the What replace strings can I use
in the subject and message link.
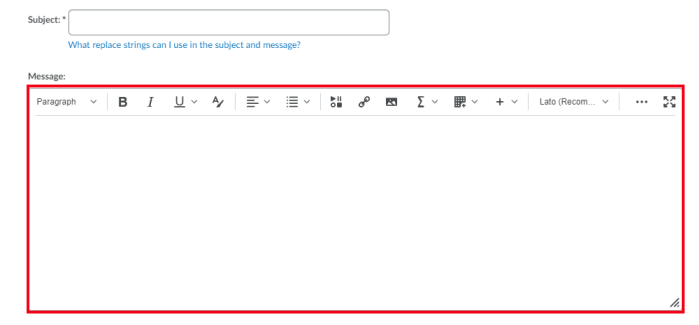
iv. Next, create the desired message by utilizing the available replace strings in the message field. The standard
MyFIRE editor options are also available for message formatting.
13. If desiring to add attachments to the message, select
either upload, record, or choose existing.

a. Upload- This option allows you to upload file directly from your
computer.
b. Record- This option allows you to either record a new video note
or or audio message.
c. Choose Existing- This option allows you to add files that already exist
in the course, from your ePortfolio account, or from an already existing video
note.
14. Determine the email format by either selecting HTML or plain text. HTML is selected by default and is the recommended option from
ID&T.
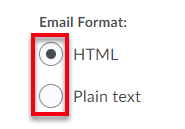
a. HTML- A formatted page that could include visual
elements.
b. Plain Text- Text that contains no formatting and visual
elements.
15. Once done editing the intelligent agent settings, select save
and close at the bottom of the page.

16. When the page refreshes, you will be redirected to the
Intelligent Agent tool page. From this page, you can quickly view if the agent
is enabled or not enabled by the “X” icon.

a. If the “X” icon is
visible to the right of the agent title, the agent is disabled.
b. If there is no “X” icon to the right of the agent’s title, the agent is active.
17. Access additional tool for agents by selecting the drop-down
arrow to the right of the agent title. Options include:
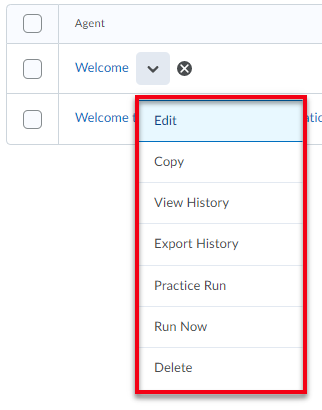
a. Edit- This option allows you to edit the selected agent.
b. Copy- This option allows you to copy the selected agent.
c. View History- This option allows you to view a history record of when
the selected agent ran and who the agent was sent to, including a date and time
stamp.
d. Export History- This agent allows you to export the agent history
records.
i. If selected, choose the
desired agent, if the report should include practice runs, and the from and to
dated that is being targeted.
e. Practice Run- This option allows you to complete a practice run of the
agent. A practice run will not send any email messages to users, but you
will be able to see if any users met the criteria to determine if the agent is
functioning properly. Once the practice run is complete, you will receive an
email message in your inbox that the practice run has been completed.
f. Run Now- This option allows you
to force run the agent regardless of the schedule that has been set in the
settings right at the specified moment when this option is selected.
g. Delete- This option allows you to delete the selected
agent.