
Media
Library offers instructors the option to manage media files within courses. The
Media Library allows the option for storing, reviewing, and editing video
files. There are two main ways that instructors can utilize Media
Library.
· Uploaded media files to
your course (e.g., recording a feedback video or adding a video note within the
course) will automatically be added to the Media Library.
· Media files can be
uploaded or recorded directly in the Media Library tool.
This
tutorial demonstrates how to add files to the Media Library tool within
MyFIRE.
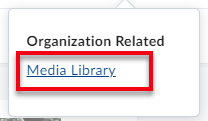
1. Access
Media Library by selecting the admin tools gear icon in the right top
corner of the screen.

2. A
drop-down menu will appear. Select media library.
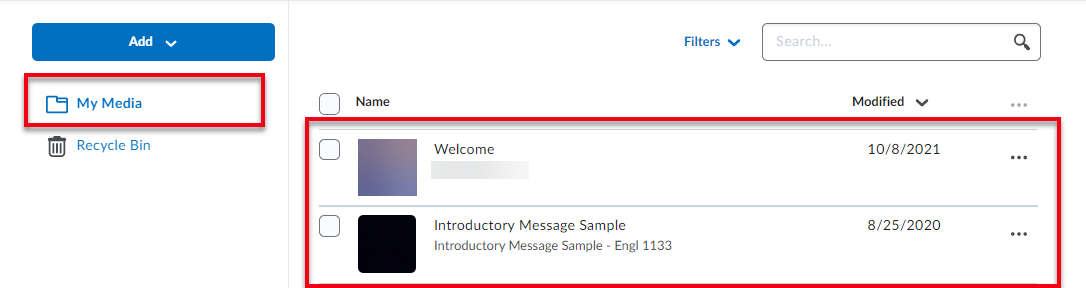
3. When
the page refreshes, a list of all of the media files that you have uploaded or
created in your courses will be listed under your my media folder on the
page.
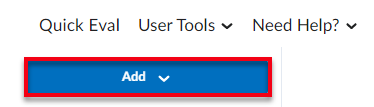
4. Add
media files by selecting the blue add button.
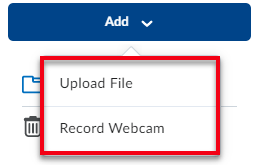
5. A
drop-down menu will appear. There are two options available. Select either to
upload an already created media file or choose to record a new video by
selecting upload file or record webcam.
a. Option 1: Upload a File
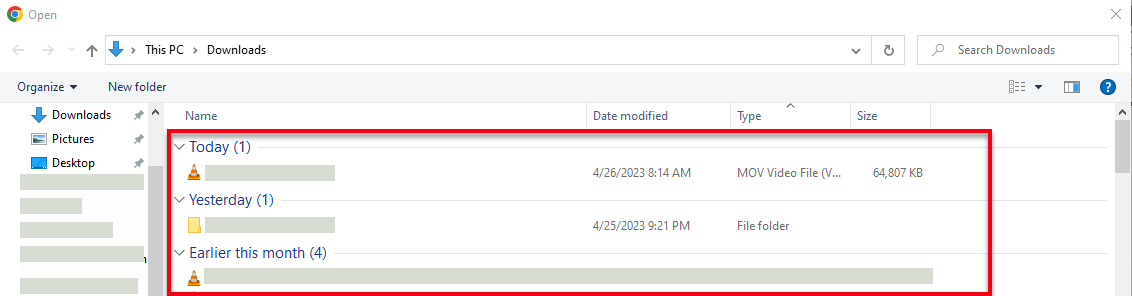
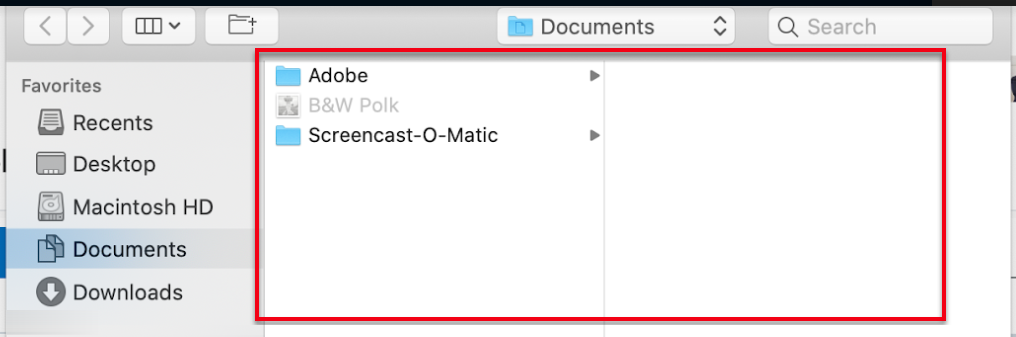
i. Once upload file is
selected, a pop-up window will appear. Locate and select the desired file from your computer. The max file size is 2 GB. It is recommended to upload
videos as a .MP4 file and audio files as a .MP3 file.
1. If the file size is
larger than 2 GB (equivalent to 2000 MB & 2,000,000 KB), then the video
file will need to be compressed before continuing to the next step. There are a
few options that are available to compress video files are:
a. https://www.freeconvert.com/video-compressor
b. https://www.youcompress.com/
c. https://clideo.com/compress-video(video will contain a
watermark)
d. Handbrake (This is downloadable software. If utilizing an SEU computer, you may need to
contact the SEU IT department for assistance.)
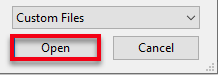
ii. Once the desired file
has been selected, select open.

iii. A message will then
appear in the bottom right corner of the screen that shows the upload process
status. The upload process may take a few minutes to complete based on the
size of the video file and your internet speed.

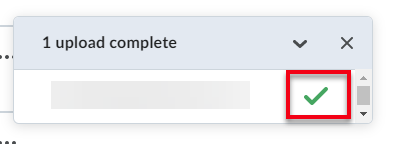
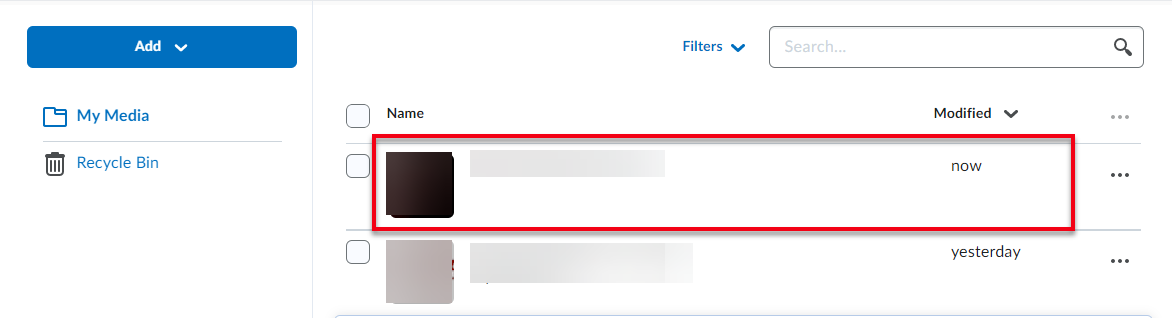
iv. When the upload process
is complete, a green checkmark will appear, and the media file will be
added to the top of the My Media list.
b. Option 2: Record
Webcam
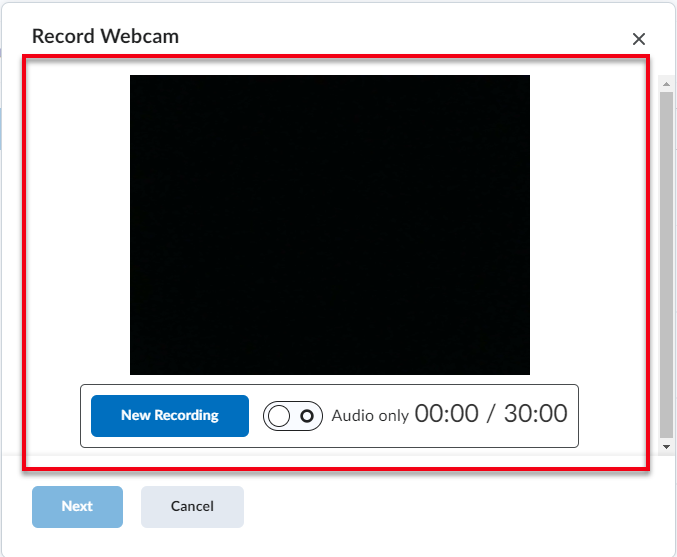
i. Once selected, a pop-up
window will appear to open the recording tool.
ii. MyFIRE will need to
have access to the microphone and camera on your computer to proceed. Another
pop-up window may appear on your screen asking for permission to use your
webcam and microphone. If asked, choose the desired webcam and microphone,
and select allow.

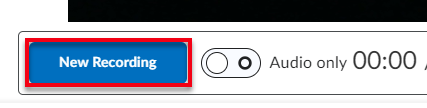
iii. Once ready to start
recording, in the pop-up window, select new recording. Videos and audio
files can be recorded up to 30 minutes in length. Note: Before
beginning to record, ensure that the microphone on your computer is turned on
and is not muted on the keyboard.
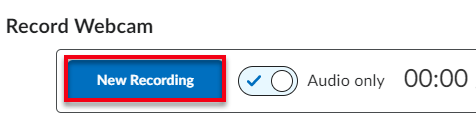
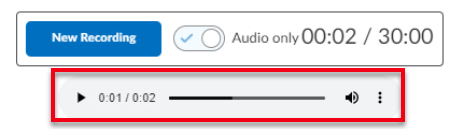
1. If recording an audio
file only, switch the audio toggle to on.

iv. Select new recording.
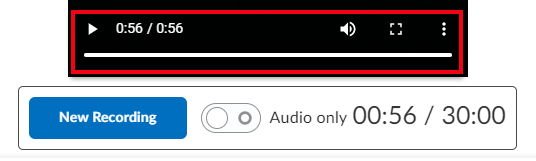
v. When you are finished
recording the message, select stop recording.

vi. Once stop recording has
been selected, the recording will automatically play back to you. Review the video or audio recording to ensure that you are satisfied with the
recording and can hear yourself audibly in the recording by pressing
play.
vii. If you are satisfied
with the recording, select next.

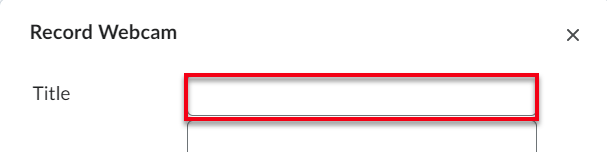
viii. Titlethe recording.
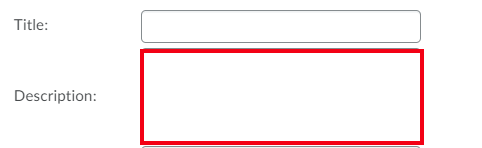
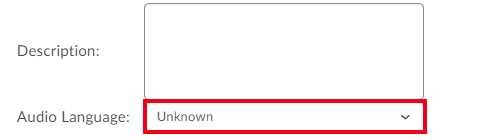
ix. Enter a description for the recording. Note: Entering a description will help you locate the
recording at a later date.
x. Then select the audio
language spoken in the recording from the drop-down menu.
xi. Select the automatically
generate captions from audio checkbox if desired.

xii. Select finish at
the bottom of the pop-up window.

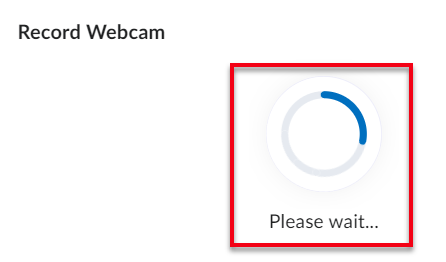
xiii. A
message will be in the center of the screen asking you to please wait, and then
a second message will appear in the bottom right corner of the screen that
shows the upload process status. The upload process may take a few
minutes to complete based on the size of the video file and your internet
speed.
xiv. When the upload process
is complete, a green checkmark will appear, and the media file will be
added to the top of the My Media list.
