Microsoft
Teams is integrated into the MyFIRE learning platform for convenient access to
scheduled meetings for both professors and students. This tutorial demonstrates
how a professor can schedule a Microsoft Teams meeting session directly in a
course within MyFIRE.
· Microsoft Teams is
apart of Office 365 which is available to all students and employees. Students
must accept a licence to have access to Microsoft Teams.
Note: As a best practice, before scheduling a
meeting through Microsoft Teams, communicate with your students to ensure that
they all have access to Office 365. Students can request O365 access through the IT department.
· Maximum number of
participants (including the instructor): 1,000; unless the participants are
View-only participants; View-only allows for up to 20,000 listen-only participants.
· Maximum number of
shared webcams: 50
· Moderators can only
moderate chats and groups.
· Are outside guests
allowed: Yes; Invites are sent through email.
1. Navigate
to the desired course in MyFIRE.
2. Instructors
are able to schedule Microsoft Teams meetings directly within the MyFIRE editor
tool. However, Microsoft Teams meeting titles cannot be customized, therefore,
the best locations to create a Microsoft Teams meeting is through the announcement tool and/or the calendar tool.
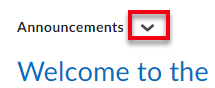
a. Announcement tool:
i. From the course
homepage, select the drop-down arrow to the right of the announcements
title.
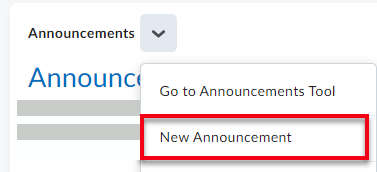
ii. When the drop-down menu
appears, select new announcement.
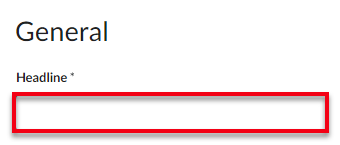
iii. Title the announcement
in the headline field.
iv. Within the content
section, select the quicklinks icon in the MyFIRE editor.

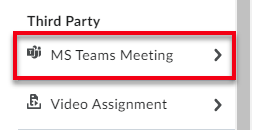
v. A pop-up window will
appear. Scroll down the list and select MS Team Meeting under the Third
Party heading. Note: Ensure that you are not selecting any other tools
present within the Third Party quicklink list as selecting other tools would
alter the tool functionality within the course.
vi. Once MS Teams is
selected, a pop-up window will appear. Scroll down the page and select sign
in.

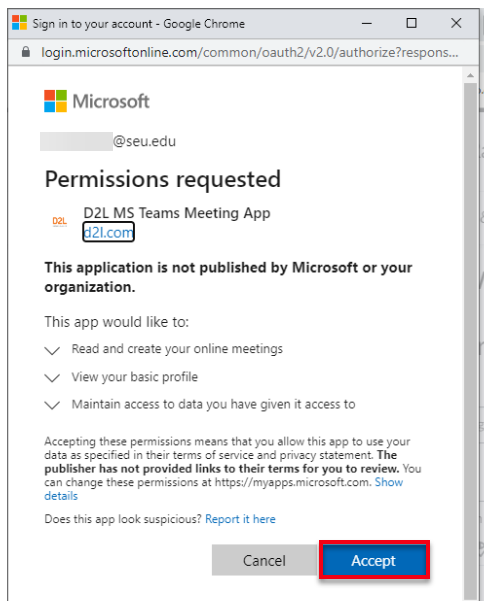
vii. A pop-up window
requesting permissions will appear. Select accept. Note: this
step will need to be completed once.
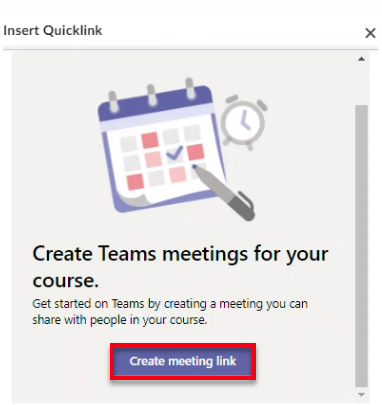
viii. Once
the permissions window has closed, select create meeting link at the
bottom of the first pop-up window.
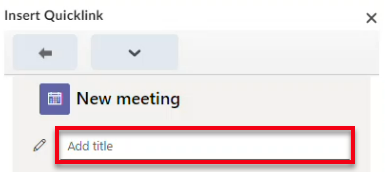
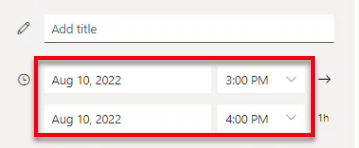
ix. Name the meeting in the title field. The name of the meeting will become the title of the MS
Teams meeting link once it is created. Note: the MS Teams meeting link
cannot be edited once it is created.
x. Add the desired start and end dates and times for the meeting. Note: The
drop-down start time is only listed in 30-minute increments. If starting an
impromptu meeting, manually type the start time in the start time field.
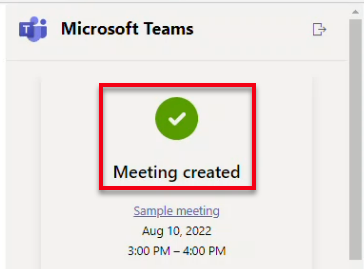
xi. Select create.
xii. The pop-up window will
refresh to confirm that the meeting has been created. Scroll down to the bottom
of the pop-up window and select meeting options.
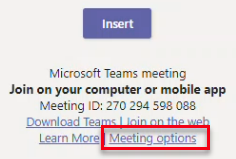
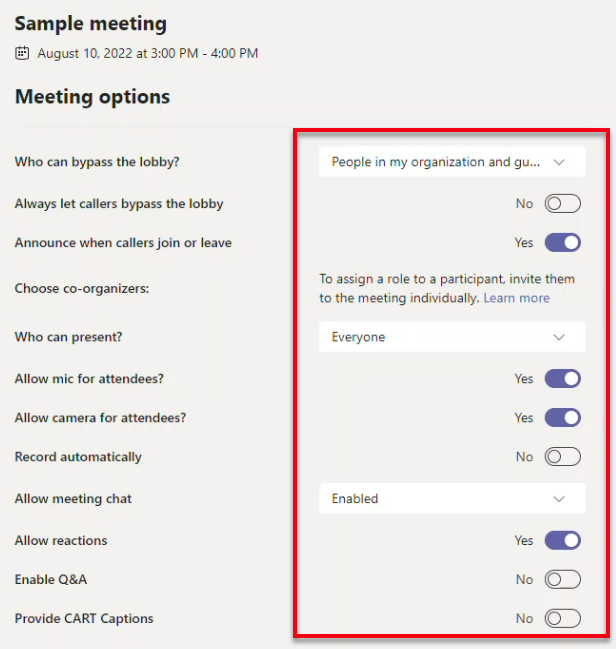
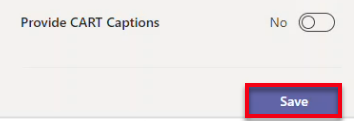
xiii. A
new browser tab will open. Set the desired meeting options.
xiv. Then select save and close the browser tab.
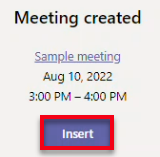
xv. Once the meeting
options have been saved, select insert.
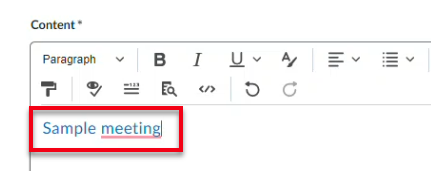
xvi. The pop-up window will
close and the MS Teams meeting link will be entered in the MyFIRE editor
textbox. Note: the MS Teams meeting link cannot be edited.
xvii. Continue
customizing the announcement as desired with the meeting date, time, and any
additional details needed for the meeting. If needed, refer to the how to create an announcement tutorial.

xviii. Select publish or draft at the bottom of the page to save the
announcement.

b. Calendar tool:
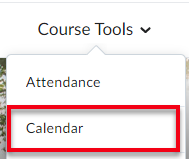
i. Select course tools in the navigation bar.

ii. A drop-down menu will
appear. Select calendar.
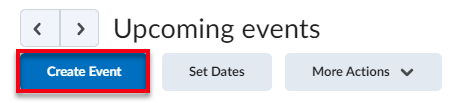
iii. Select create an
event.
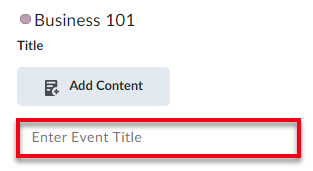
iv. When the page
refreshes, name the event in the title field.
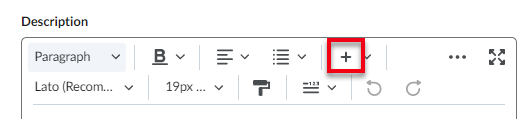
v. Within the description
section, select the + icon in the MyFIRE editor.
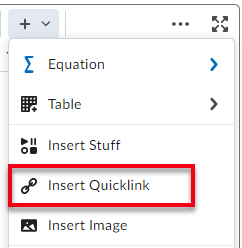
vi. A drop-down menu will
appear. Select insert quicklink.
vii. A pop-up window will
appear. Scroll down the list and select MS Teams Meeting under the Third
Party heading. Note: Ensure that you are not selecting any other tools
present within the Third Party quicklink list as selecting other tools would
alter the tool functionality within the course.
viii. Once
MS Teams is selected, a pop-up window will appear. Scroll down the page and
select sign in.
ix. If this is your first
time utilizing Microsoft Teams in MyFIRE, a pop-up window requesting
permissions will appear. Select accept. Note: this step will
need to be completed once.
x. Once the permissions
window has closed, select create meeting link at the bottom of the first
pop-up window.
xi. Name the meeting in the title field. The name of the meeting will become the title of the MS
Teams meeting link once it is created. Note: the MS Teams meeting link
cannot be edited once it is created.
xii. Add the desired start and end dates and times for the meeting.
xiii. Select create.
xiv. The pop-up window will
refresh to confirm that the meeting has been created. Scroll down to the bottom
of the pop-up window and select meeting options.
xv. A new browser tab will
open. Set the desired meeting options.
xvi. Then select save and close the browser tab.
xvii. Once
the meeting options have been saved, select insert.
xviii. The
pop-up window will close and the MS Teams meeting link will be entered
in the MyFIRE editor textbox. Note: the MS Teams meeting link cannot be
edited.
xix. Continue customizing
the calendar event as desired with the meeting date, time, and any
additional details needed for the meeting. If needed, refer to the add an event to the calendar tutorial.
xx. Select create at
the bottom of the page to save the changes.