
Surveys
are an excellent way to solicit feedback from participants regarding aspects of
a course. For example, the survey tool could be used as a method of researching
additional information or prep for an in-class discussion. This tutorial
demonstrates how to create a survey in MyFIRE.
1. Locate
the desired course.
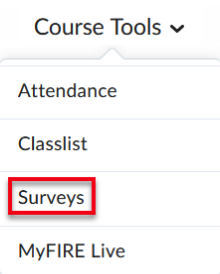
2. From
the navigation bar, select course tools.
3. A
drop-down menu will appear. Select surveys.
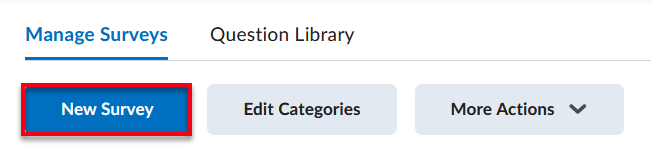
4. When
the page refreshes, select new survey.
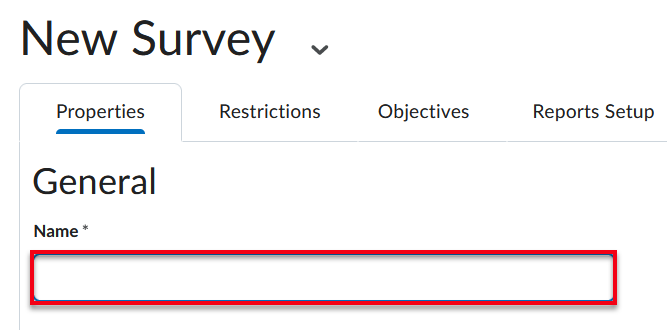
5. Title
the survey in the name field.
6. If
desiring to visually organize the surveys within the Survey tool, select the category from the drop-down menu.
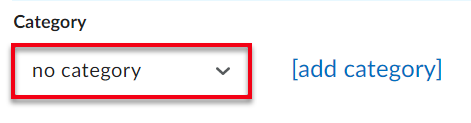
a. To create a new
category, select add category to the right of the category field.

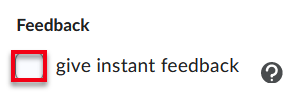
7. If
desiring to provide instant feedback to user’s responses, select the give
instant feedback checkbox. This option will remove the submit option from a
non-editable survey. Any feedback entered for a survey question is instantly
available to a user taking the survey.
8. If
desiring to show surveys responses to the class and make the survey responses
anonymous, select the make results anonymous checkbox. However, it is
recommended to use caution when considering this option due to the responses to
survey questions are available for all users. The user data will not be
displayed, as the system does not report who made what response, but the students
will still be able to see all the results.
Note:
Once this option is selected, it is not reversible. Also, a survey cannot be
made anonymous if any release conditions have been added to the survey or if
any release conditions from other items have added the survey as one of the
conditions.

9. Select view questions to add questions to the survey.
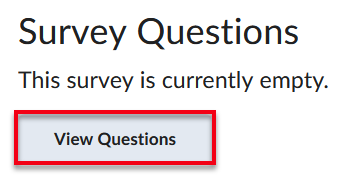
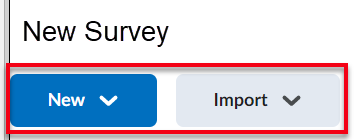
a. Add questions to the
survey by either selecting new or import.
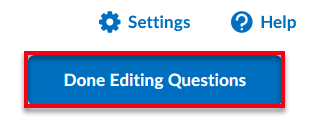
10. Once
done creating or editing questions in the survey, select done editing
questions.
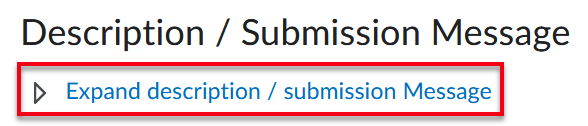
11. If
a survey description and/or a submission message is desired, select the expand
description/submission message link to expand and edit the fields.
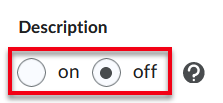
a. Then select on to enable the description and/or a submission message to appear to students’
view. This option is off by default.
b. Enter the desired
description and submission message in the textbox fields. The default
submission message is “You have successfully submitted the survey.” For further
instructions on how to utilize the MyFIRE editor, refer to the how to use the
MyFIRE Editor tutorial.

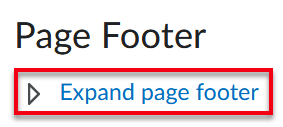
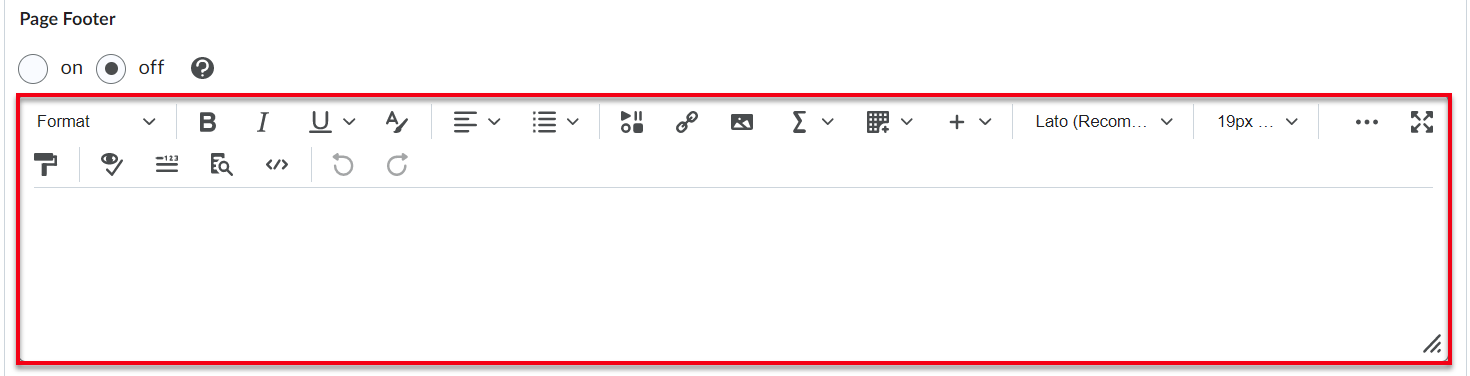
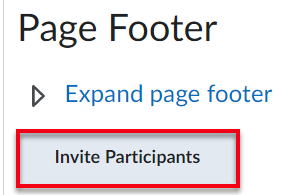
12. If
a page footer is desired in the survey, select the expand page footer link.
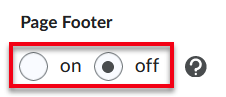
a. Then select on to add a page footer. This option is off by default.
b. Enter the desired page
footer message in the textbox fields.
13. If
inviting the whole class or individual participants in the class to take the
survey, select invite participants. Survey invitations are always sent
to a user's SEU email address.
a. When the page
refreshes, enter a subject title to the survey invitation.
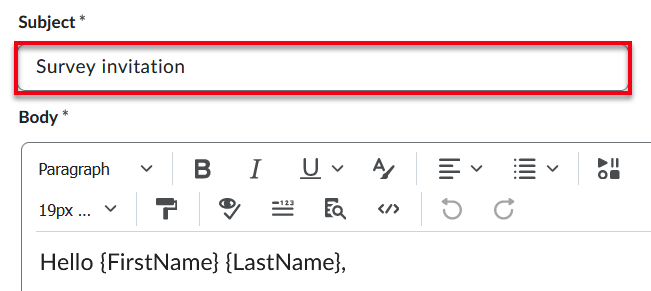
b. Next, edit the body of the survey invite message. The body of the message includes replace strings.
Replace Strings allow for the personalization of the message to multiple users
at one time automatically. The following replace strings are required in
the Body field and should not be removed:
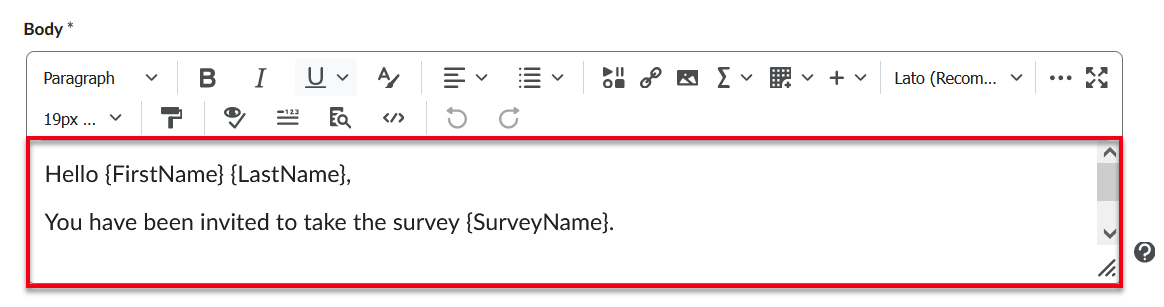
i. {FirstName}:
Automatically replaces with the participant's first name
ii. {LastName}:
Automatically replaces with the participant's last name
iii. {SurveyLinkStart}:
Automatically indicates the beginning of the link to take the survey
iv. {SurveyLinkEnd}:
Automatically indicates the end of the link to take the survey
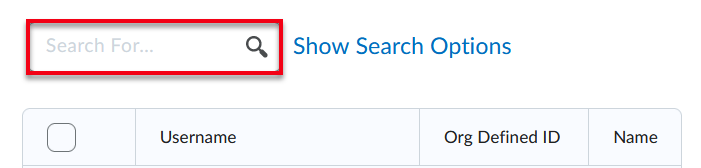
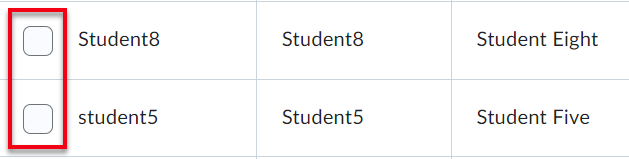
c. Select the desired
users who should be invited to take the survey by either entering the user’s
name in the search bar and selecting the magnifying glass, or by
selecting the checkbox next to the user’s username.
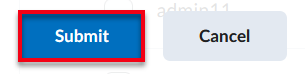
d. Select submit at
the bottom of the page.
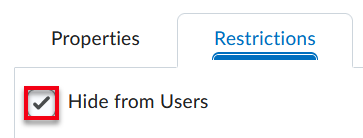
14. When
the page refreshes, the survey properties page will be visible. If done editing
the survey properties, select the restrictions tab at the top of the
page.

15. Deselect
the hide from users checkmark to make the survey visible to
users.
16. If
desired, set start and end dates and times for the survey
availability.
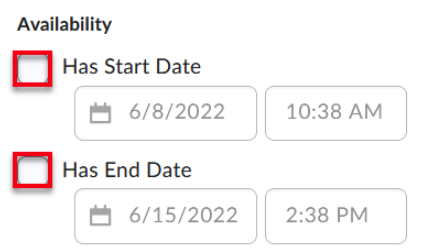
a. If a start or end date
is selected, select the display in calendar checkbox if desiring to add
the dates and times as an event in the calendar.
17. If
desired, add a release condition to the survey by selecting either create a
new condition or add an existing condition. A release condition is a
prerequisite that the student has to complete prior to viewing and gaining
access to the survey. If no prerequisite is required, skip this step.

18. Determine
how many attempts each user will have to take the survey by selecting the attempts
allowed drop-down menu. The options include: unlimited attempts, a single
attempt that is editable, and limited attempts.
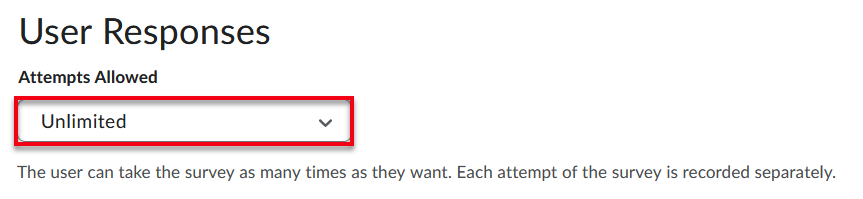
a. If limited attempts is
chosen, the user can take the survey the specified number of times. Each
attempt of the survey will be recorded separately. Enter the specified number
of attempts.

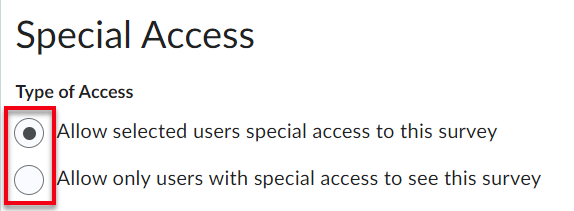
19. If
desiring to grant individual or a group of students extra time, grant extra
attempts, or restrict access to a specific group of users on the survey, select
the preferred type of special access.
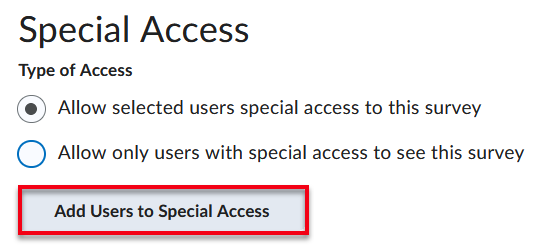
a. Then select add
users to special access at the bottom of the page.
20. Once
done setting the survey settings, select save and close.
