
Depending on the activities in your course, there may be
opportunities to create audio messages to your classmates and/or instructor.
This tutorial demonstrates how to record an audio message in MyFIRE.
When naming a file, MyFIRE will not accept files with
special characters in the title. For more information as to which characters
cannot be used in a title, visit this link: https://www.owasp.org/index.php/Password_special_characters
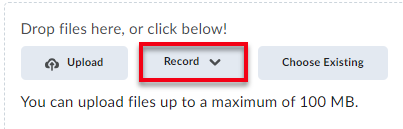
1. Navigate to the desired location where the audio
message needs to be recorded in MyFIRE.
2. Once in the desired location in the course,
select Record.
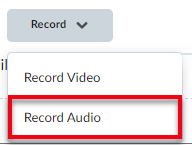
3. A drop-down menu will appear. Select Record Audio.
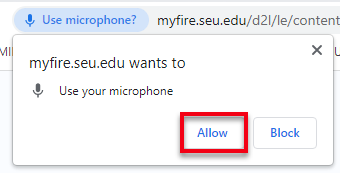
4. A pop-up message will appear requesting access
to use your microphone. Select Allow.
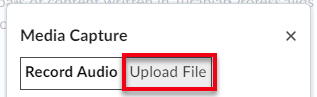
5. A pop-up window will be displayed in the middle
of the screen. If desiring to upload a pre-recorded audio file, select Upload
File.
a. If uploading an audio file, select Choose File to locate and attach the desired file. The file format must be .mp3, .m4a,
.ogg, or .wav.
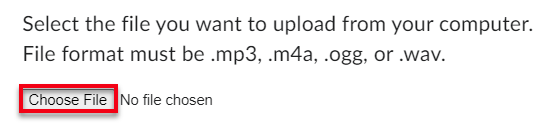
b. Select Add at the bottom of the pop-up
window.

6. If desiring to record a new audio recording
directly in MyFIRE, select New Recording.
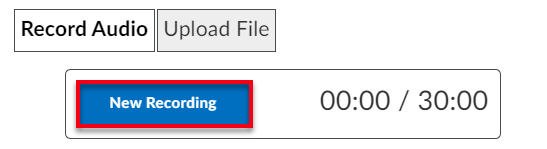
a. The recording will automatically start. Users
can record up to a 30-minute audio file.

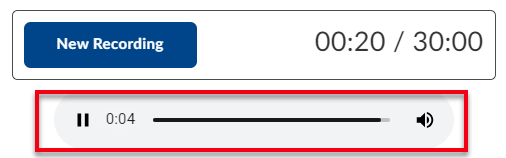
7. Once finished, select Stop Recording.

a. Play back the recording to confirm the accuracy
of the recording by selecting the play bar.
b. If desired, re-record the message by selecting New
Recording again.

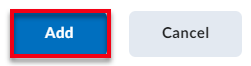
8. Once satisfied with the recording, select Add at the bottom of the pop-up window.
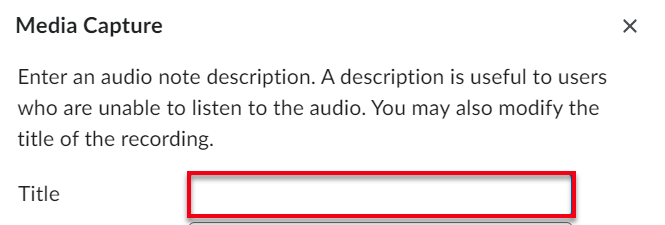
9. When the pop-up window refreshes, enter a name
for the recording in the title field.
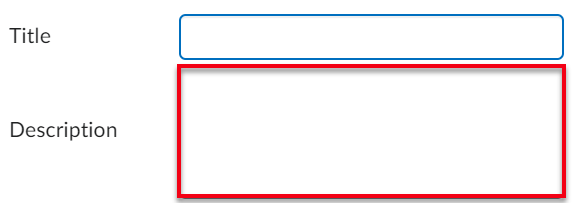
10. Then,
enter a description of the recording in the description field. Note:
ID&T recommends adding a description, especially when there are similar
recordings.
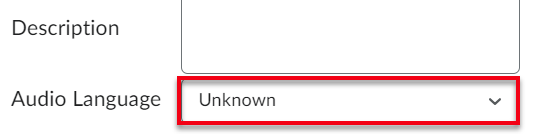
11. Next,
select the type of language that was spoken during the recording from the Audio
Language drop-down menu.
12. Select
the automatically generate captions from audio checkbox for your
listener(s).

13. Select Add at the bottom of the pop-up window. The file will load. This may
take a few minutes depending on the length of the file and the speed of your
internet.
14. The
file will attach. Continue to follow the MyFIRE system prompts based on the
location of where the file is being uploaded.
