How to Add a Link to
your ePortfolio
ePortfolio is a personal
portfolio tool for storing, organizing, reflecting on, and sharing items that
represent your learning. You can include documents, graphics, audio files,
videos, presentations, course work, etc. that demonstrate your improvement or
mastery in a certain area. You decide what items you want to include in your
ePortfolio, how you want to organize them, and who you want to share them with.
This tutorial shows how to add a link to your ePortfolio.
1. Login
to MyFIRE
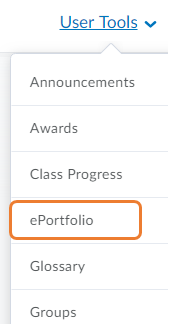
2. Select User Tools at the top of the page in the navbar

3. From
the drop-down menu, select ePortfolio
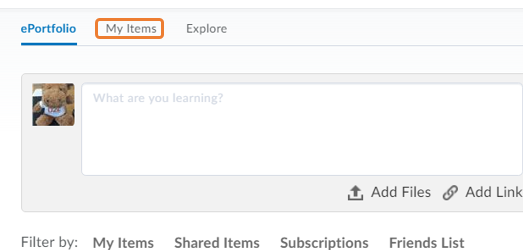
4. The
page will refresh to show the ePortfolio dashboard, which is the main page.

5. Select
the My Items tab.
6. Select
the blue Add button to add a link to your ePortfolio account.
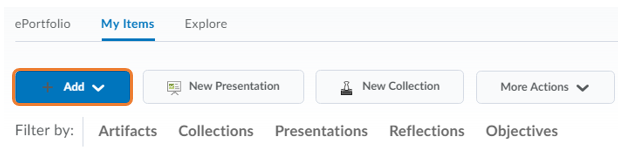
7. From
the drop-down menu, select link.

8. When
the page refreshes, title the link in the name field.

9. Next, paste the URL link into the URL field.

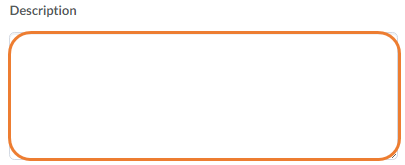
10. Enter a descriptionof the link if desired in the description
textbox.
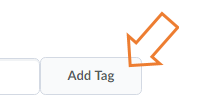
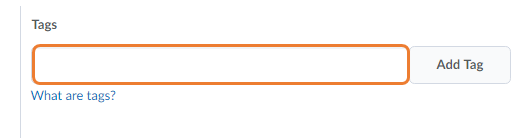
11. Next, tag the link - Tags are keywords that allow for the artifact item to be
searched easily within the ePortfolio tool. You can search for items with
specific tags, and other users can use your tags to search for items (Your
items will not show unless shared). Once you have created your tag(s),
select Add Tag. Tags can be added in bulk by separating them with
commas.
a. To make a multiple-word
tag, place double quotes around the entire phrase. For example: typing
"winter project" makes the two words a single tag.
b. To make a private tag
that only you can see, type an @ symbol in front of the tag. For example:
typing @draft adds a private @draft tag to an item that other users will not
see when you share the item with them.
c. To make a private
multiple-word tag, put the at symbol before the quotation marks, for example:
@"rough draft".
d. Select save at
the bottom of the page.
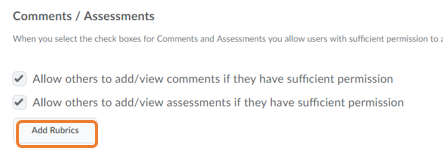
12. When
the page refreshes scroll down the page. Under the Comments/Assessments title, the Allow
others to add/view comments and assessments checkbox(s) are checked
by default. If you would not like other users to view, comment, or view
assessments for the presentation, unselect the desired checkbox.
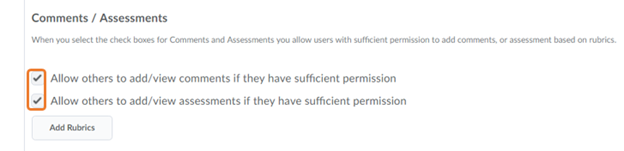
13. If you would like to
attach a rubric to the presentation, select Add Rubrics to attach an
existing rubric from your course(s). Note: To add a rubric from a
specific course, first navigate to the desired course in your MyFIRE account.
Then, enter the ePortfolio from the User Tools menu to access the rubrics for a
specific course. Additionally, if your professor would like for a specific
rubric to be added, please ask him or her for the exact rubric title to ensure
that the correct rubric is being added to the presentation.
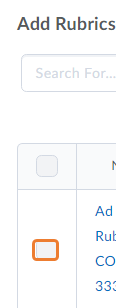
a. If selected, a pop-up window will appear.
b. Search for the desired rubric by typing the
name or keyword in the search bar and selecting the magnifying glass
icon.

i. Then select the desired rubric(s) by selecting the
corresponding checkbox to the left of the item.
14. Under
the Presentations Containing this Artifact title, once the newly added file has
been added to presentations in your ePortfolio, the selected presentations will
be listed in the presentation list field.

15. Next,
if desired, link the file to Learning Objectives in your course by selecting
Associate Learning Objectives.
Note: Learning Objectives are in the development process of being
attached to courses. For the time being, learning objectives will not be
available to attach.
16. Select Save and Close at the bottom of the page.

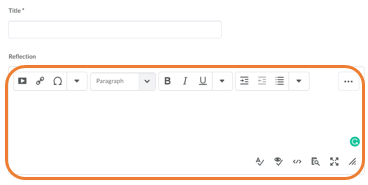
17. When
the page refreshes, add a reflection to the link by selecting add reflection.

a. If selected, a pop-up
window will appear. Name the reflection in the title field.

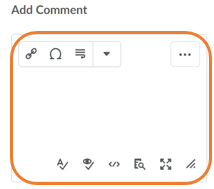
b. Type your thoughts
about the link within the Reflection textbox. Note: For further
instructions on how to utilize/navigate the content HTML editor textbox, please
refer to the ‘How to use the HTML Editor’ tutorial.
c. Next, tag the
reflection by adding keywords in the tag field. Refer to step 11 for
directions on how to tag an item.

d. To give permissions to
others to add/view comments, keep the checkbox marked.

e. Select add at the
bottom of the pop-up window to add the new reflection
18. If
desired, add a comment to the reflection by selecting add comment.
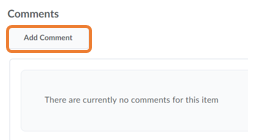
a. A pop-up window will
appear, providing a textbox to enter a comment.
i. Select add at the
bottom of the pop-up window to add the new comment.
ii. When the page
refreshes, the newly created comment will be listed. From this page:

1. The user that created
the comment will be visible
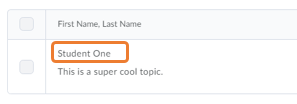
2. The comment itself will
be visible under the creator’s name.

3. The Posted In column
will list where the comment was posted to.

4. The date and time that
the comment was posted will be listed under the date posted column.

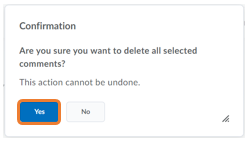
5. If a comment needs to
be deleted, select the checkbox to the left of the desired comment, and
then select the trash can icon within the last column to the right to
delete the selected comment. Note: You will only be able to delete your
comments on your items.

A. A pop-up window will
appear to confirm if you would like to delete the comment. Select yes.
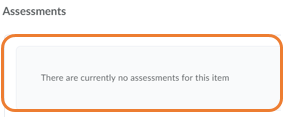
19. Then,
if an assessment was linked to the file, the assessment title will show in the
Assessments field.
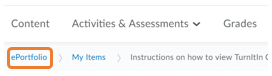
20. Once
done adding reflections, adding comments, or viewing linked assessments, select
the ePortfolio breadcrumb at the top of the page to navigate back to the
main page.