
College of Education Students - ePortfolio Presentation Instructions
The ePortfolio is a place to collect and store some of your
best work from all of your classes and internship here at SEU. The ePortfolio
also allows for organizing and reflecting on items that represent your
learning. You can include documents, graphics, audio files, videos,
presentations, course work, etc. that demonstrate your improvement or mastery
in a certain area. This tutorial shows how to create an ePortfolio presentation
that can be shared with your instructors or potential employers.
Prior to building your presentation, it is important to add
all needed items that you would like to add to your ePortfolio personalized
webpage into your ePortfolio account as artifacts. Here is a link to a tutorial
in the MyFIRE Student Resources course on how to upload an artifact.
The ePortfolio also serves the COE and FLDOE as a progress
monitoring tool to track your growth during your program. Your ePortfolio will
be checked for progress four times during your coursework at SEU. These
checkpoints are to confirm correct artifact placement only. The artifacts
themselves must be the completed and approved assignments from the courses
listed below.
1. In the Field Study 1 course by the professor
2. In the Field Study 2 course by the professor
3. In the Field Study 3 course by the professor
4. For ESE majors, in the Field Study 4 course by the
professor
5. At the end of your Student Teaching EDUC 4912/ESED 5712
ESE Student Teaching by the Student Teaching professor.
The ePortfolio is solely your responsibility to hold,
maintain, and submit as required.
Additionally, for group presentation projects, please refer
to the ‘How to Share Individual Items in ePortfolio Internally within MyFIRE’
tutorial to know how to share a presentation to a classmate. However, when it
is time to share the presentation with your instructor or potential employer,
please follow the directions in the ‘How to Share an ePortfolio Presentation’
tutorial.
Steps to build an ePortfolio Presentation:
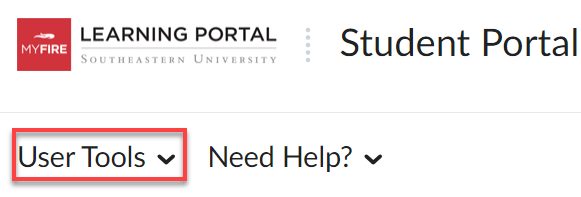
1. On the MyFIRE user homepage, select User Tools
from the navigation bar.
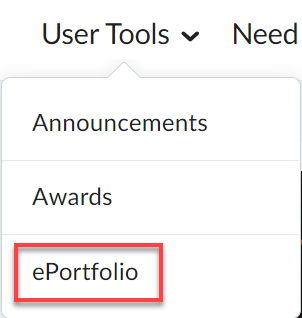
2. A drop-down menu will appear. Select ePortfolio.
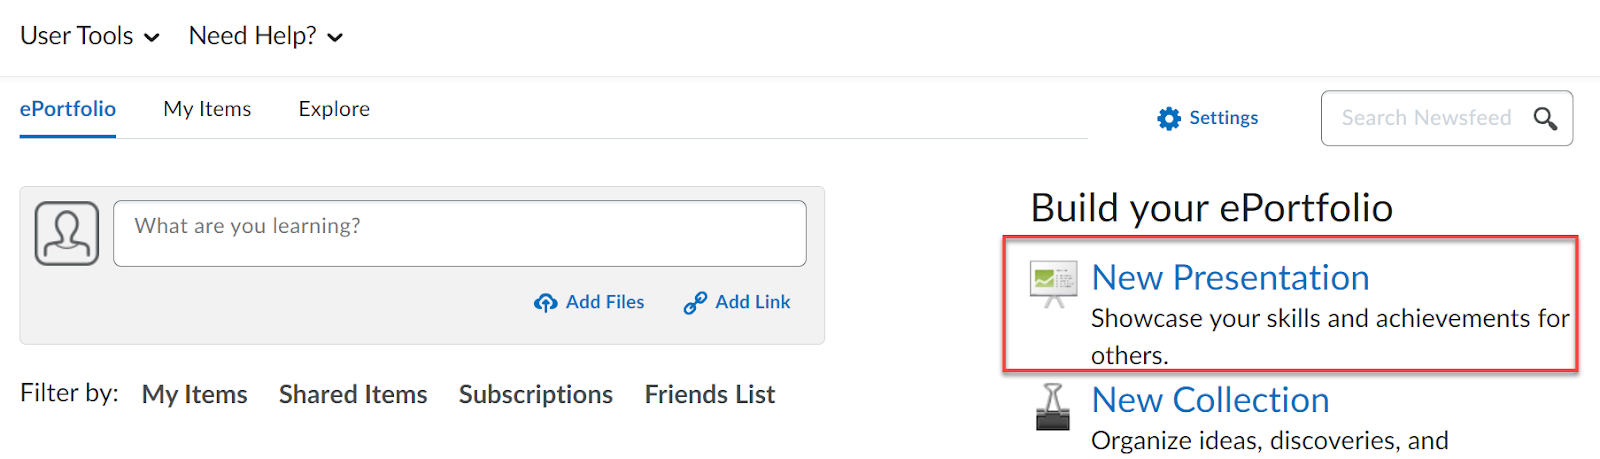
3. When the page refreshes, select New Presentation
under Build your ePortfolio.
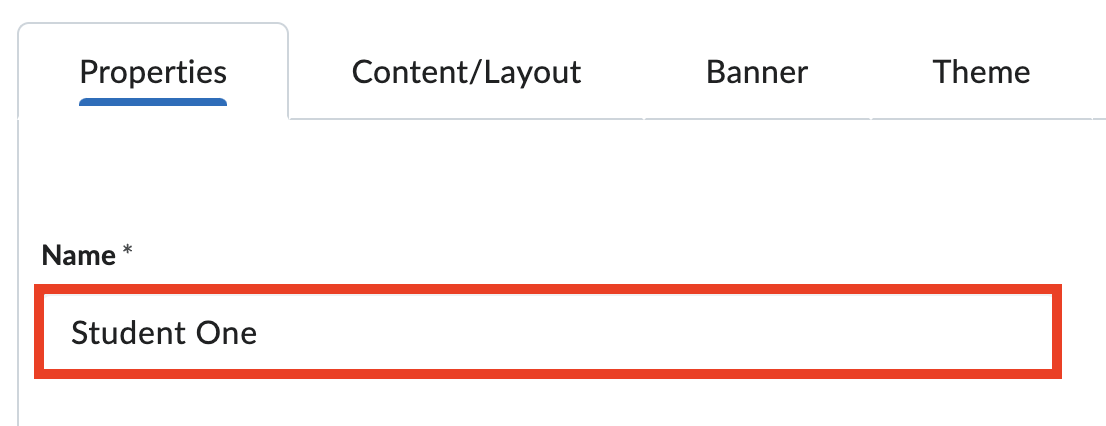
4. Title your presentation in the Name field using
your First & Last Name.
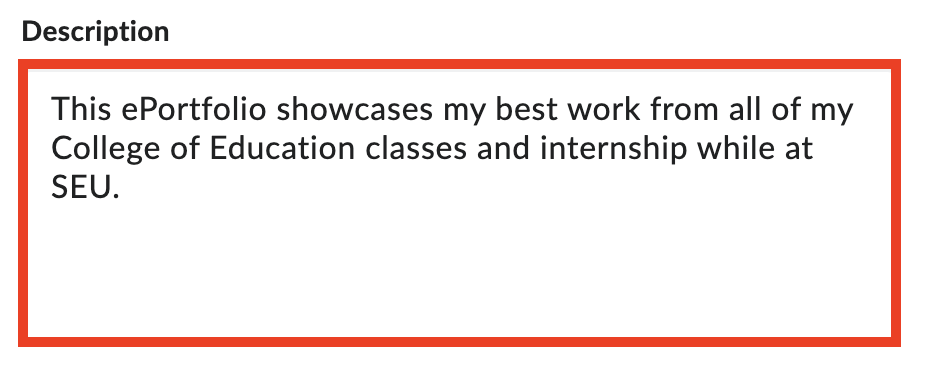
5. Next, add a description: This ePortfolio
showcases my best work from all of my College of Education classes and
internship while at SEU.
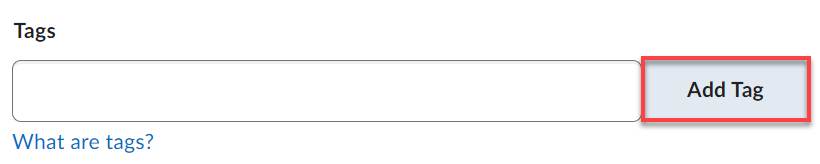
6. Then create tag(s) to associate keywords with
the presentation to make it easier to locate at a later date. You can search
for items with specific tags, and other users can use your tags to search for
items (Your items will not appear unless shared). Once you have created your
tag(s), select Add Tag. Tags can be added in bulk by separating them with
commas. Enter COE as one of the tags. When you’re adding items from specific
classes, include the class title as a tag.

a. To make a multiple-word tag, place double quotes
around the entire phrase. For example: typing "winter project" makes
the two words a single tag.
b. To make a private tag that only you can see,
type an @ symbol in front of the tag. For example: typing @draft adds a private
@draft tag to an item that other users will not see when you share the item
with them.
c. To make a private multiple-word tag, put the at
symbol before the quotation marks, for example: @"rough draft".
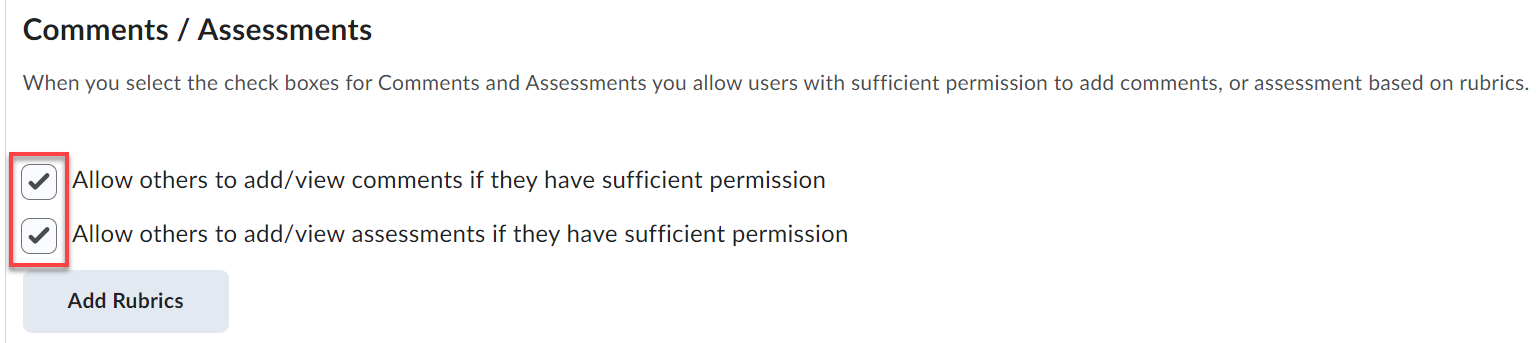
7. Under Comments/Assessments, the ‘Allow others to
add/view comments and assessments’ checkbox(s) are selected by default. Leave
both permissions selected. If these options are not selected, the user that you
share your presentation with will not be able to view your ePortfolio.
8. If you would like to attach a rubric to the
presentation, select Add Rubrics to attach an existing rubric from your
course(s). Note: To add a rubric from a specific course, first navigate to the
desired course in your MyFIRE account. Then, enter the ePortfolio from the User
Tools menu to access the rubrics for a specific course. Additionally, if your
professor would like for a specific rubric to be added, please ask him or her
for the exact rubric title to ensure that the correct rubric is being added to
the presentation.

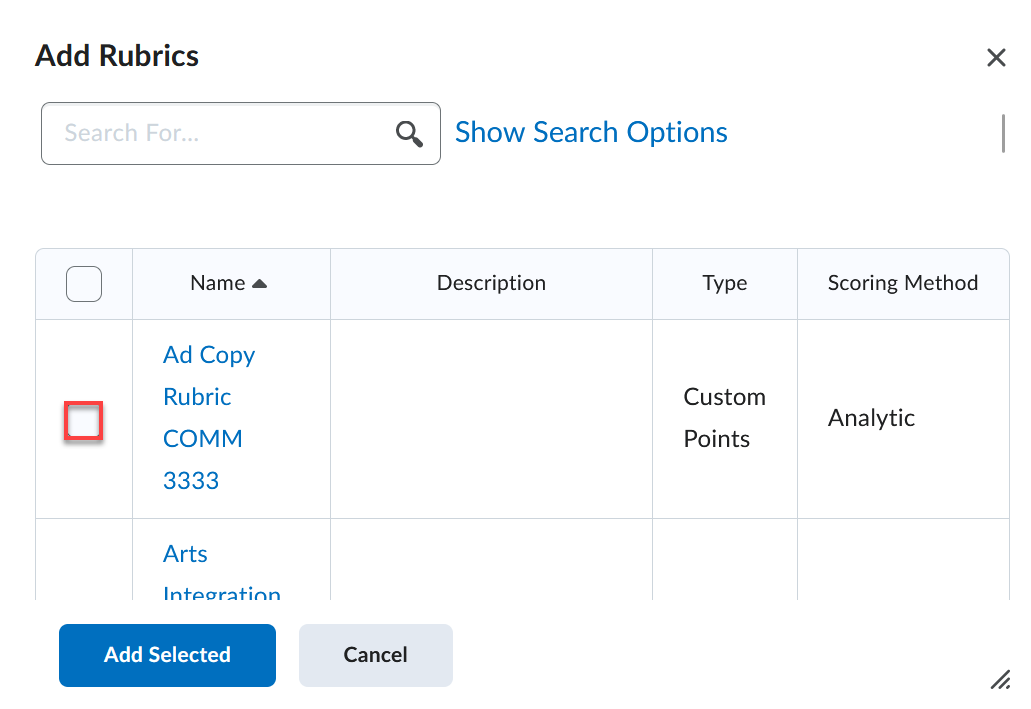
a. If selected, a pop-up window will appear.
b. Search for the desired rubric by typing the name
or keyword in the search bar and selecting the magnifying glass icon.
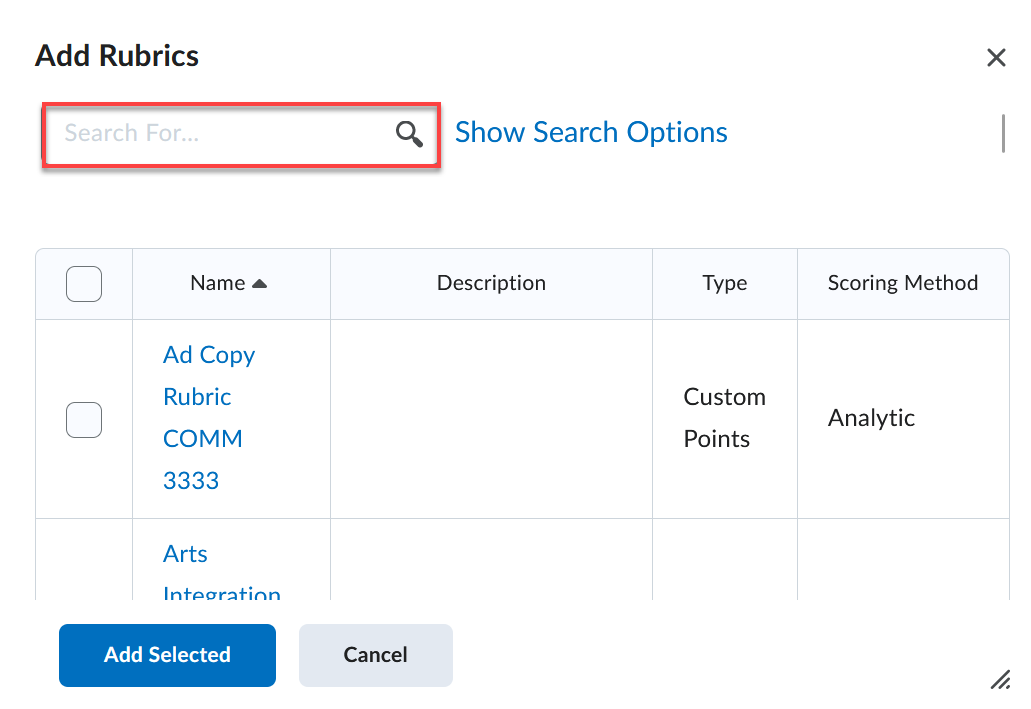
c. Then select the desired rubric(s) by selecting
the corresponding checkbox to the left of the item.
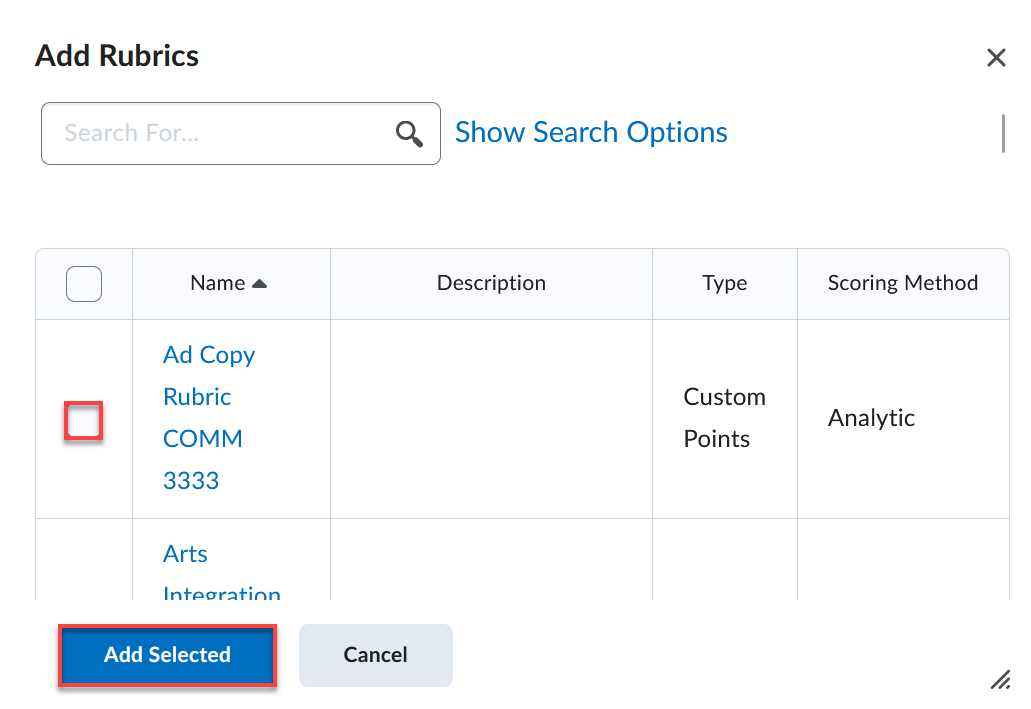
d. Select Add Selected at the bottom of the pop-up
window. The newly attached rubric will appear under the Add Rubrics button.
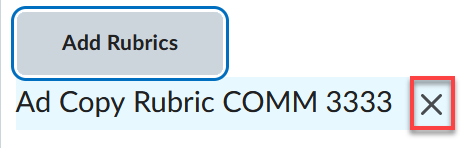
i. If a rubric was attached and needs to be
removed, select the X icon to the right of the rubric title to delete the
attached rubric.
9. Then select Save at the bottom of the page.
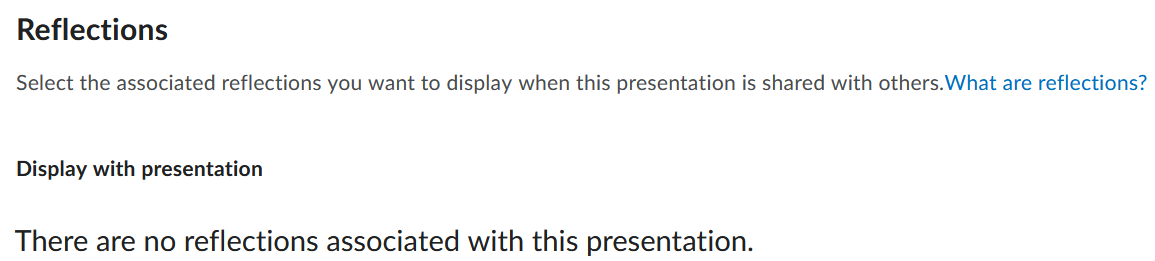
10. Once
save is selected, a new option will appear under the properties tab listing any
associated reflections that are linked to the presentation.
11. Next,
select the Content/Layout tab at the top of the page.

a. Change the location for the navigation bar in
your presentation web page by selecting Edit Presentation Navigation.
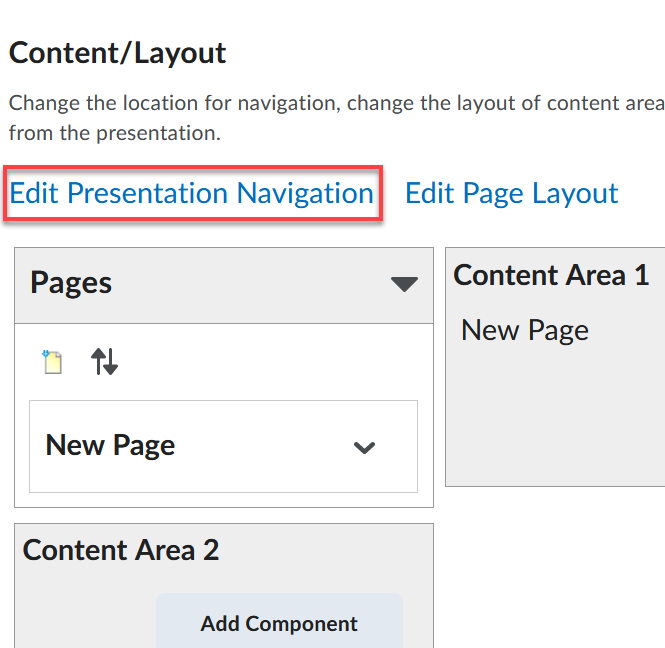
i. Choose the Navigation Before Content option.

ii. Select Save.
b. Change the layout of the content areas in your
presentation web page by selecting Edit Page Layout.
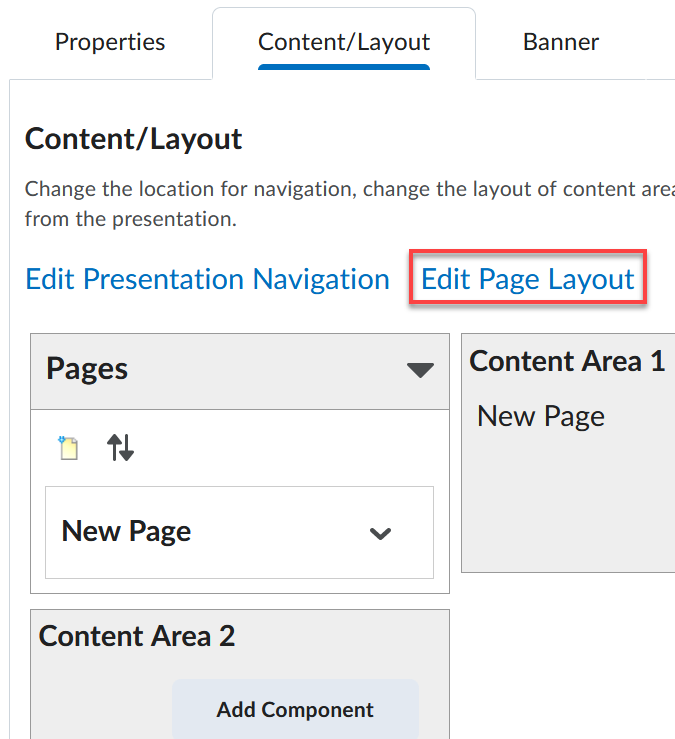
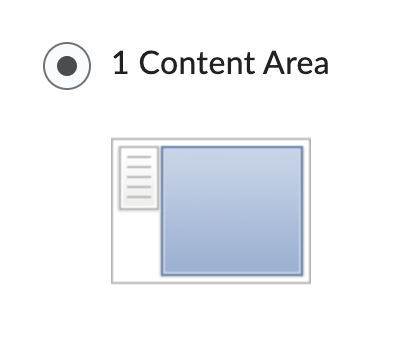
i. Select the One Content Area page layout for your
presentation.
ii. Select Save.
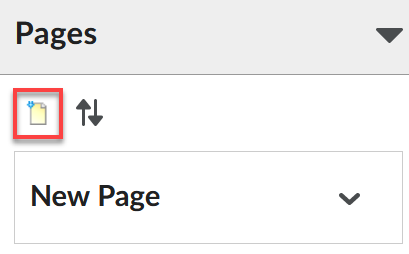
c. Next, add the desired amount of pages that you
will need in your presentation web page by selecting the New Page paper icon to
add additional pages.
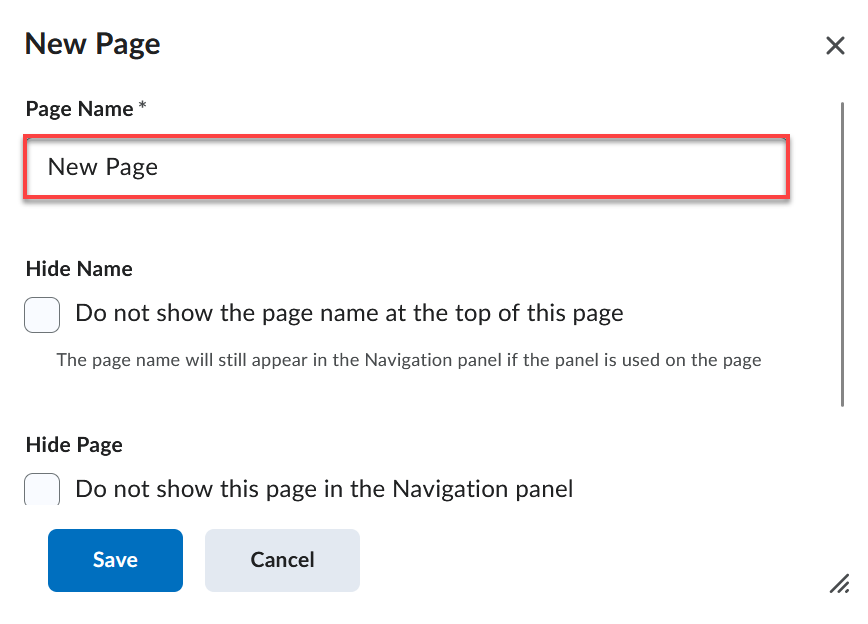
i. For each added page, a pop-up window will
appear. Title the new page in the Page Name field, starting with your
Introduction page.
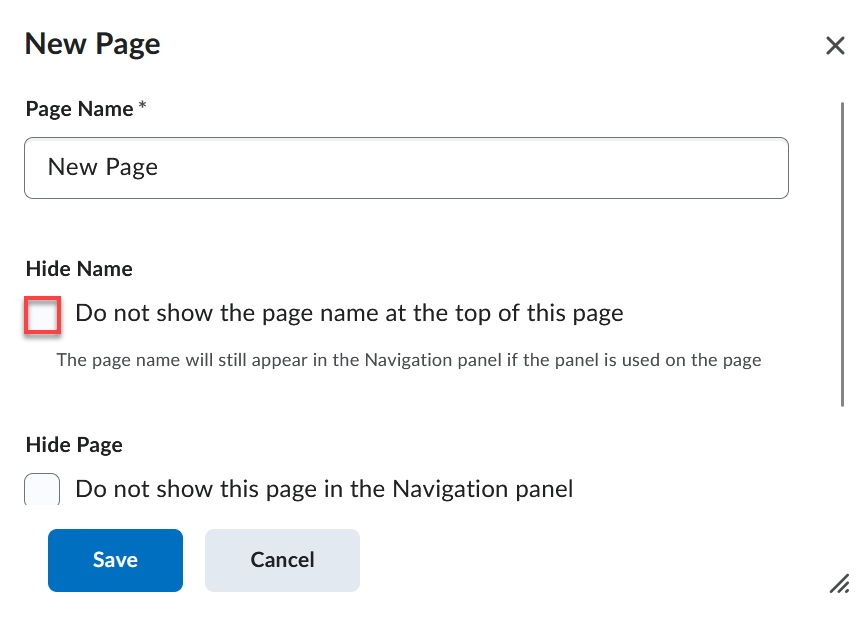
ii. Then, decide if the title of the page should be
hidden to viewers or not based on your discretion. If the title should be
hidden, select the Hide Name checkbox.
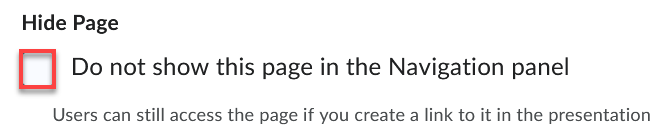
iii. Next, decide if the newly created page should be
listed in the navigation panel. If not, then select the Hide Page checkbox.
iv. Select Save at the bottom of the pop-up window.
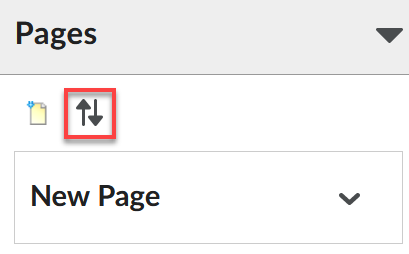
v. Once you have added all 4 (6 if ESE) pages to
the presentation, you can choose to reorder the pages if desired. To reorder
the pages, select the Reorder Pages up and down arrow icon within the Pages
section.
1. When the page refreshes, update the Sort Order
field for each page with the desired page order.
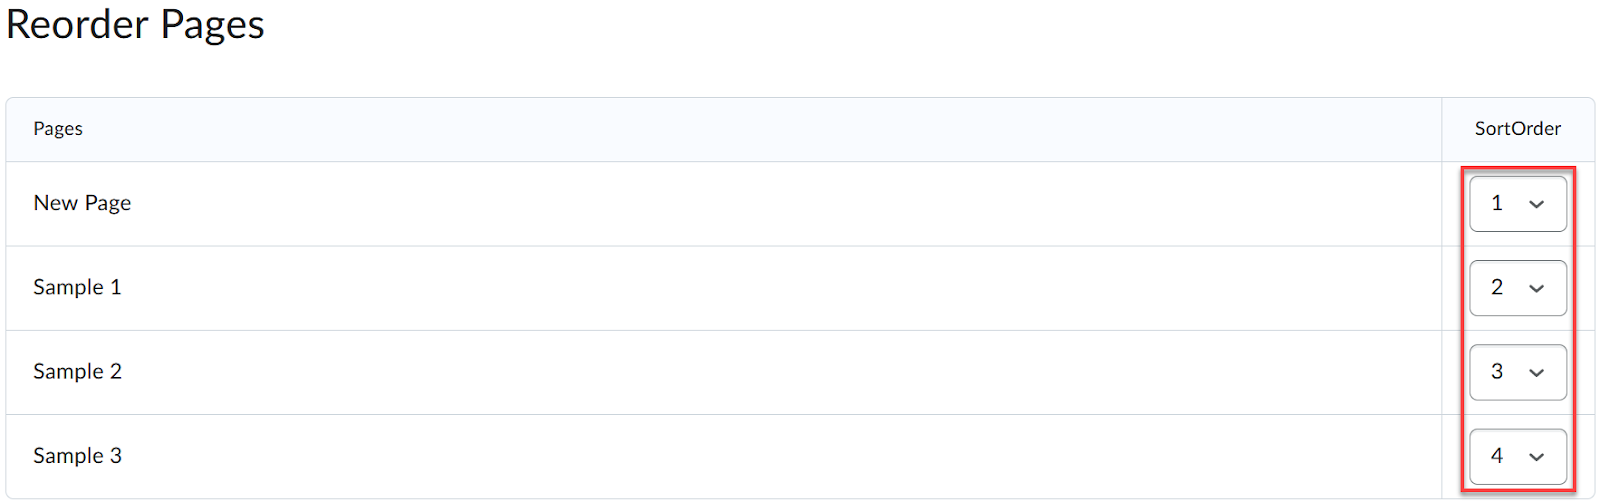
2. Select Save at the bottom of the page.
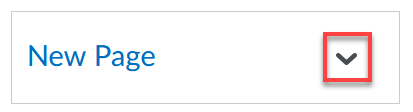
vi. The heading that states “New Page” in the page
section is the first page of the presentation. This title can be changed by
selecting the drop-down arrow to the right of “New Page.”
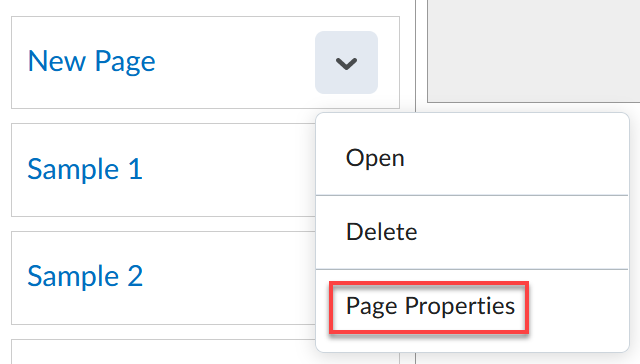
1. When the drop-down menu appears, select Page
Properties to change the title of the page.
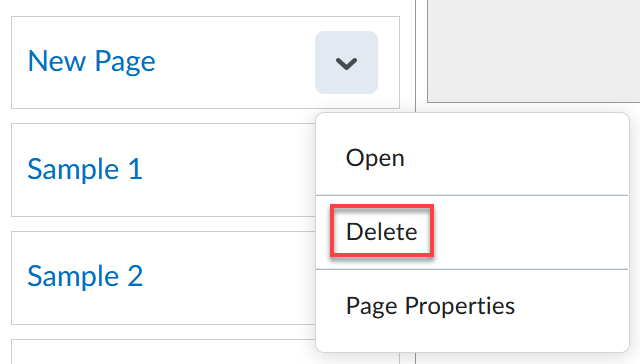
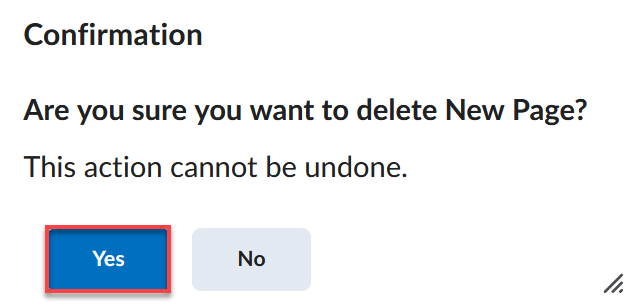
2. If you would like to delete the page, select
Delete from the drop-down menu. Then confirm if you like to delete the page by
selecting Yes or No.
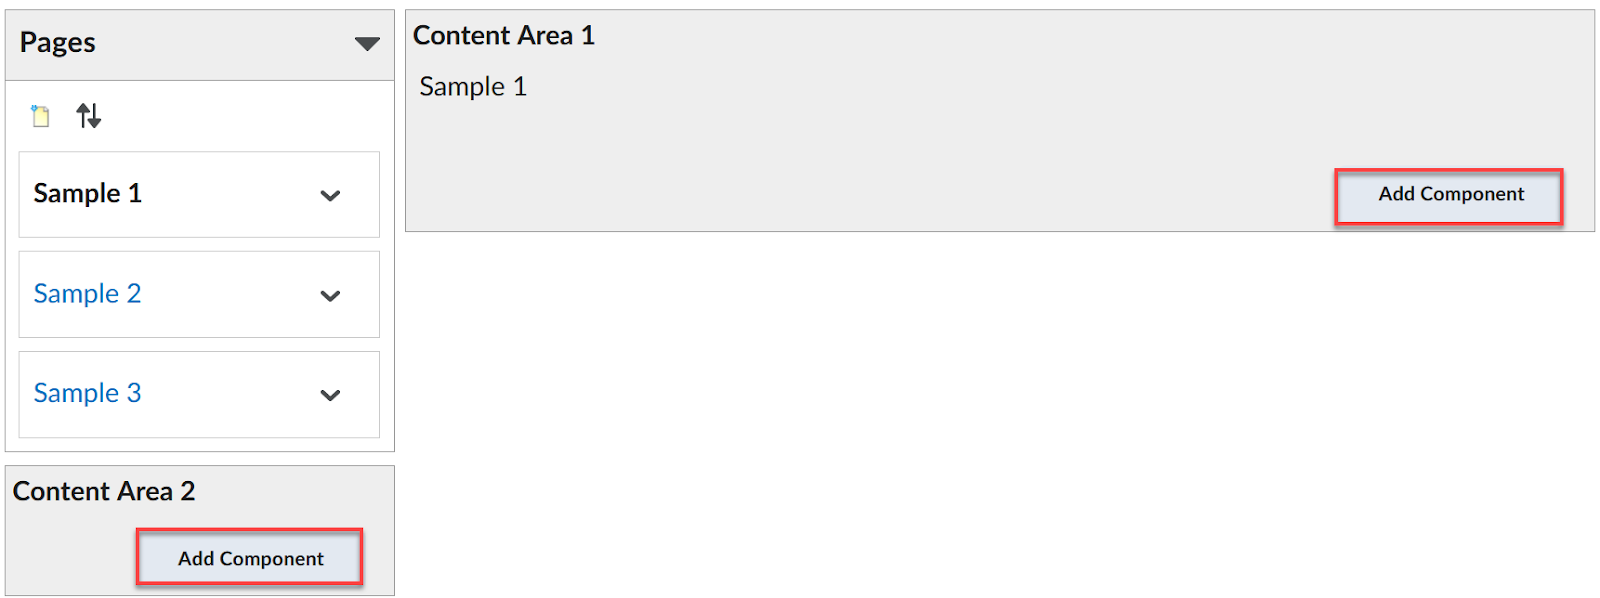
d. Next, add content to your presentation:
i. Under the Content area(s) for each page, select
Add Component.
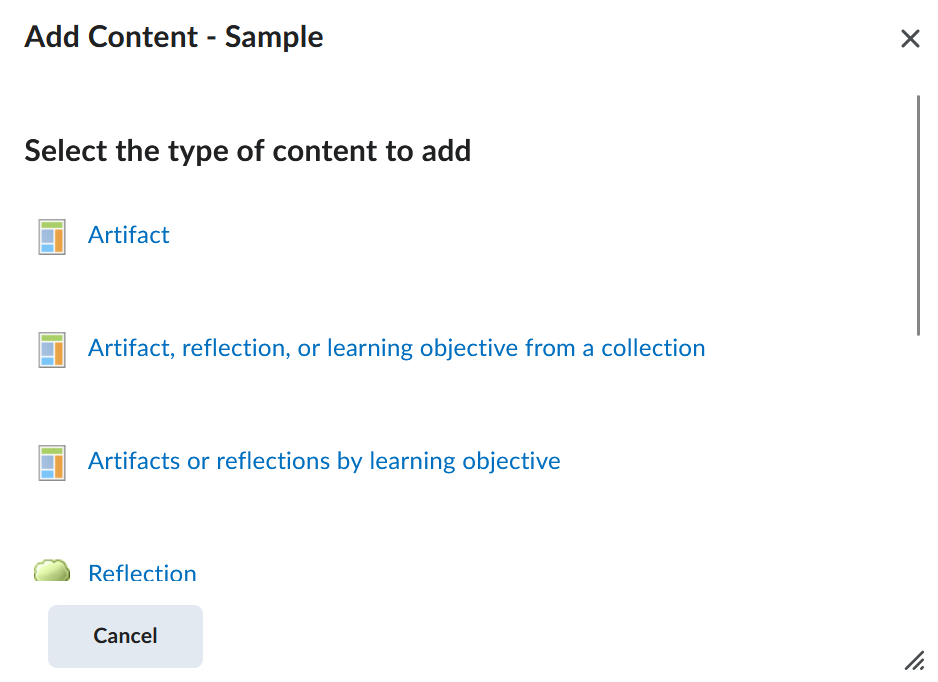
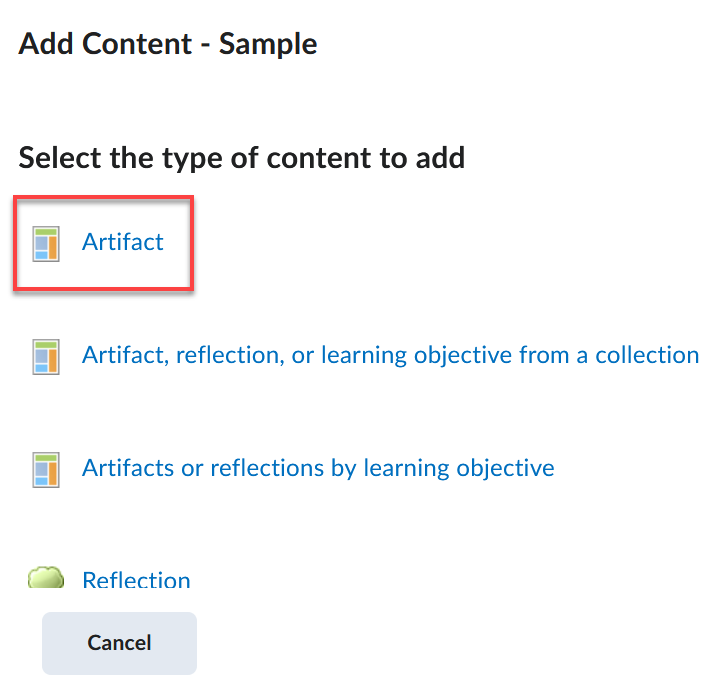
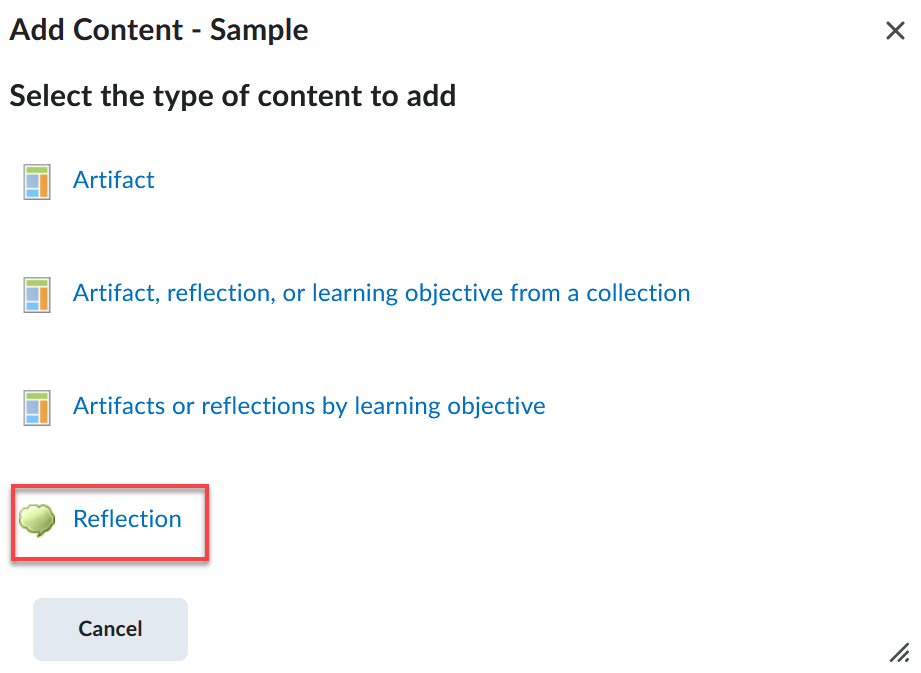
ii. A pop-up window will appear. Select the type of
content (based on the page requirements) that will be added to the selected
content area. The types of content items are explained below the page
requirements.
iii. Page Requirements
1. The Introduction page should include:
a. Photograph (Just you, looking professional)
b. Personality Profile (Myers-Briggs or other
similar personality profile)
c. Paper: Why I want to be an educator (Faith
Integration EDUC 3713)
d. Paper: Philosophy of education (updated in
Student Teaching EDUC 4912)
e. Resume (updated in Student Teaching EDUC 4912)
f. College Transcript (at the conclusion of Student
Teaching EDUC 4912)
g. Letters of recommendation
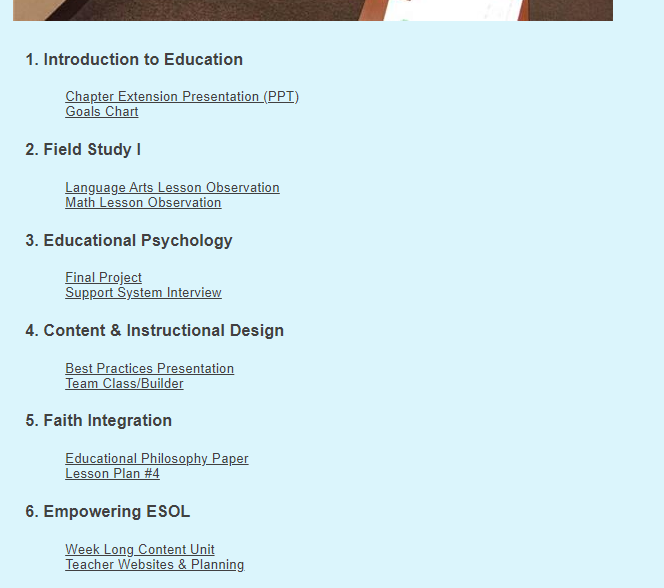
2. The FEAPS Tasks page should include the
following:
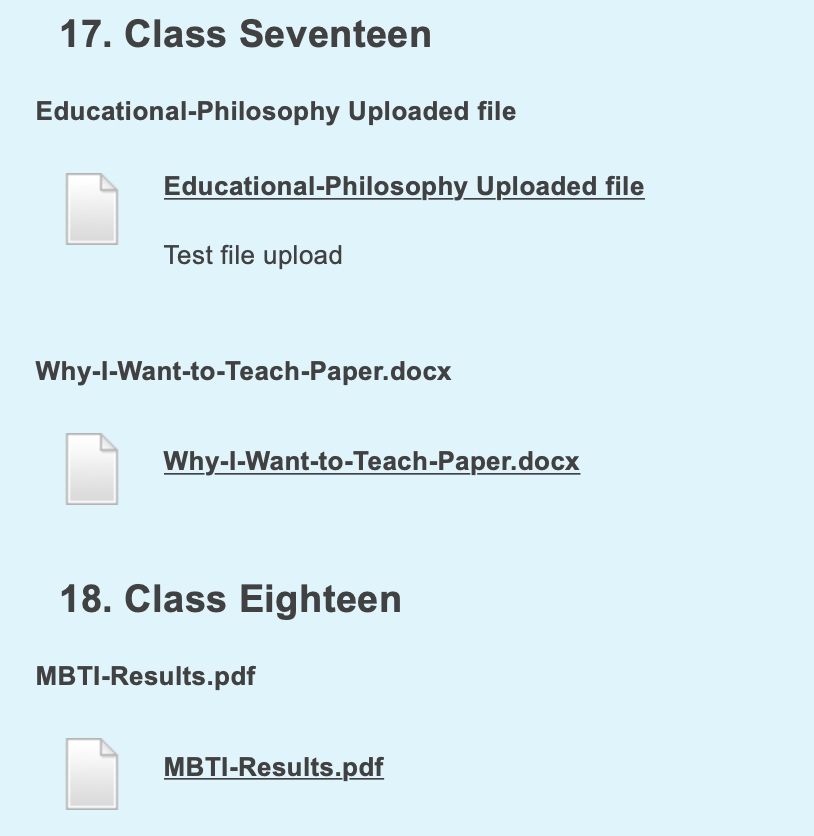
a. For each page that list classes, such as the
FEAPS page, follow the steps below:
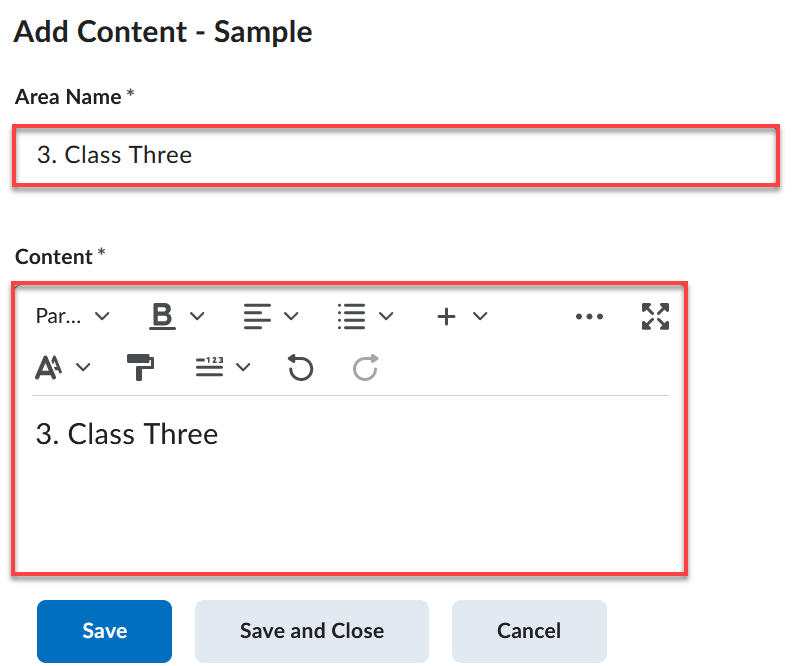
i. For each class that needs to be added, add a
Text Area component. Name the page and the content text as the class name and
number order. Repeat for each class that needs to be listed on the FEAPS page.
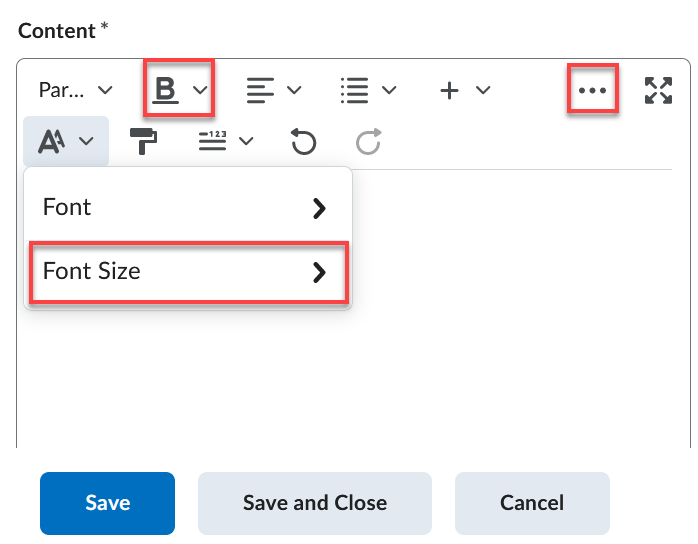
ii. By selecting the three-dot icon, change the
class title in the content area to bold and increase the font size to the
desired size.
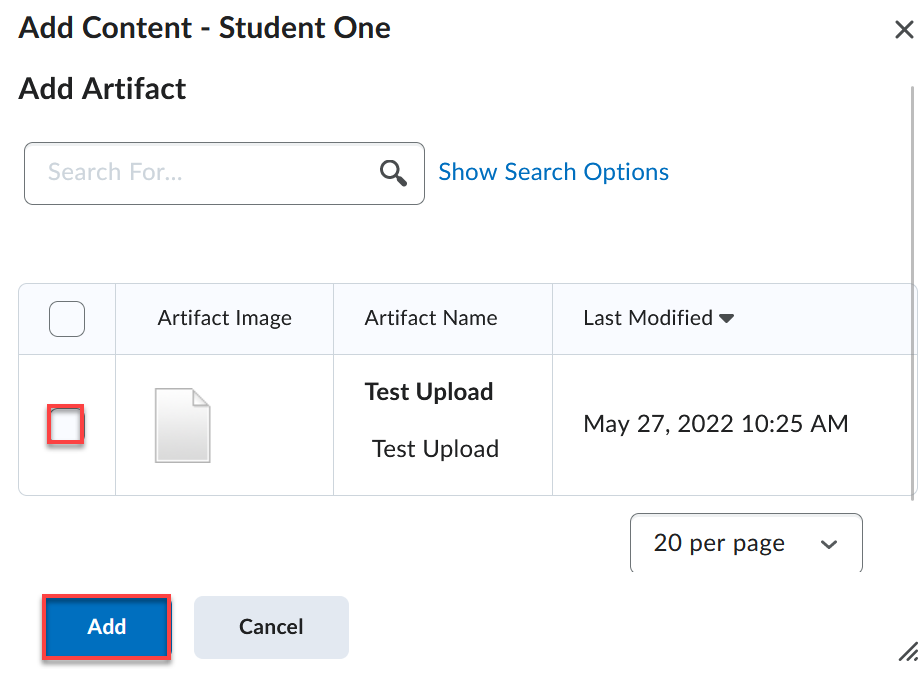
iii. For each file item that needs to be added under
a class on the FEAPS page, add the item as an Artifact after selecting Add
Component. Repeat for each artifact. When adding an artifact, select the
checkbox next to the desired item, and then select add at the bottom of the
pop-up window.
iv. Then, reorder the class titles (text areas) and
the artifacts (files for each course) to be in the desired order by selecting
the up and down arrows.
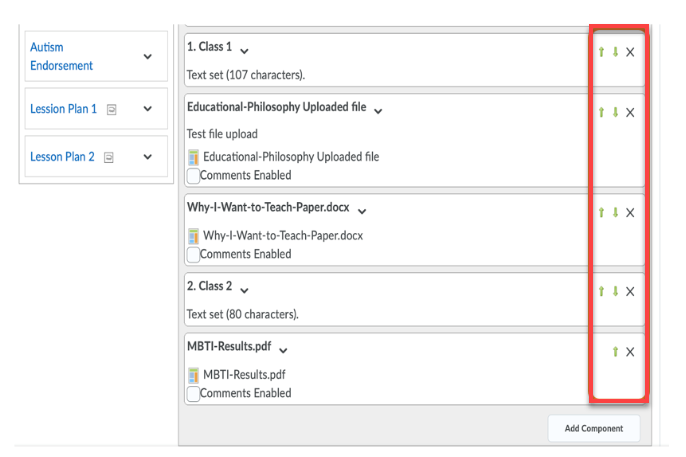
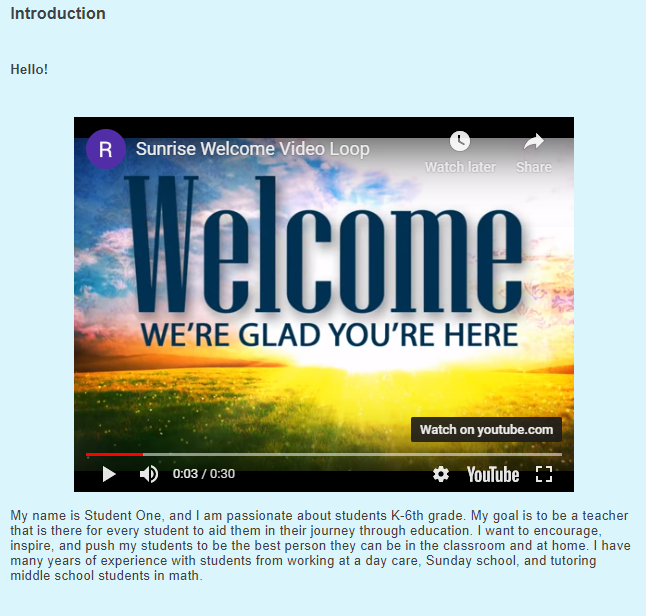
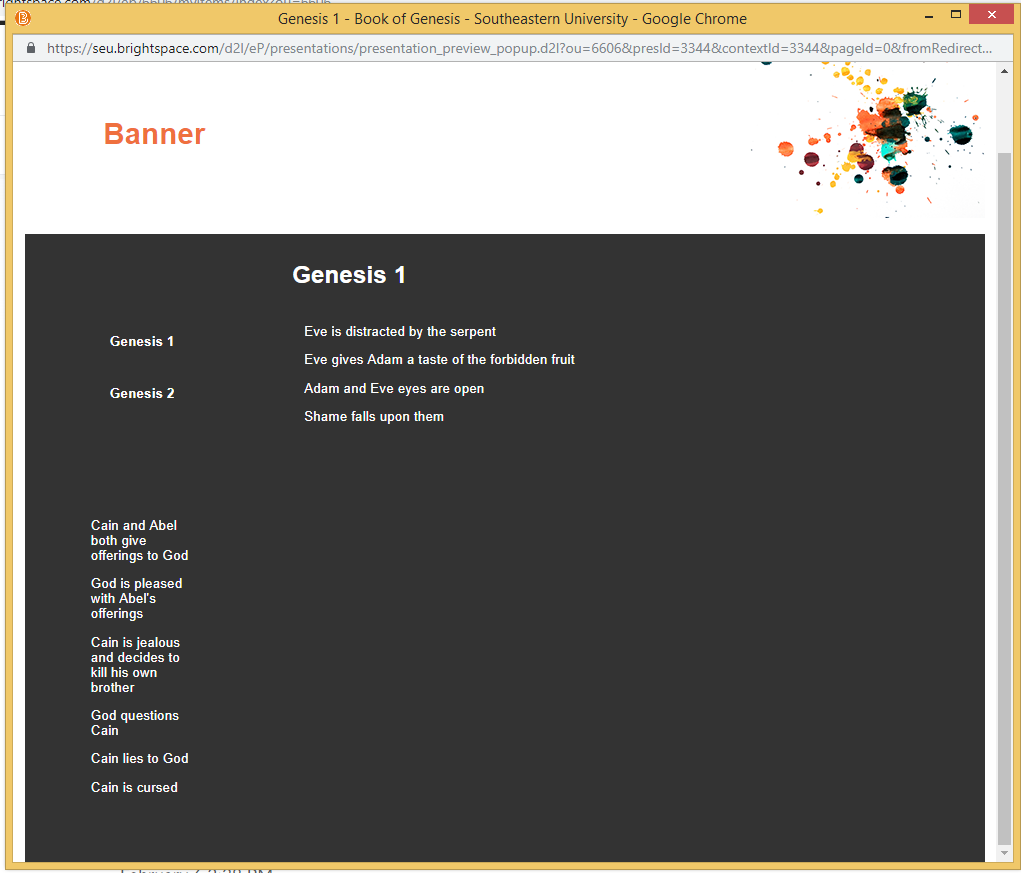
v. Once the class titles and artifacts are
reordered, the ePortfolio page will look similar to the screenshot below. If
your page does not look similar to the screen below, please review the steps
above. If your page does look similar, please build the next pages of the
presentation by following the same steps.
3. The Awards page should include: Letters of
commendation Certificate(s) of training Professional organization membership(s)
Participation in SEU campus activities (ex. Resident Assistant 3 years, Senate
Representative in SGA, Student Advisory Council) Photographs (of you teaching,
your classroom, your lesson artifacts, bulletin boards, etc.) Other (anything
that showcases your excellence as a teacher and servant leader)
4. The Reading Endorsement page should include
tasks listed by course. An example is shown below.
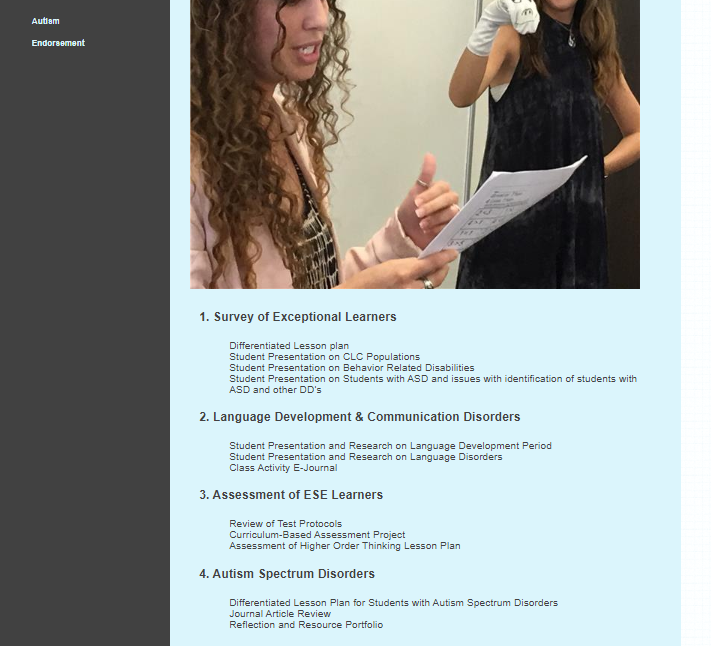
5. The Autism Endorsement page (ESE only) should
include the information below.
6. The Gifted Endorsement page (ESE only) should
include the following.
iv. The types of content items:
1. Artifact - This option allows you to add an
individual item that you have added to your ePortfolio that is not included in
a collection.
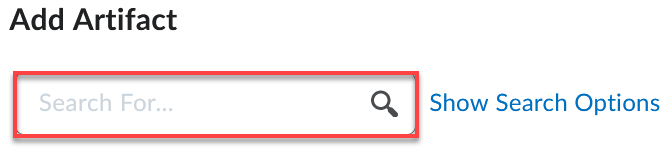
a. If selected, a pop-up window will appear.
b. Search for the desired artifact item by typing
the name or keyword in the search bar and selecting the magnifying glass icon.
c. Then select the desired artifact(s) by selecting
the corresponding checkbox to the left of the artifact. Note: You will not be
able to preview the item before making your selection.
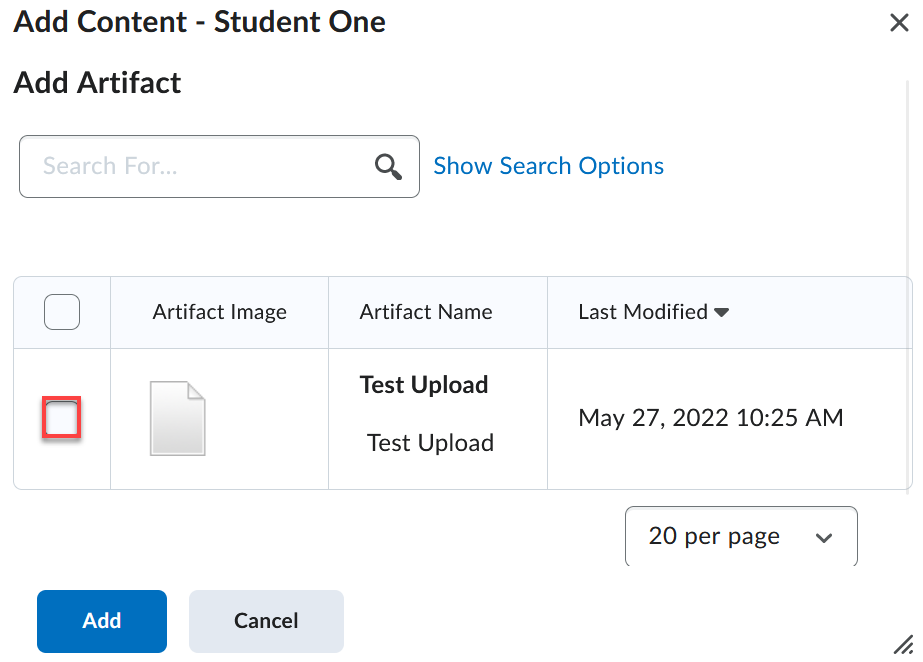
d. Select Add at the bottom of the pop-up window.

2. Artifact, Reflection, or Learning Objective from
a Collection - This option allows you to add artifact items, reflections or
learning objectives that have been added to a collection of items.
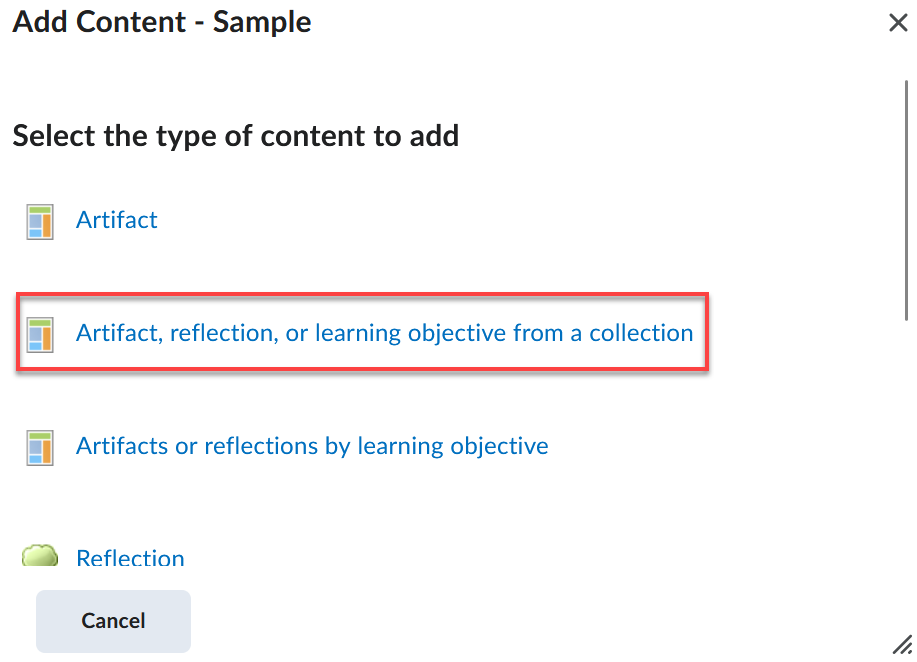
a. If selected, a pop-up window will appear.
b. Search for the desired collection by typing the
name or keyword in the search bar and selecting the magnifying glass icon.
c. Then select the desired collection by selecting
the Collection title.

d. When the pop-up window refreshes, search and
select the desired artifact(s) by selecting the corresponding checkbox to the
left of the artifact.
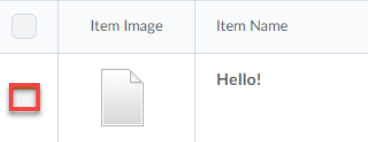
e. Select Add at the bottom of the pop-up window.
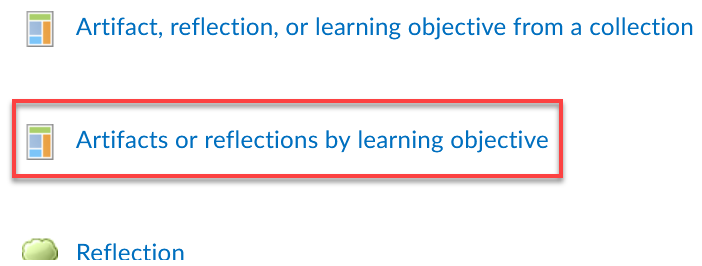
3. Artifacts or Reflections by Learning Objective -
This option allows you to add artifact items or reflections that are attached
to learning objectives.
4. Reflection - This option allows you to add a
reflection that is not attached to a specific item within your ePortfolio to
your presentation. Reflections are your thoughts about your learning
experiences and personally added by you to your ePortfolio.
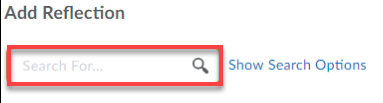
a. If selected, a pop-up window will appear.
b. Search for the desired reflection by typing the
name or keyword in the search bar and selecting the magnifying glass icon.
c. Then select the desired reflection(s) by
selecting the corresponding checkbox to the left of the item.
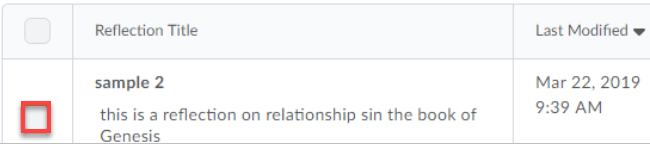
d. Select Add at the bottom of the pop-up window.
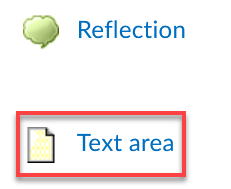
5. Text Area - This option allows you to add a text
field to your presentation. The text that is added to the field is based upon
your discretion.
a. If selected, a pop-up window will appear.
b. Name the text area.

c. Add the desired text in the Content textbox.
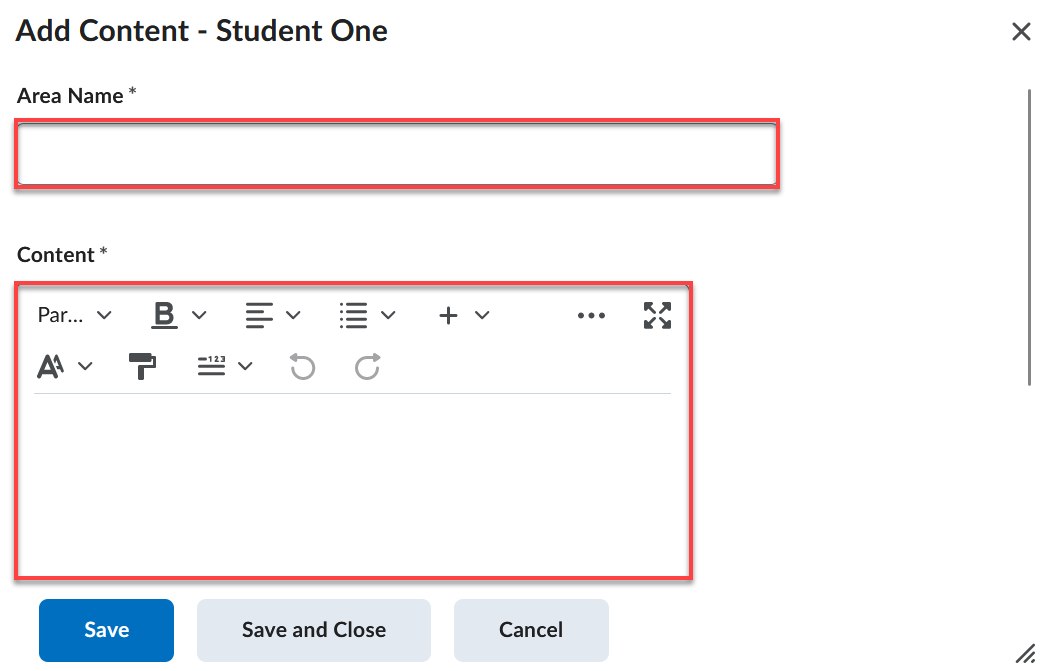
d. Select Save at the bottom of the pop-up window. Note:
For further instructions on how to utilize/navigate the content HTML editor
textbox, please refer to the ‘Utilize the MyFIRE Editor’ tutorial.

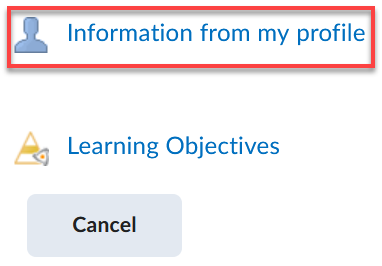
6. Information from my Profile - We do not
recommend adding this information to your presentation because whatever
information that is listed in your MyFIRE profile, even fields that are blank,
will appear in your profile for the viewers of your presentation. Depending on
who your presentation is being sent to, you may or may not want all of your
information to be viewable or accessible. Be mindful of what information you
are sending to the viewers of your presentations. A better option of adding
personal information to your presentation would be to add your personal
information in a Text Area or in the presentation banner based upon your
preference.
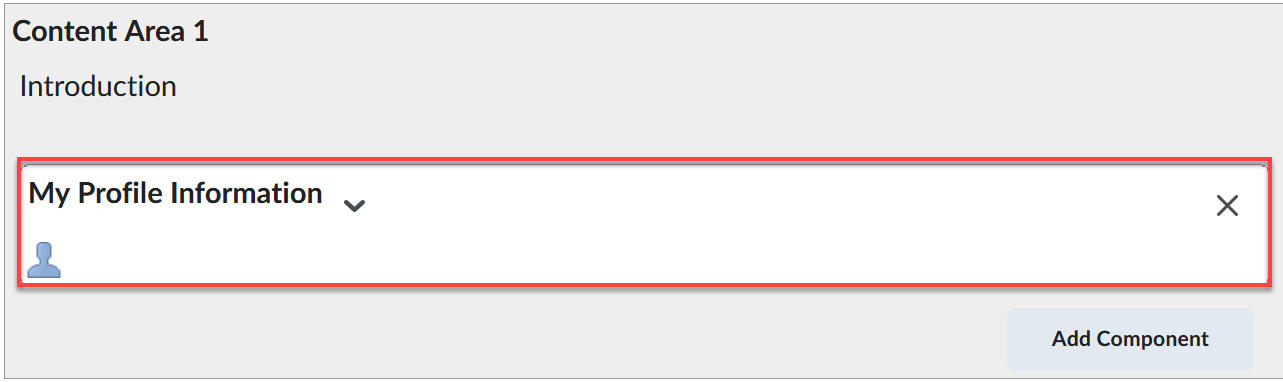
a. If selected, your profile information will
automatically be added to the content area. You will not be able to choose the
desired profile information individually.
7. Learning Objectives Note: Learning Objectives
are in the development process of being attached to courses. For the time
being, learning objectives will not be available to attach.
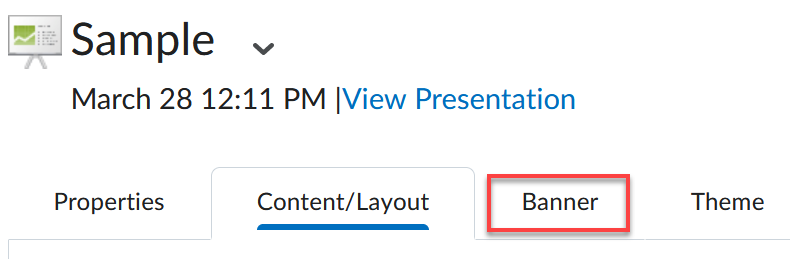
12. Once
you have added the desired content to all the pages, select the Banner tab at
the top of the page. The banner appears at the top of every page of the
presentation to identify your presentation for users.
a. Enter your name in the Banner title field.

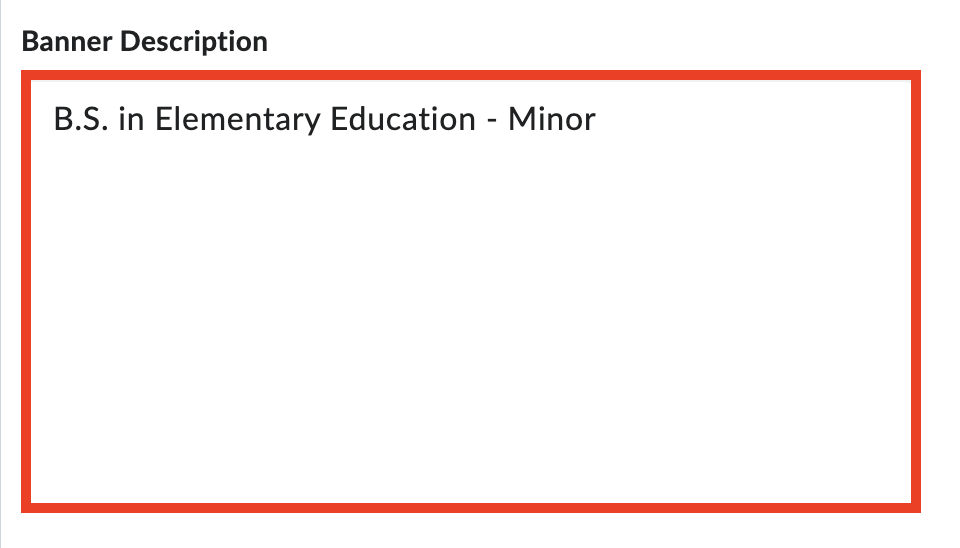
b. In the banner description field, add the type of
degree that you are seeking. For example: B.S. in Elementary Education. The
description will be visible on each page of the presentation as well.
c. Select Save at the bottom of the page.
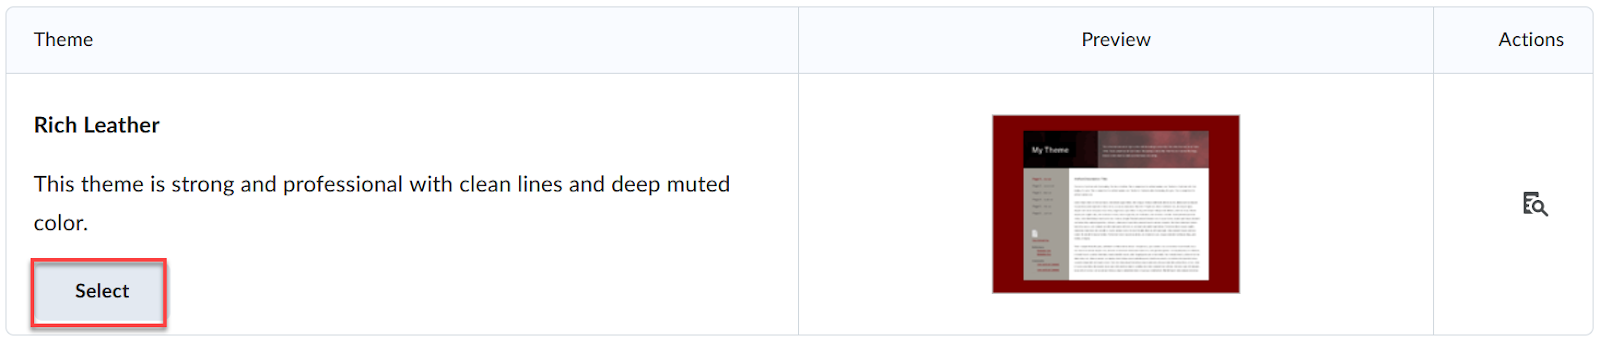
13. Next,
add the Rich Leather theme to your presentation by selecting Theme at the top
of the page.

a. Select a theme by scrolling through all the
available theme options and preview the themes by selecting the Preview icon to
the right of the desired theme.

b. Choose the desired theme by clicking the
corresponding Select button.
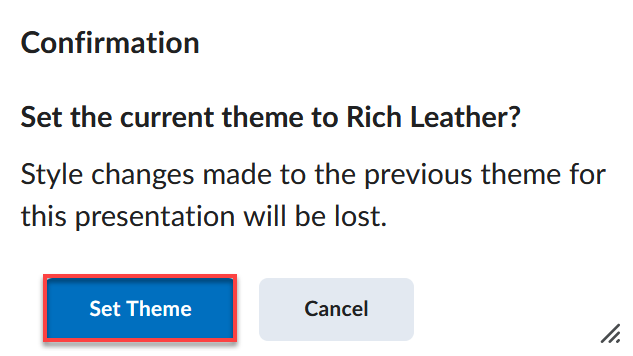
c. A pop-up window will appear to confirm the
changes you are about to make. Select Set Theme if you would like to move
forward with your selection.
i. The page will redirect you to the My Items tab.
The newly created presentation will be listed at the top of the My Items list.
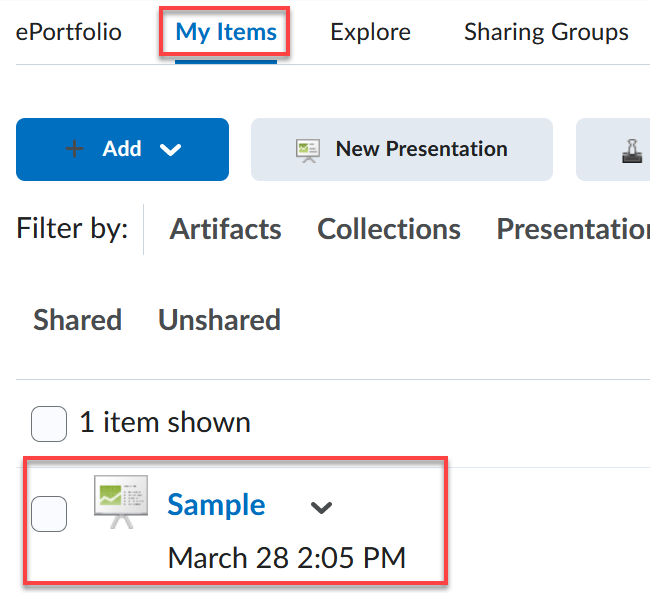
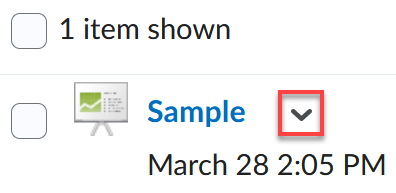
14. Select
the drop-down menu to the right of the presentation’s title to perform the
following actions:
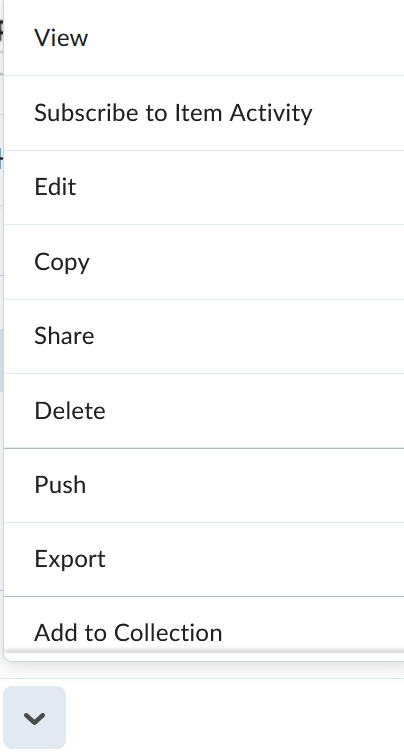
a. View - This option allows you to preview the
presentation in a new pop-up window.
b. Subscribe to Item Activity - This option allows
you to subscribe to the activity or item from specific people that interest
you. Subscription alerts display comments made on items or by people you've
subscribed to. Subscription activity also appears in your minibar alerts.
i. Alerts on the minibar signal new activity
related to your subscriptions and invites.
1. Message alerts display recently received
invites.
2. Update alerts display assessments made on items
or by people you've subscribed to.
3. Subscription alerts display comments made on
items or by people you've subscribed to.
ii. Users can unsubscribe from an item at any time.
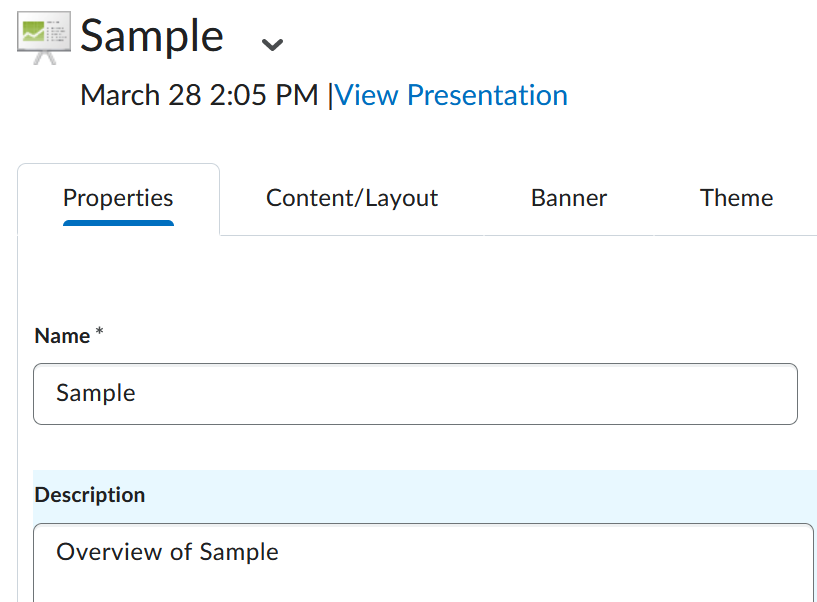
c. Edit - This option allows you to edit the
presentation. If selected, the page will refresh to the presentation properties
page and allow you access to edit any area of your presentation.
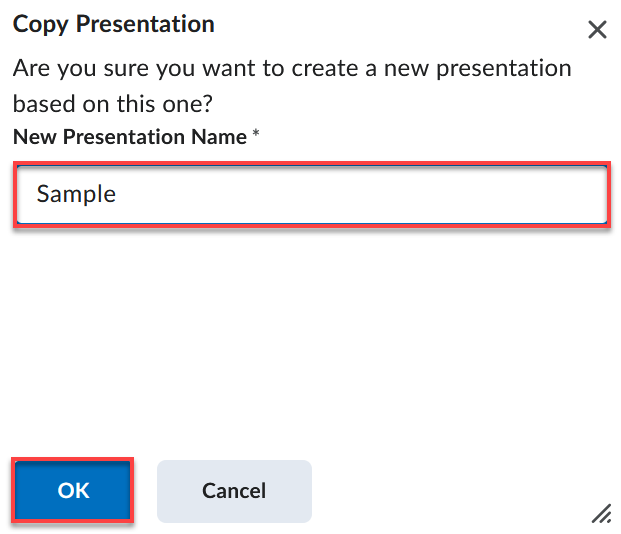
d. Copy - This option allows you to make a copy of
the presentation.
i. If selected, a pop-up window will appear.
ii. Title the copy of the presentation in the New
Presentation Name field.
iii. Then select Ok at the bottom of the pop-up
window.
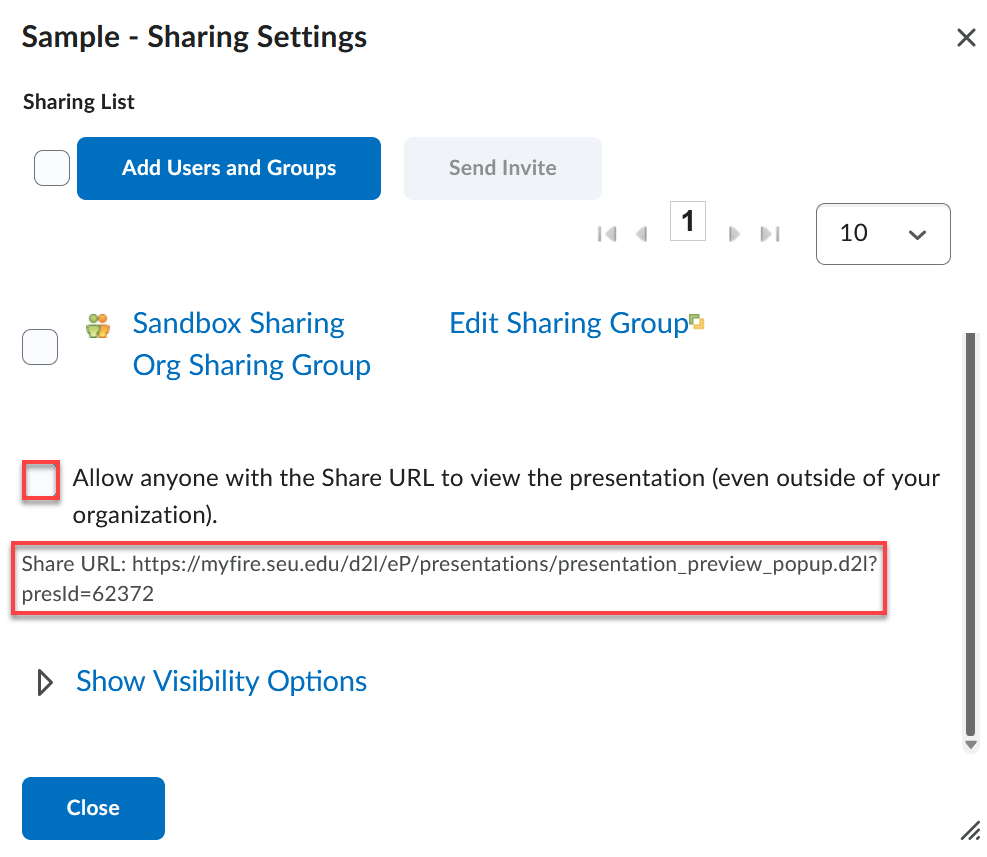
e. Share - This option allows you to share the
presentation via a URL link to other viewers. Please refer to the ‘How to Share
a Presentation in ePortfolio’ tutorial for further directions.
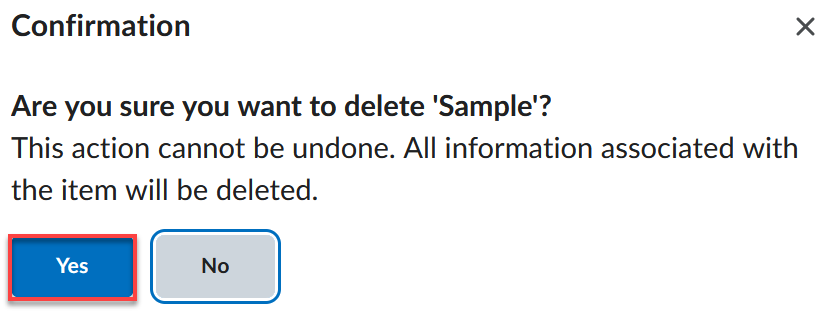
f. Delete - This option allows you to delete the
desired presentation. Please use caution when considering this option. If an
item is deleted, it will not be able to be restored.
i. If selected, a pop-up window will appear.
ii. Then confirm if you like to delete the
presentation by selecting Yes or No.
g. Export - This option allows you to export your
presentation to an HTML version or ePortfolio package.
i. If selected, a pop-up window will appear.
ii. Choose how you would like to export the
presentation:
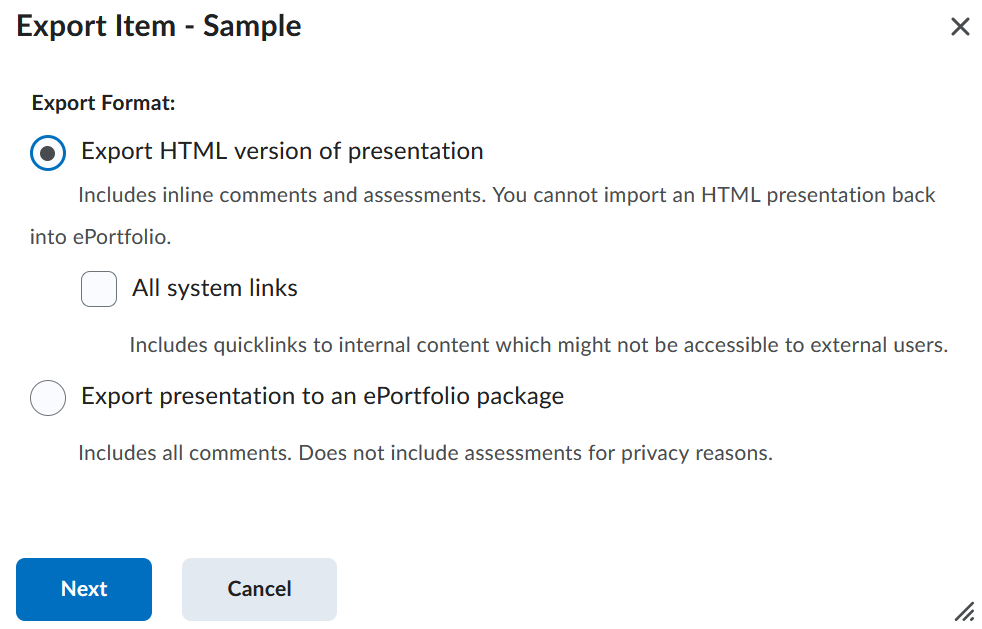
1. Export HTML version of Presentation - the
download contents from this option will be only viewable on your computer.
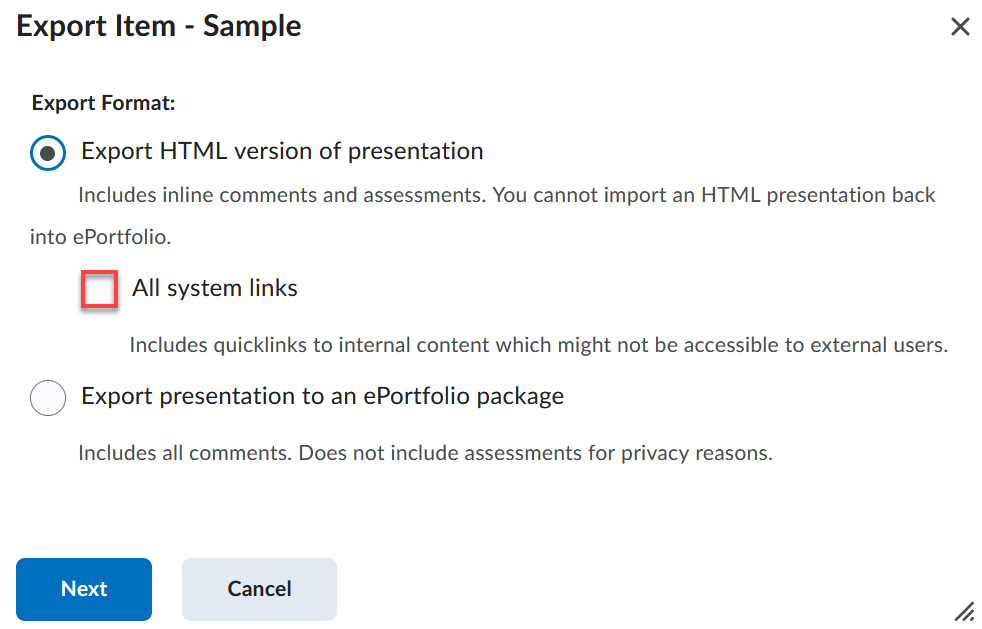
a. Choose if you would like to include All System
links by selecting the corresponding checkbox.
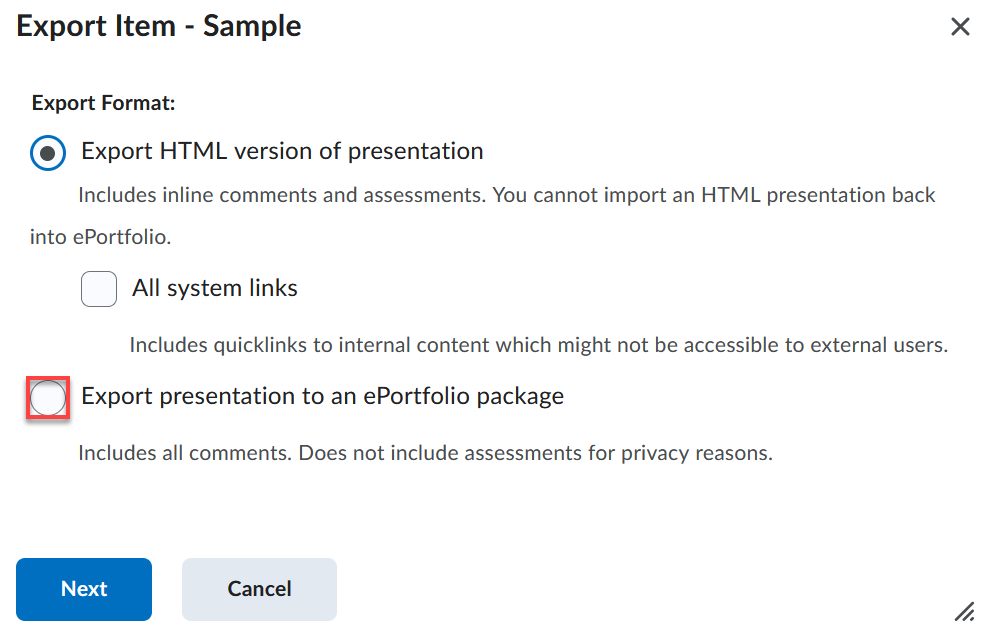
2. Export Presentation to an ePortfolio package -
The downloaded contents from this option will not be viewable on your computer.
However, the download contents will be importable and viewable on other
websites that have the capability to process the package.
a. Choose if you would like to Automatically
include associated items by selecting the corresponding checkbox.
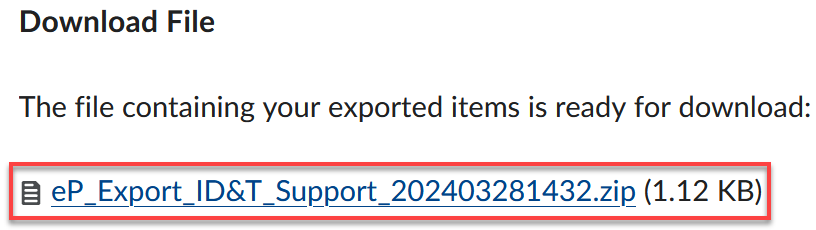
iii. Once the type of export has been chosen, the
presentation will be loaded into a .zip file. Select the .zip file link to
download the file to your computer.
h. Add to Collection - This option allows you to
add the presentation to a collection of items that have previously been created
in your ePortfolio.
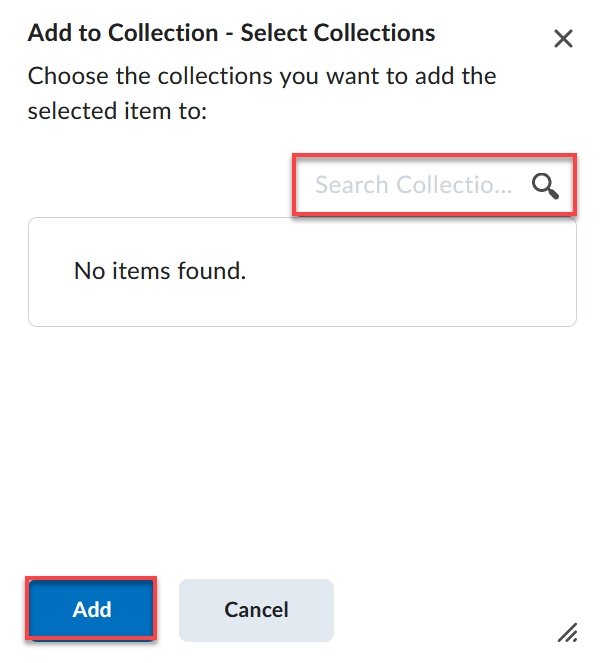
i. If selected, a pop-up window will appear.
ii. Search for the desired collection by typing the
name or keyword in the search bar and selecting the magnifying glass icon.

iii. Then select the desired collection(s) by
selecting the corresponding checkbox to the left of the item.
iv. Select Add at the bottom of the pop-up window.
i. Associate Learning Objectives - This option
allows you to connect a learning objective to a presentation. Note: Learning
Objectives are in the development process of being attached to courses. For the
time being, learning objectives will not be available to attach.